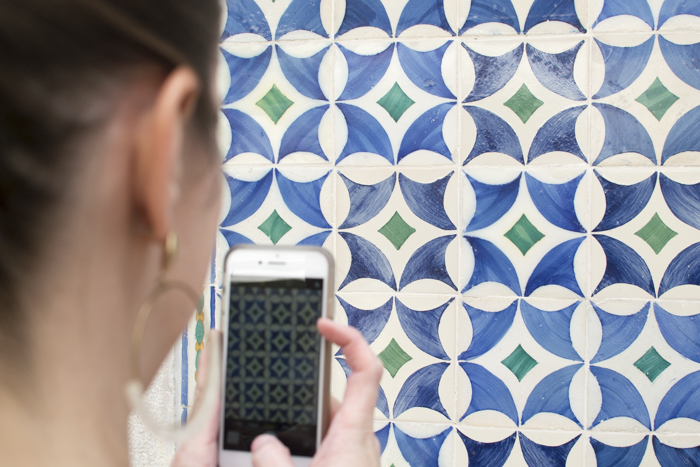
There have been plenty of times on vacation that I’ve left my DSLR in the hotel room and have relied solely on my iPhone to snap photos — or, in the case of a quick weekend jaunt, left it at home entirely. I used to have pangs of regret, but now that iPhone camera technology has improved so dramatically in past years, it really can be a great substitute for the times that a traditional camera is too big and bulky to bring along.
I’m not the only one who sees the merit in using the iPhone in place of the “real” camera. I attended a virtual event recently with Pete Souza, former President Obama’s official White House photographer, who admitted to using his iPhone camera in place of the DSLR on occasion. If he can do it, I think that gives us all permission to opt for the camera that’s always in our pockets and purses!
It’s a big part of why I was intrigued to see a press release come across my email promoting photographer and author Scott Kelby’s new book, The iPhone Photography Book, a comprehensive guide to iPhone photography that goes through techniques to improve your snapshots with hints that include editing, composition, organization, and more. I had a chance to connect with Scott to share six tips for iPhone photography success with you, and the one mistake to avoid.
1. How to Stop “Missing the Shot!”
If you’ve ever missed a great moment because by the time you unlocked your iPhone, found the Camera app, and then launched it, it was too late, try this trick: When you pick up your iPhone to take a shot, don’t unlock it. Just pick it up, immediately swipe left, and your Camera app appears ready to go!
2. The Best Times to Shoot Travel
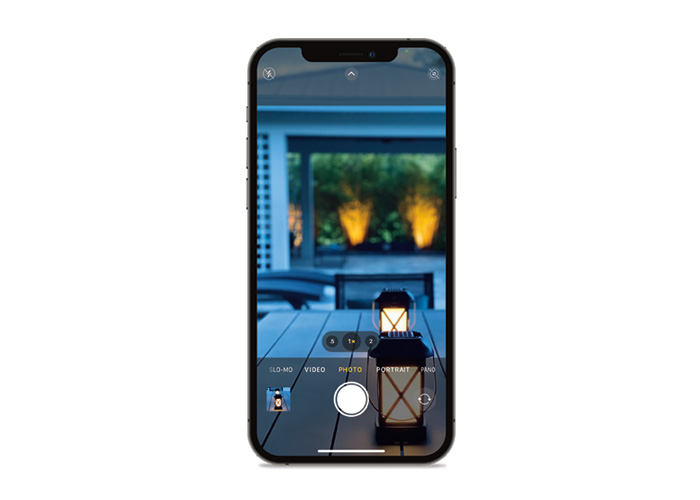
The best time to make beautiful travel photos is when the light outdoors is soft and beautiful, and that happens twice a day: about 30 minutes before sunrise, up until about 15 minutes after sunrise, and in the hour before and after sunset. A bonus for shooting around dawn: the tourists will not be awake yet, so you’ll get great shots with no crowds—just beautiful light and tourist-free monuments, streets, and scenes.

3. A Better Way to Take Photos without Tapping the Screen
On a traditional camera, you press a physical button to take a shot, which is one of the big advantages of a traditional camera. But, believe it or not, you can do the same thing with your iPhone: just press the volume up or volume down button to take a shot. Try it once and you’ll use this trick again and again.
4. Capturing the Moment vs. Composition
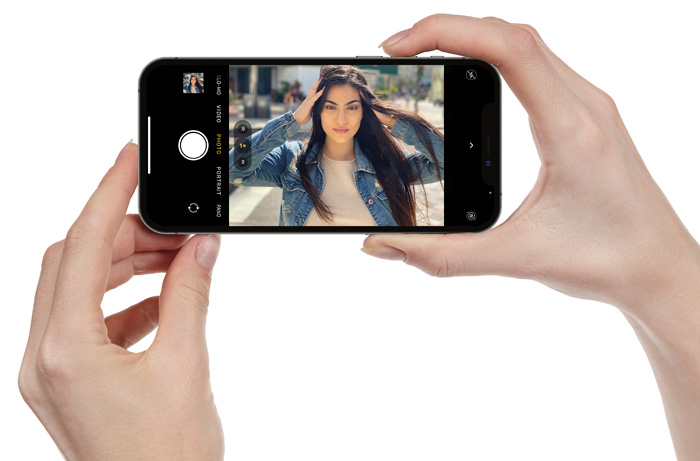
When you see something charming, or fascinating, or wonderful happening, forget the composition and just capture the moment. We can always go back and crop the photo later in the Photos app to create the composition we were hoping for, but if you miss the “moment,” that moment is gone forever.
5. How to Stop from Having Photos That Are Too Dark or Too Bright
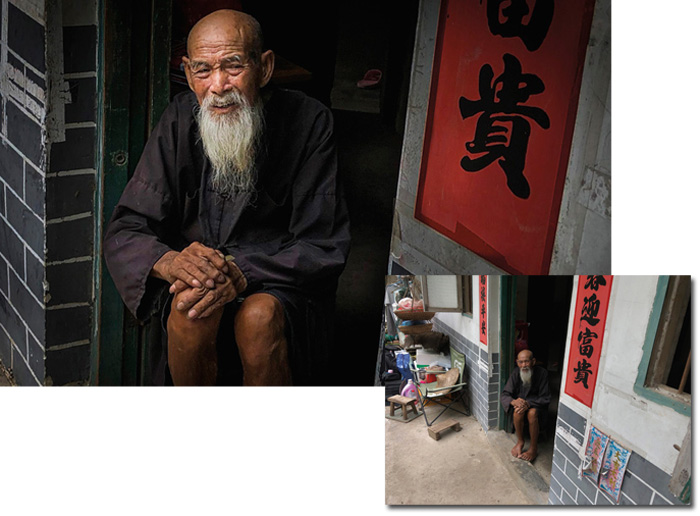
If you’re looking at a scene in front of you, and it seems too dark or too bright, or if your subject is backlit with the sun behind them, right after you tap on the screen to focus on your subject, tap-and-hold your finger on the screen and drag up to make the whole image brighter or down to make it darker.
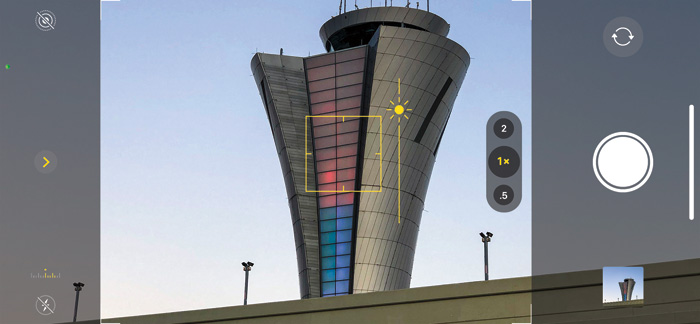
6. The Secret to (and Two Methods for) Shooting Food
One big reason people love to travel is that they love trying the food, so you want to come back with shots of the amazing dishes you had on your trip. The secret to great food shots is simply great light, and you get that by shooting during the daytime and asking to be seated either outside (under an umbrella or roof of some sort) or right by a window. The two methods for getting great food shots: Turn on Portrait mode and zoom in tight (you don’t have to show the whole plate—just parts of it), and the classic “iPhone from overhead shot straight down on your food” shot.

One Mistake to Avoid: Showing Too Much of the Scene
When you try to capture an entire building (like a cathedral or an opera house or a classic, old building), you usually wind up with things that ruin the romance and timelessness of the shot because there are billboards, signs, power lines, etc. You don’t have to show the whole scene. Compose the shot to where you avoid all those distractions, just showing part of the building. Think of it as a “detail” shot. The viewer’s mind will fill in the rest of the image, but you’ll have an interesting and captivating image without all the distractions.

For more iPhone photography tips, you can pick up Scott’s book here!
–
Let’s keep in touch!
Instagram / Facebook / Pinterest / Bloglovin’
This post contains affiliate links. I received a review copy of Scott’s book, but was under no obligation to write about it.