BEDKNOBS & BAUBLES

  • Interiors
    • My Home: Main Bathroom
    • My Home: Powder Room
    • My Home: Living Room
    • My Home: Dining Room
    • My Home: Main Bedroom
    • My Home: Front Porch
  • Lifestyle
  • Travel
    • Travel Posts
    • Travel Guides
  • Style
    • Style Posts
    • Outfits
    • The Coveted
  • Collaborate
  • About

Project Update: Main Bathroom Progress, Part Two

April 19, 2022 by jessica Leave a Comment

It’s been awhile since I’ve checked in and things are moving along with our main bathroom remodel. This project has had its stressful moments with longer construction times than we had planned on — and a larger bill as a result. I’ll share more insight into the costs associated with the two bathrooms once we’re done. For now, I need to focus on the exciting portions of the renovation to ease some of my own stress! Here’s what’s unfolded since the last update.

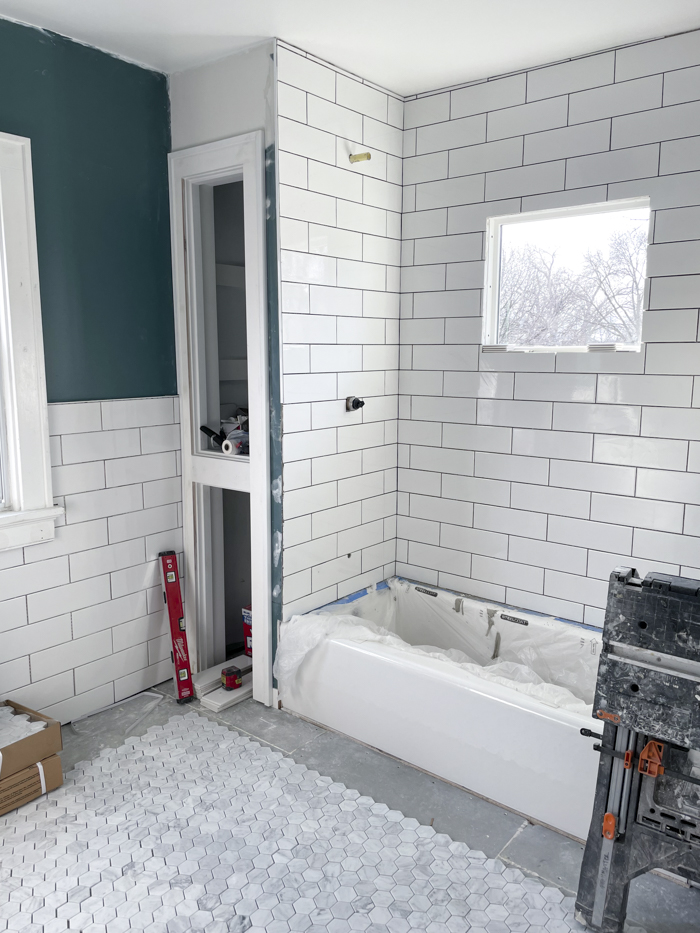
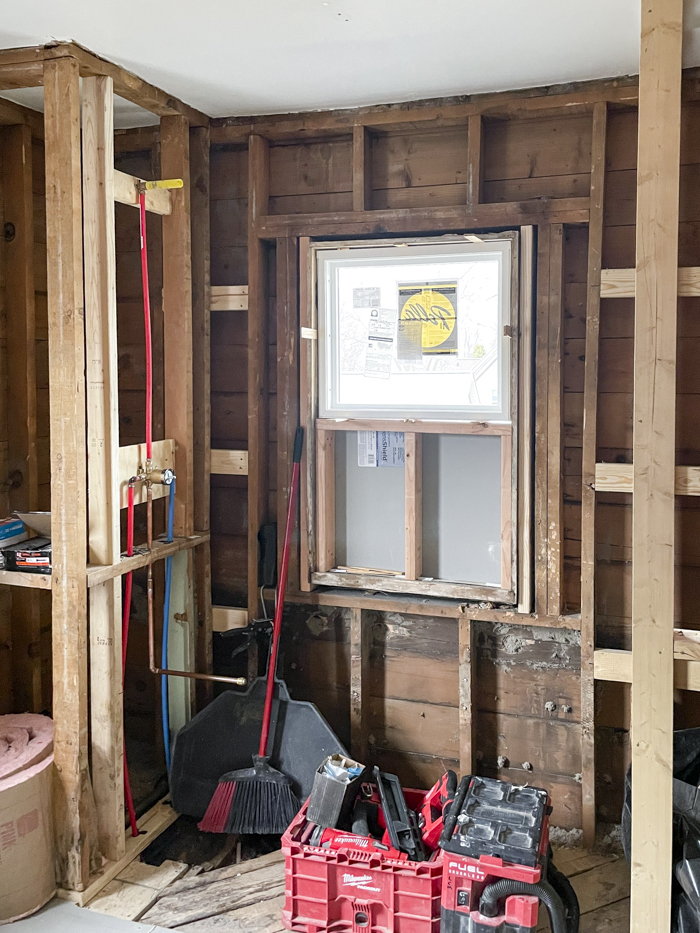
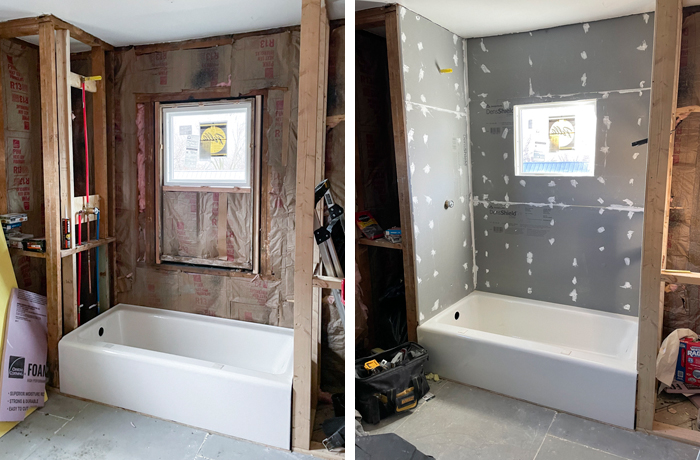
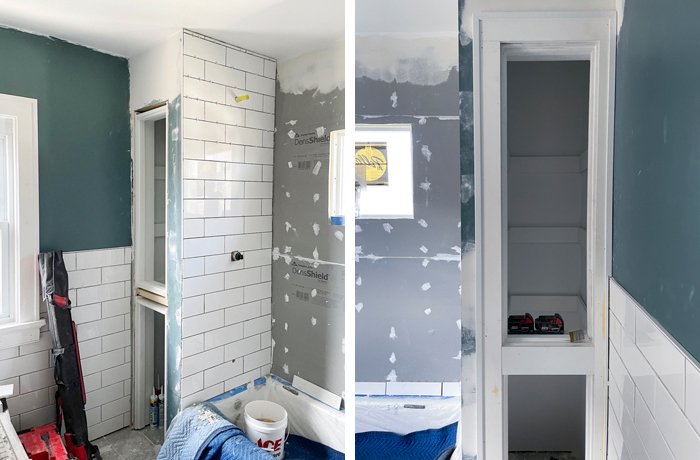
After gutting the room, reinforcing and leveling the floor, and framing the built-ins that flank the tub, our new window was installed. The window is half the height as the old window for privacy. It doesn’t open and will be tiled in to make sure it’s watertight. We’re keeping the other full-sized window in the room, so the one in the shower wasn’t necessary for airflow.

Oh man, I’m sure the team wasn’t thrilled about getting a 350-pound cast iron tub up our narrow staircase, but they did it! The floor is reinforced and metal straps were installed under the feet of the tub for additional support. We also added new insulation to the exterior walls since all of the old blow-in insulation was wet and rotting.

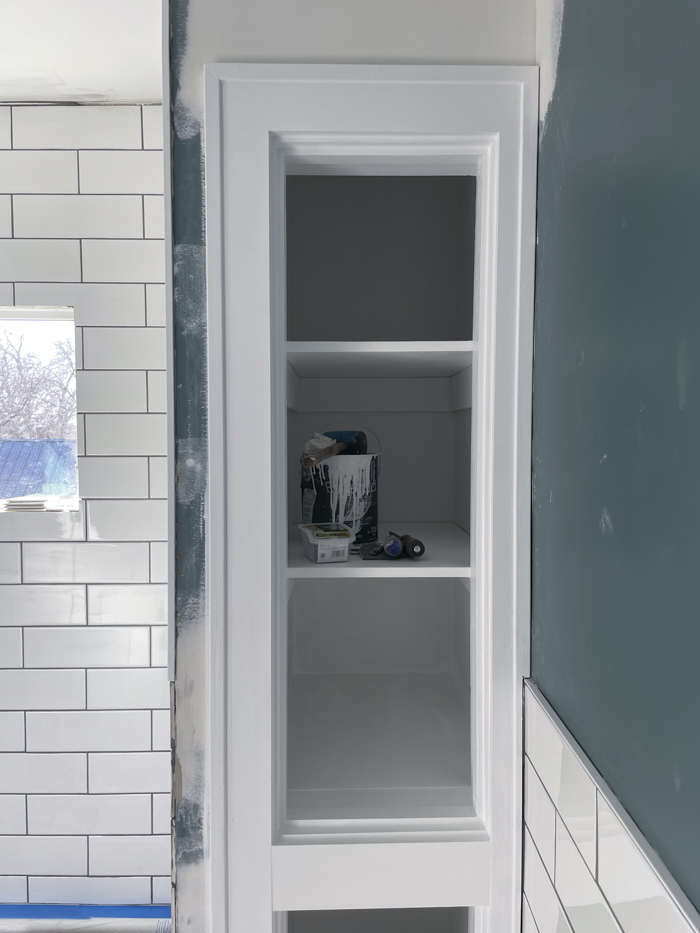
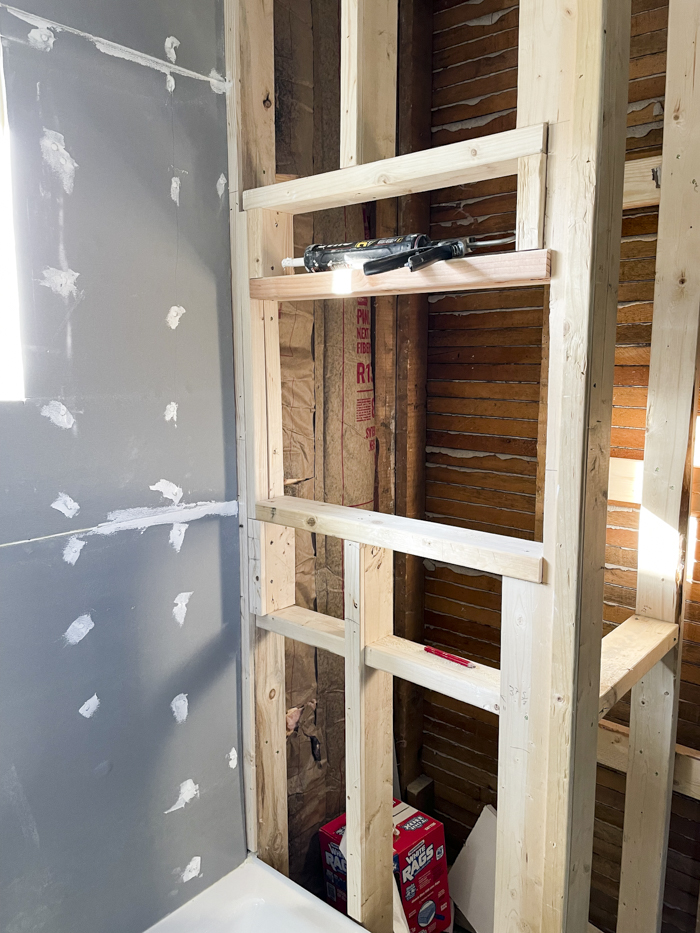
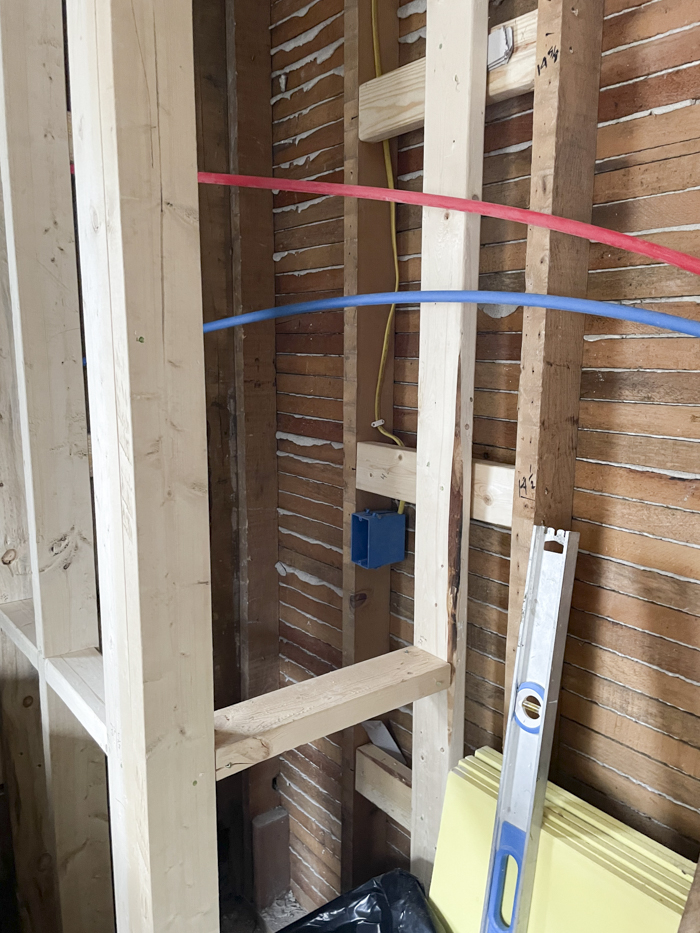
The opening here is our custom shower niche. While there are standard sizes for shower niches, we opted to go custom since the room was ripped open anyway. I lined up all of our shower must-haves and measured the height, width, and depth to make sure everything fits nicely.

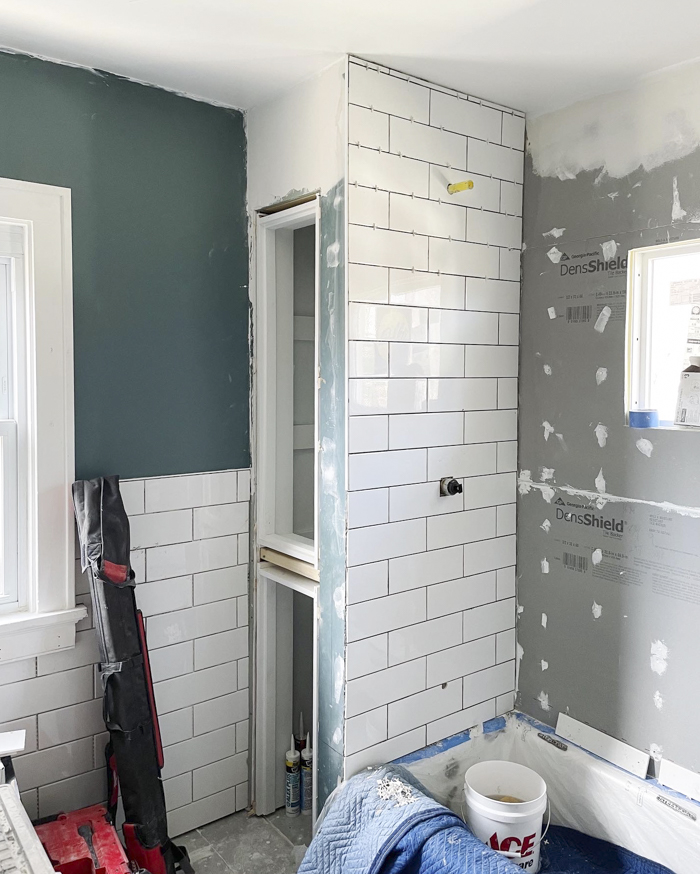
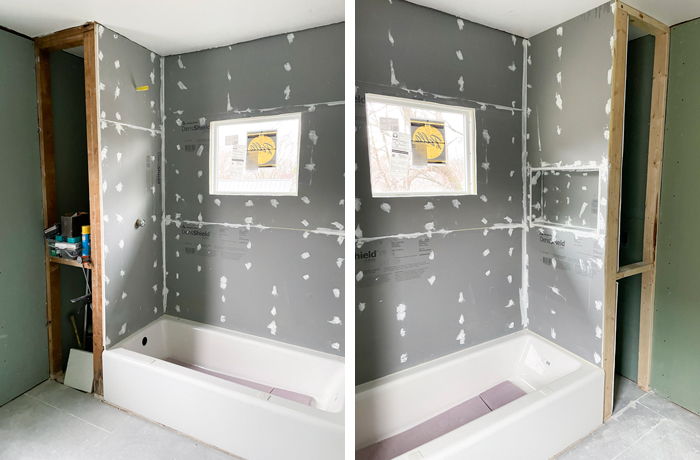
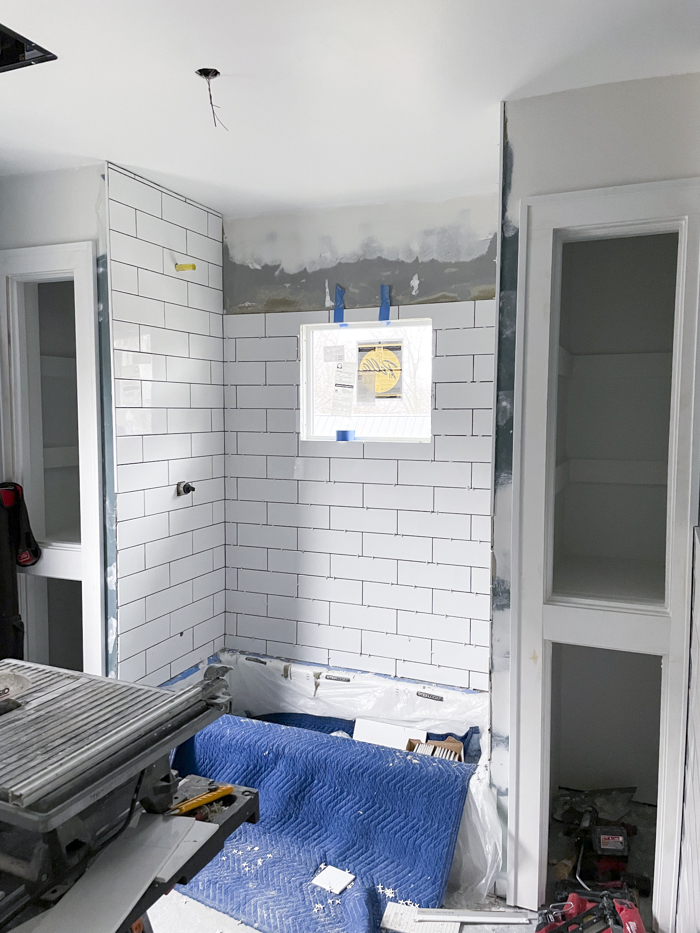
We decided to do tile midway up the wall like we had originally — but lower at 48″ high — so backerboard was put up around the room. This was the point where we felt like we were nearing the home stretch — three weeks ago. We weren’t, fact, anywhere near completion. Our contractor was on vacation for a week and while he was out one of the guys spent a lot of his time patching, sanding, and painting the walls and ceiling; one worked on venting the exhaust fan correctly through our attic and out the roof; and the other worked on the built-in cabinets. It was all work that obviously needed to get done, but we didn’t see a lot of visual progress for a bit until they got to tiling:

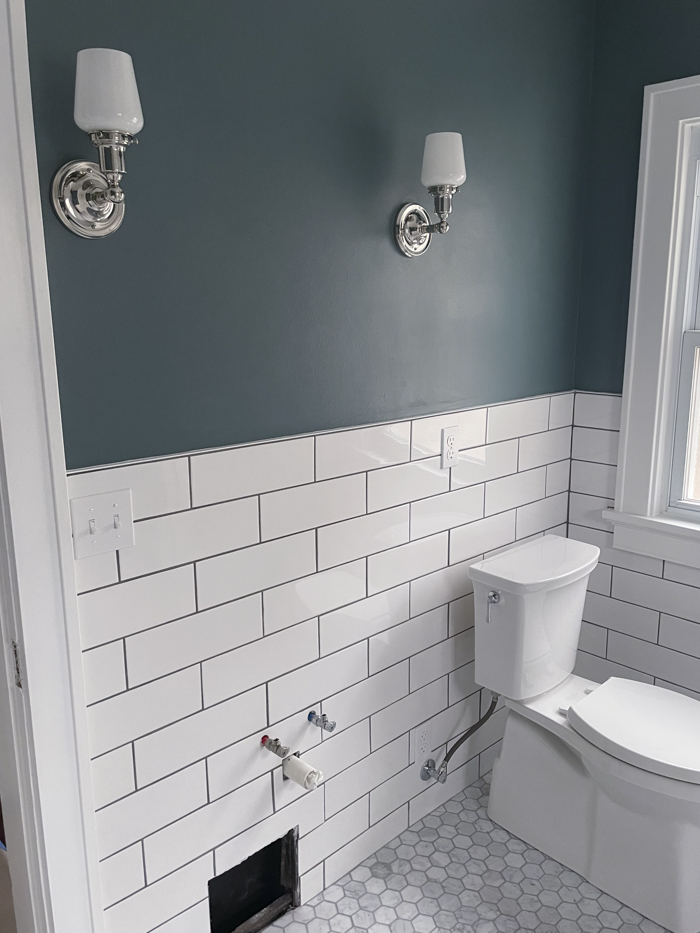
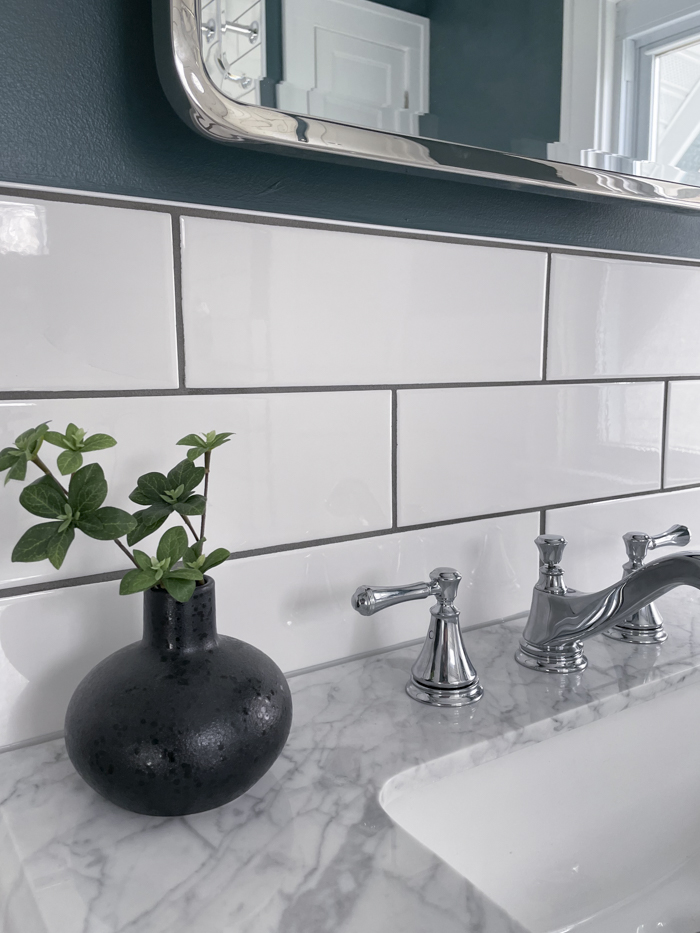
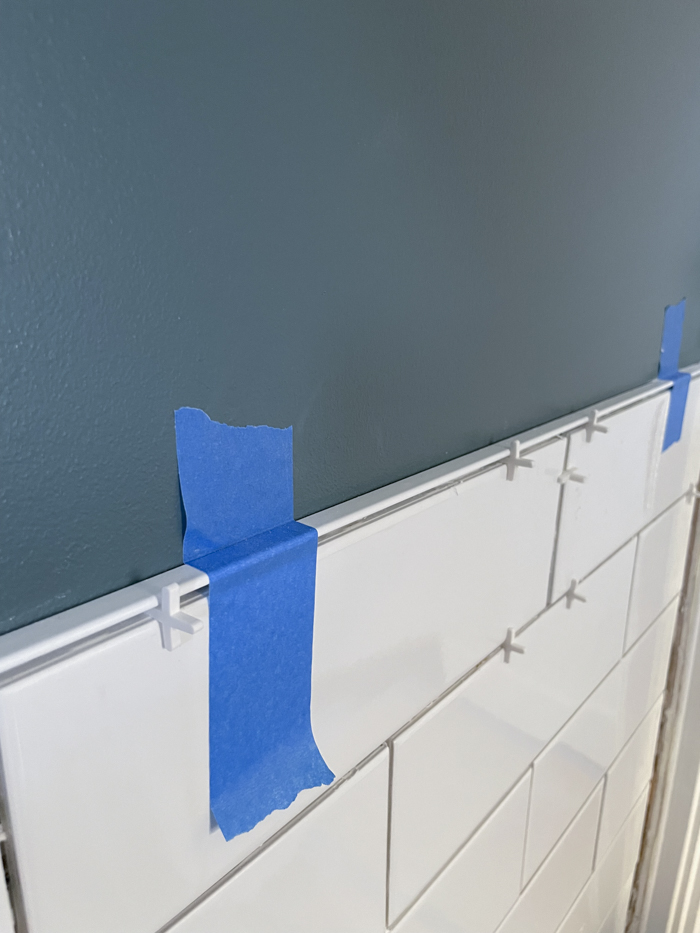
I originally wanted a bullnose trim at the top of our wall tile. Unfortunately that wasn’t in the cards. I purchased a 4″ x 12″ subway tile, thinking that I could buy bullnose pieces that were also 12″ long. Unfortunately, the Daltile brand wasn’t going to make it that easy. The tile from Home Depot was actually 12.5″ long, despite what the online descriptions and boxes say. Daltile doesn’t make bullnose pieces or trim in 12.5″ length. (And, annoying, the 12″ length of anything is actually 11 7/8″. I don’t get it and I hate it.) After some frustration, we settled on this L-shaped aluminum trim in white enamel. For as much as I didn’t want this because I thought it would look too modern, I’ve come around to it. It gives the room a crisp, clean edge and I think white helps keep it from looking contemporary.

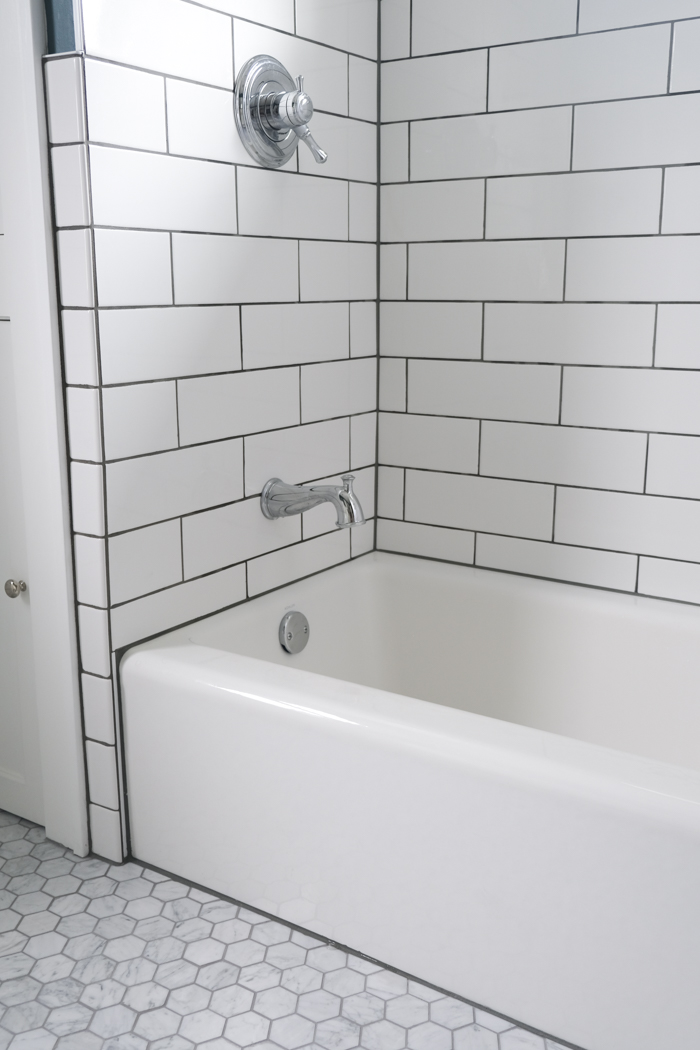
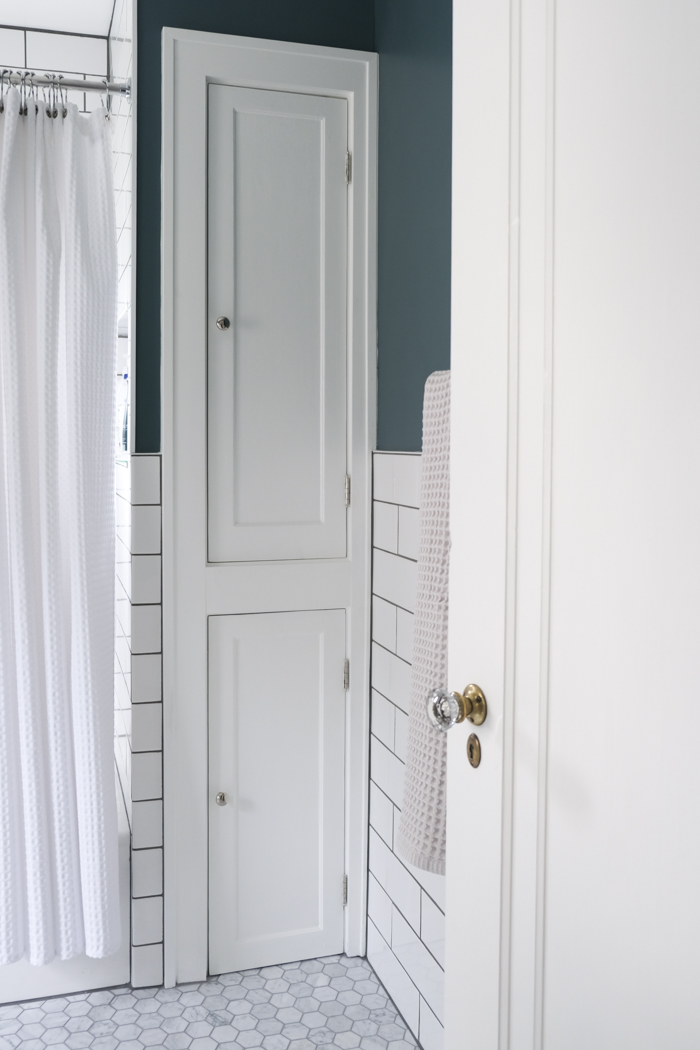
These photos were taken last Friday. It was such a thrill to see a wall tiled in the shower and the built-ins moving along! The guys did a great job of recreating our original built-in to keep the vintage aesthetic I wanted for our 1920s house.

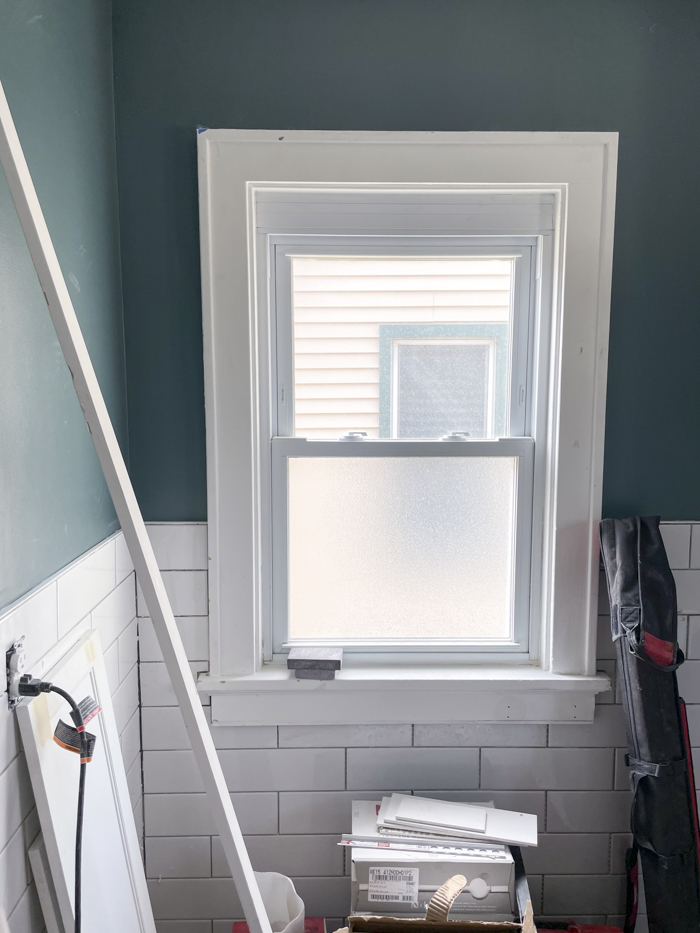
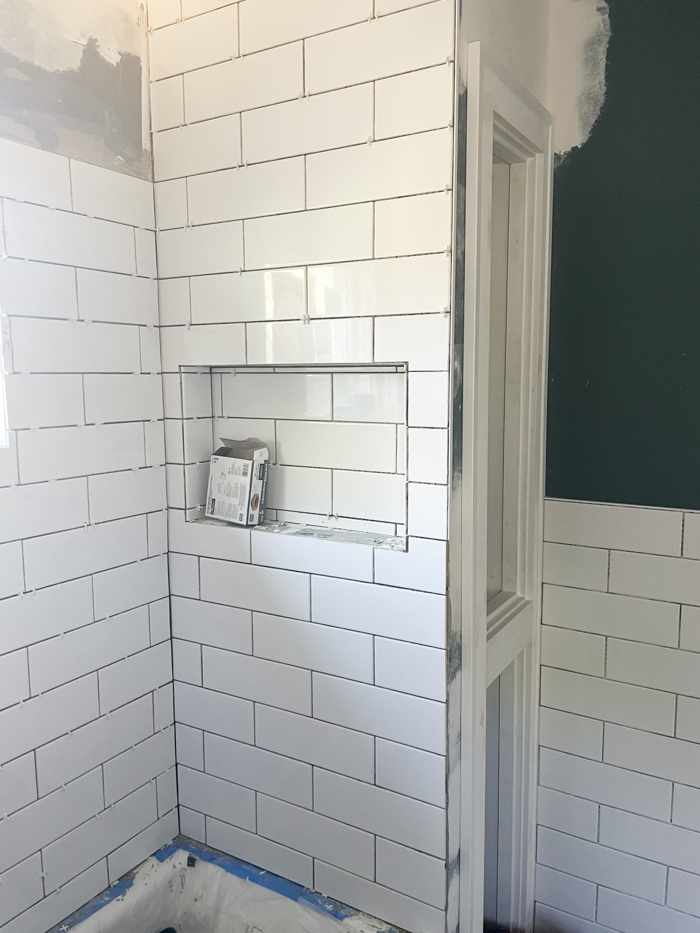
And here we are as of last night!

The shower niche makes me the happiest. They still need to finish the trim of this and the window, but it’s just so cute!

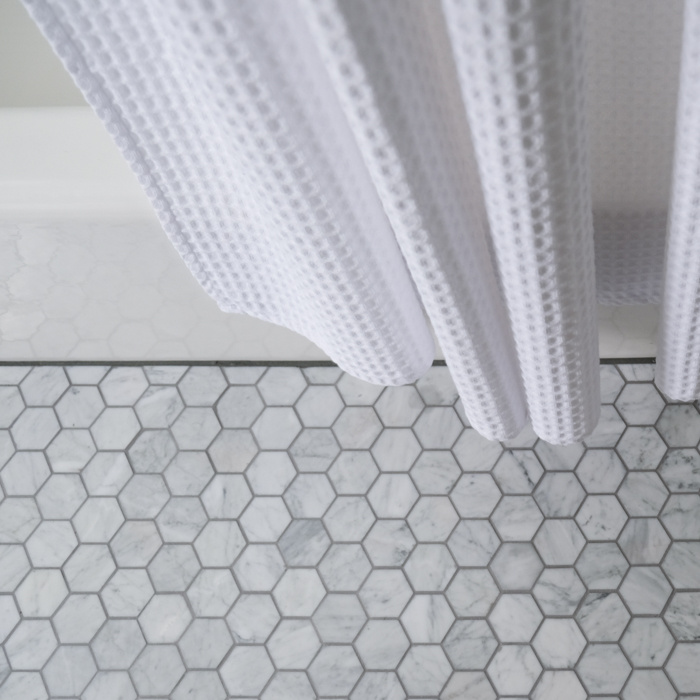
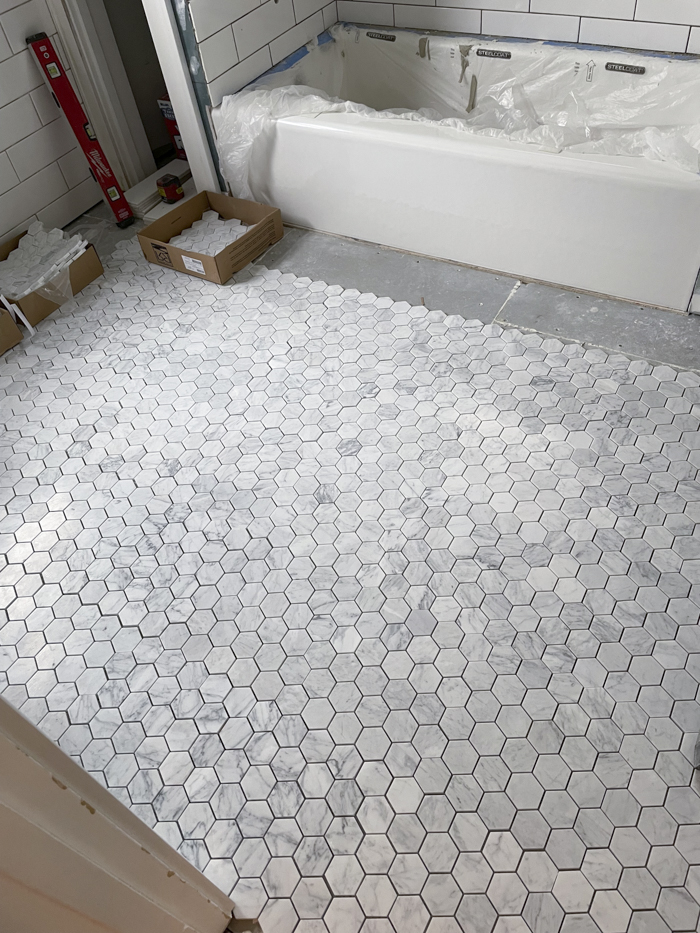
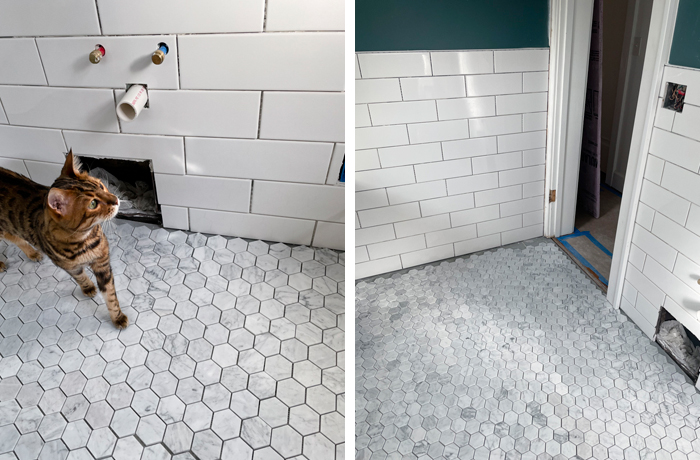
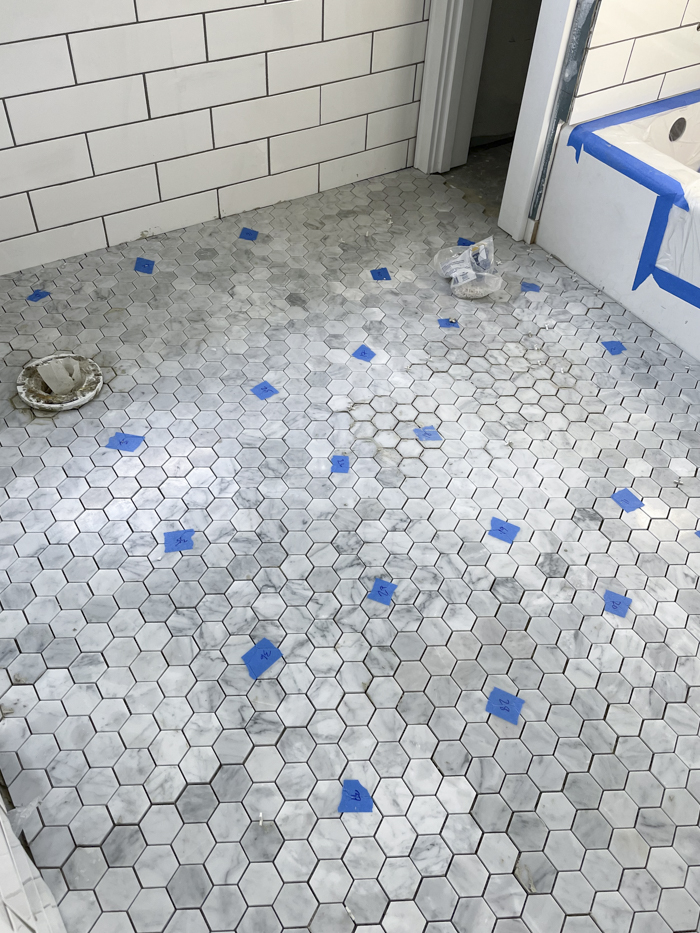
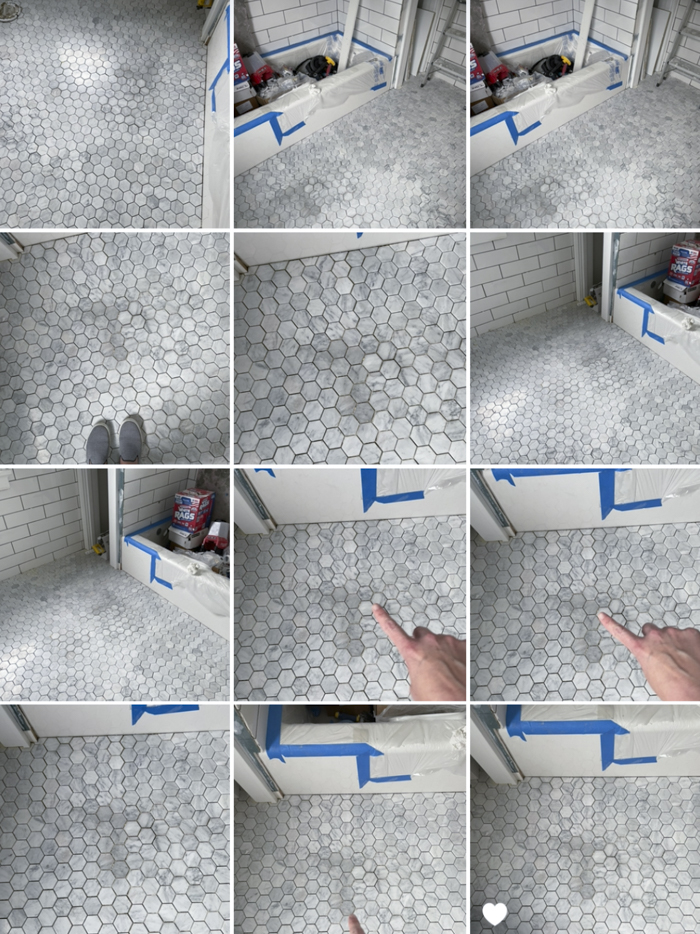
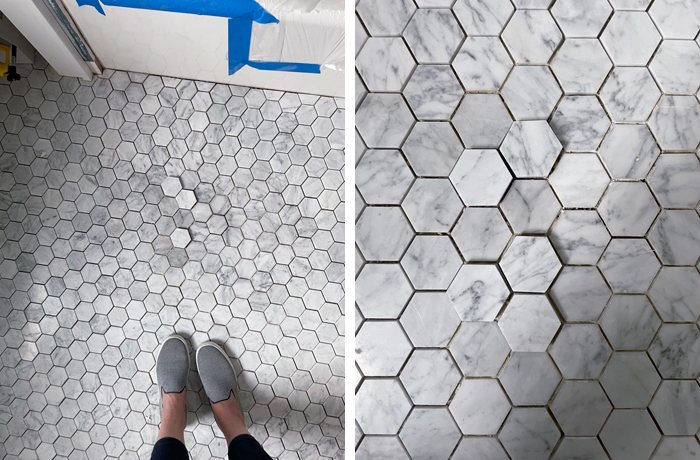
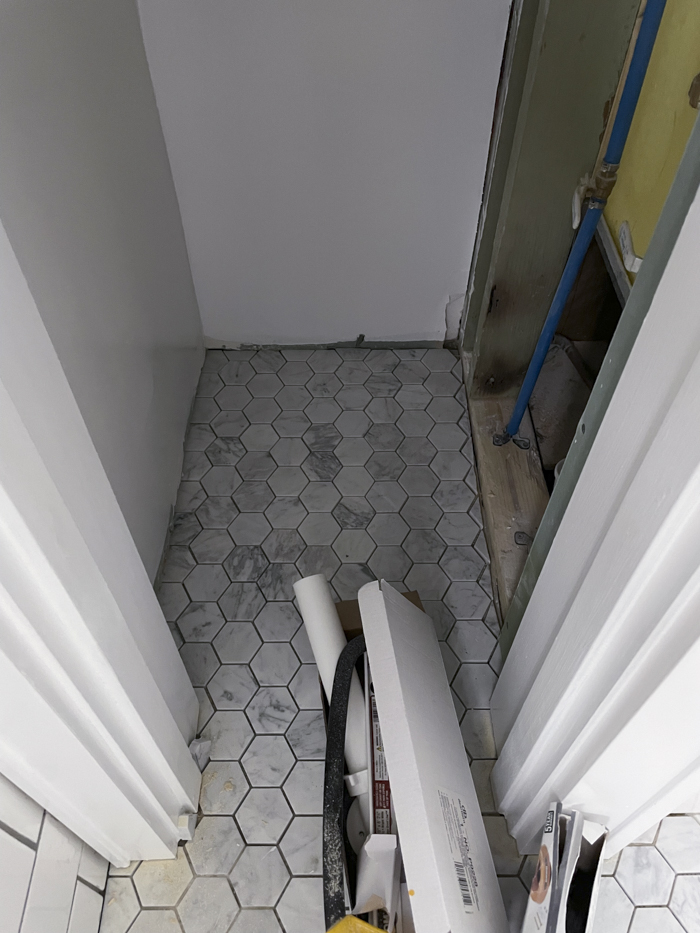
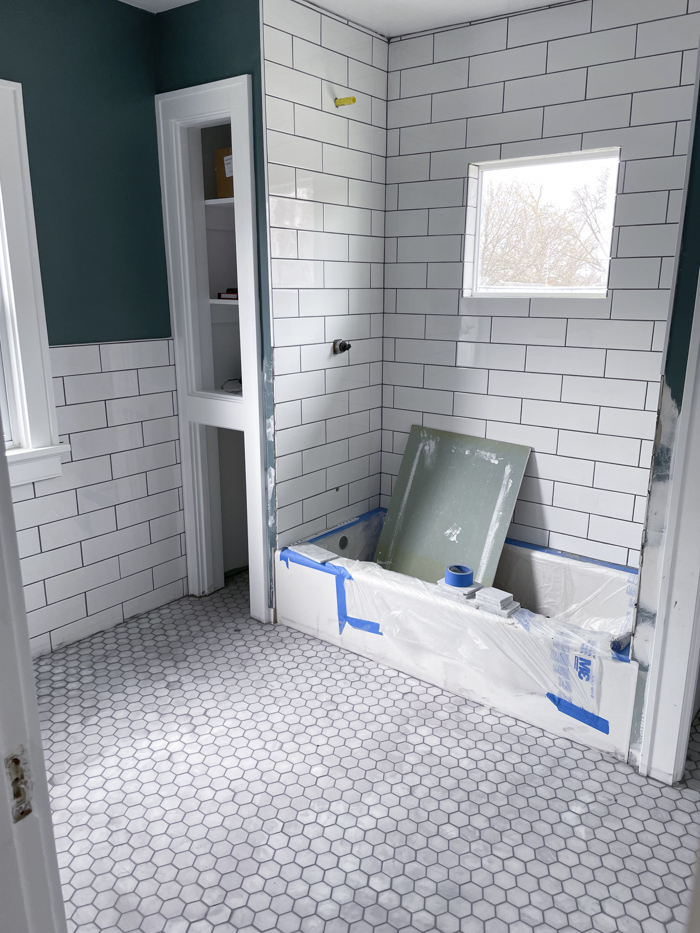
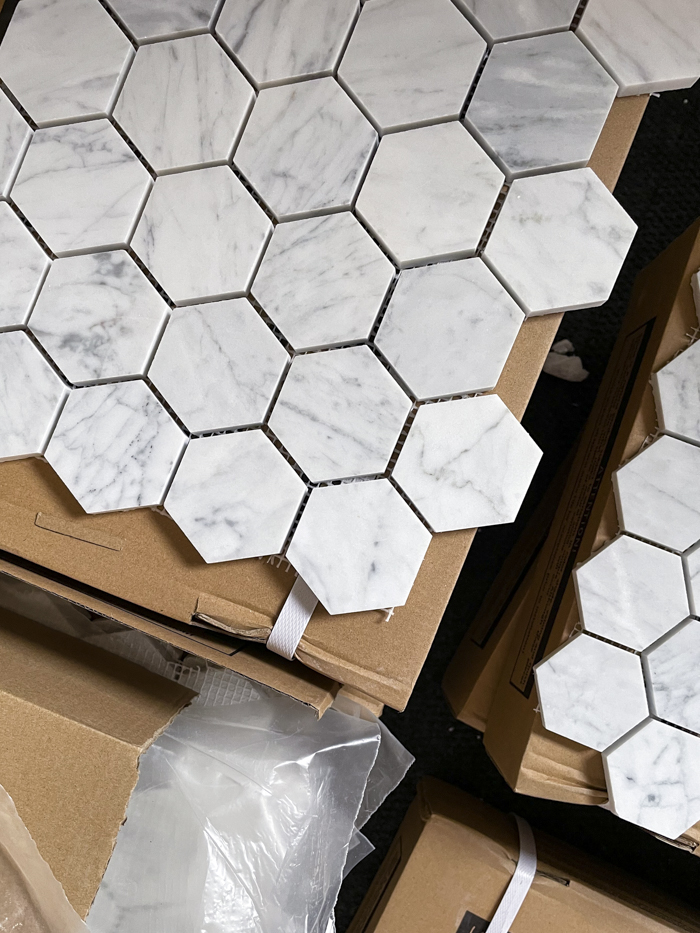
Once they’re done with the walls and the built-ins, we’ll lay out the marble hexagon flooring. The marble flooring was #drama. The marble tile I had originally purchased from Home Depot last December starting having horrible reviews of the tile turning yellow once it was grouted. Part of me wondered what the odds would be of that happening to us, but I was also worried we’d spend time and money on the installation and then have to rip it out. Long story short, we were able to return the tile to Home Depot after the return period ended (best customer service) and we purchased this flooring from The Tile Shop. It’s a lot more expensive than the original tile, but it’s much nicer quality. They also made sure that my order came from the same lot so the stone would have the same hues throughout.

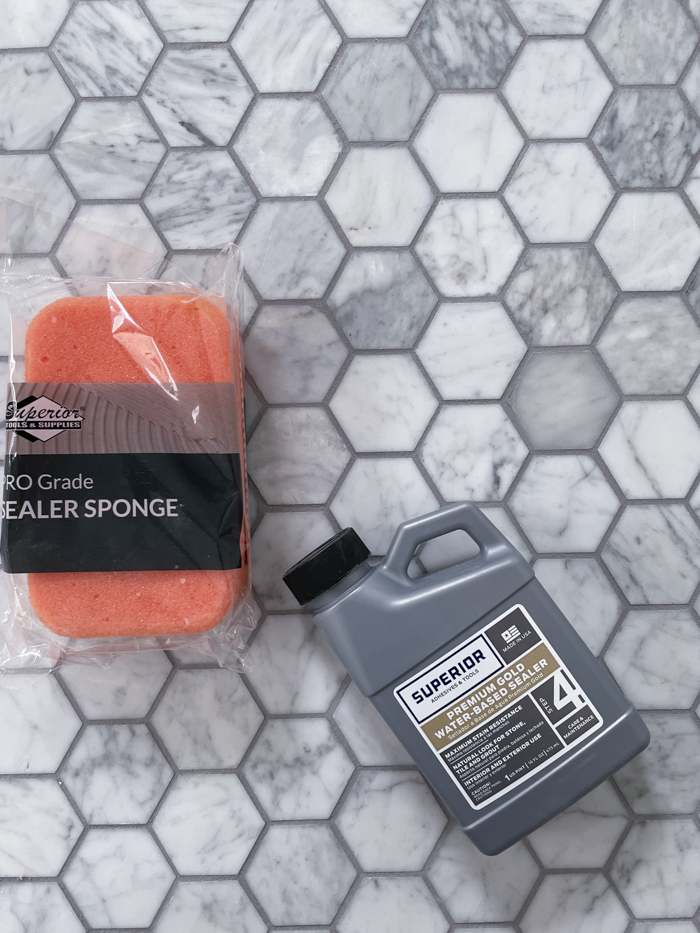
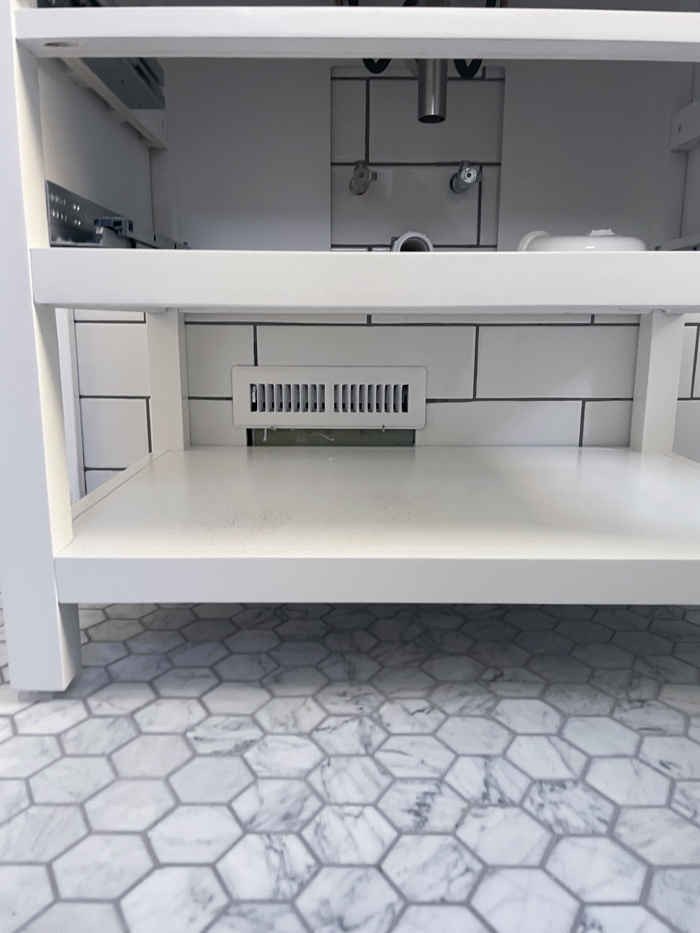
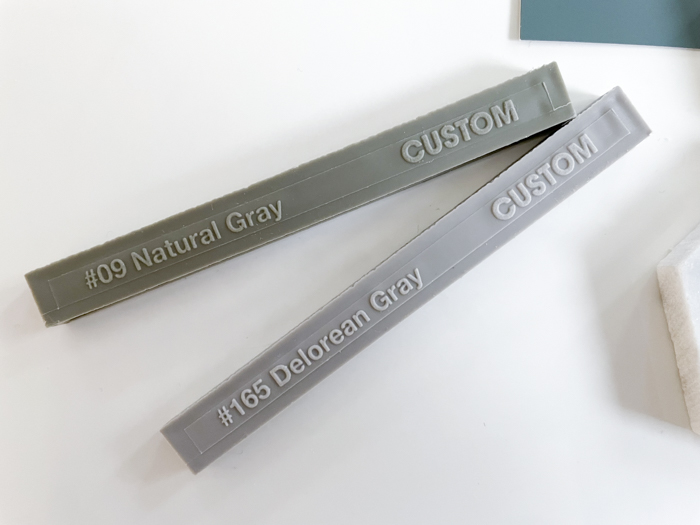
For grout, we’re going with Natural Gray for the subway tile because I wanted something a bit darker to pull in the dark wall color. We’ll be doing Delorean Gray on the marble floor, which blends in nicely with the grey tones in the stone.

–
Let’s keep in touch!
Instagram / Facebook / Pinterest / Bloglovin’
Filed Under: Bathroom, Home, Main Bathroom Tagged With: Bathroom, Bathroom Remodel, Bathroom Renovation, Main Bathroom, renovation diaries

Project Update: Main Bathroom Progress

March 23, 2022 by jessica Leave a Comment

sneakers

The team started on the upstairs bathroom last Monday. They’ve been making a lot of progress over the past week and a half, so I thought it was a good opportunity to share some photos of where we’re at.

First, let’s revisit where we started:

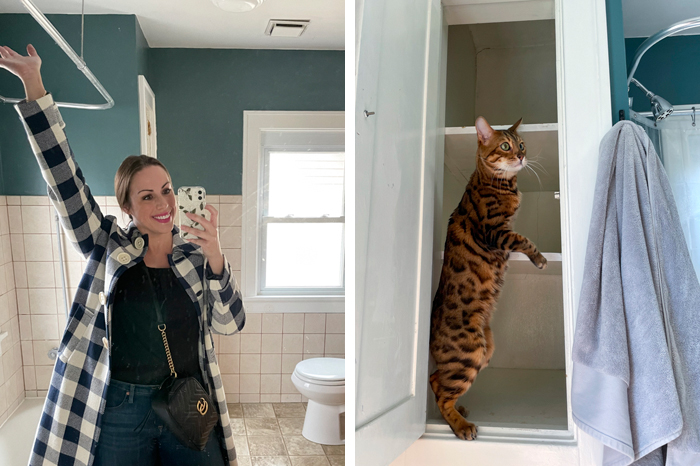
coat, top, jeans, bag, phone case

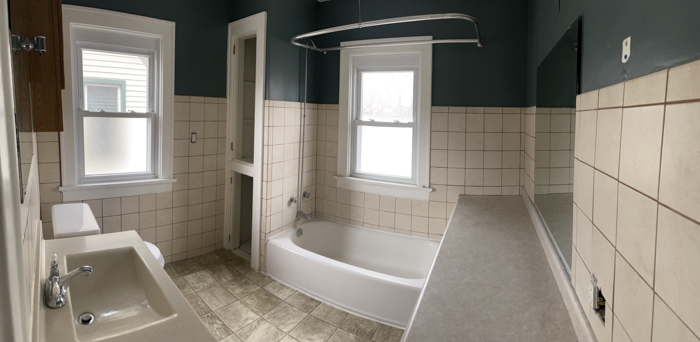
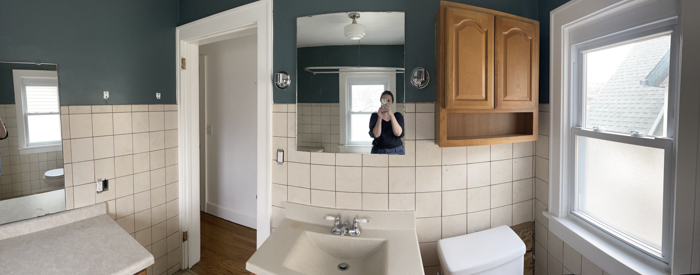
Once the bathroom cabinets were cleared out, Oliver couldn’t help but seize the opportunity to fully explore every nook and cranny of the room! I also snapped a few final before photos of the room in a widescreen format to give you a better idea of the layout. You can see additional before photos here, along with more details on what we’re planning on doing in this space.

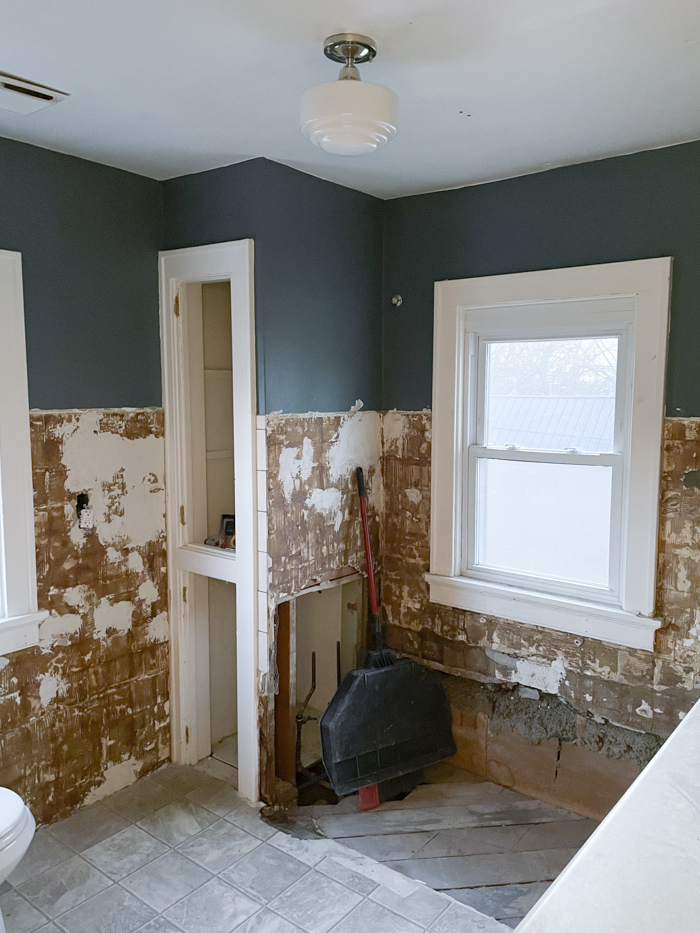
This was the end of the first day of demo. The team needed to remove tile before they could remove the lath and plaster to bring the room down to the studs. You can see that we had some water damage where the tub was, but fortunately it was limited to the floors, wood we were removing, and insulation that would be coming out anyway. Apparently all of that insulation you can see in this image was wet. We’re incredibly lucky that the exterior wall and studs were all in good condition.

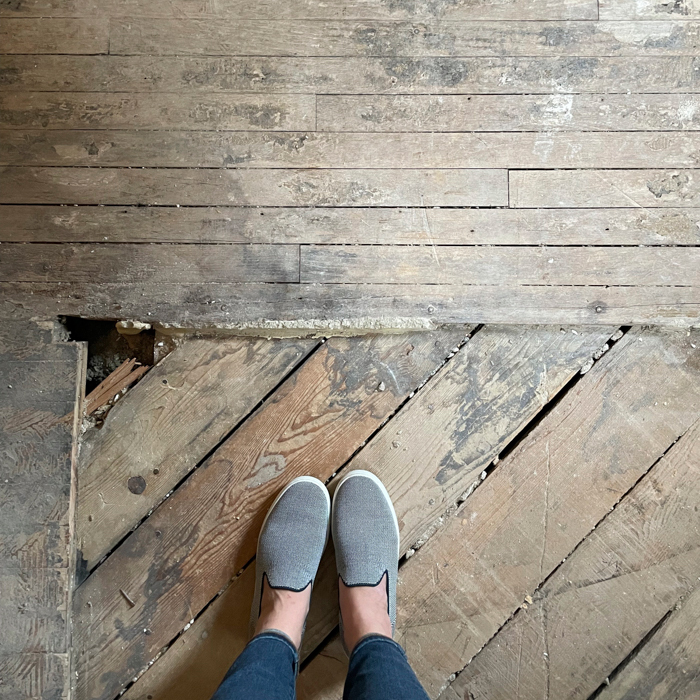
After tearing out the linoleum flooring, we discovered that our red oak floors had originally extended into the bathroom — as you can see in the opening image of this post. It’s a shame that the wood wasn’t in good shape and it had been patched in a few spots with plywood. I would have happily pivoted my design plans to have hardwood in here!

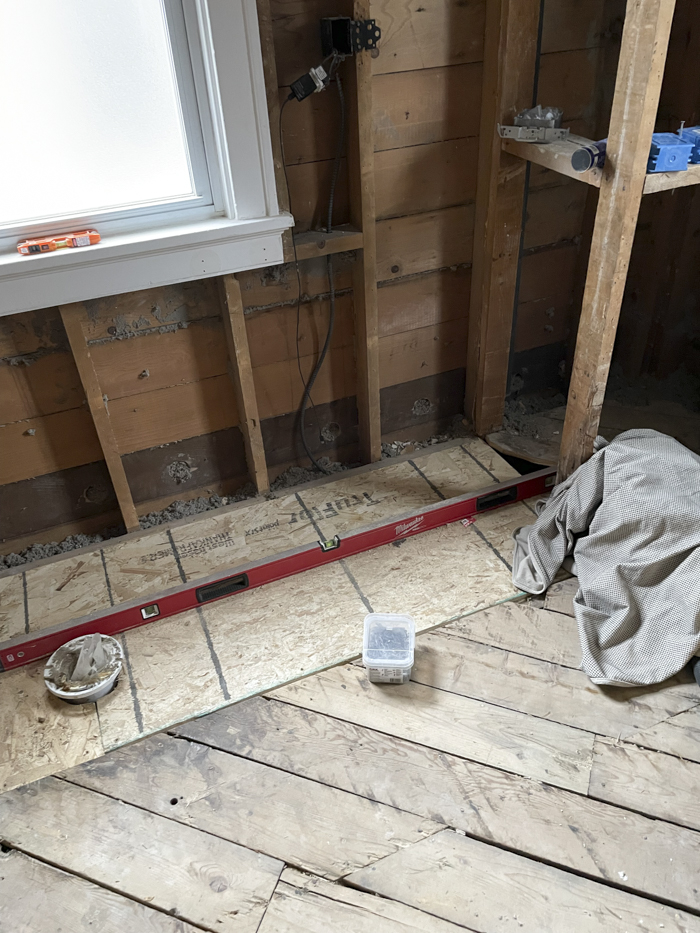
We also learned that our floors were hilariously uneven. Overall the subfloor was in good condition and they just needed to replace some of the subfloor that was next to the toilet due to some rot. After putting in the new board, they leveled the floor with various heights of materials to even it before installing the backer board for our future tile.

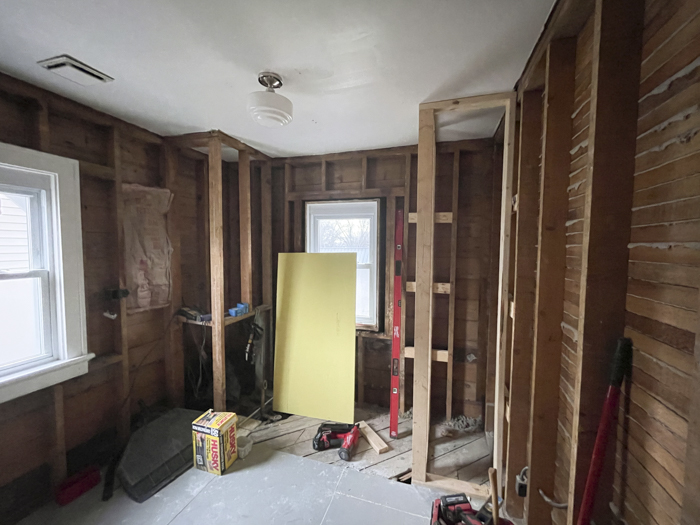
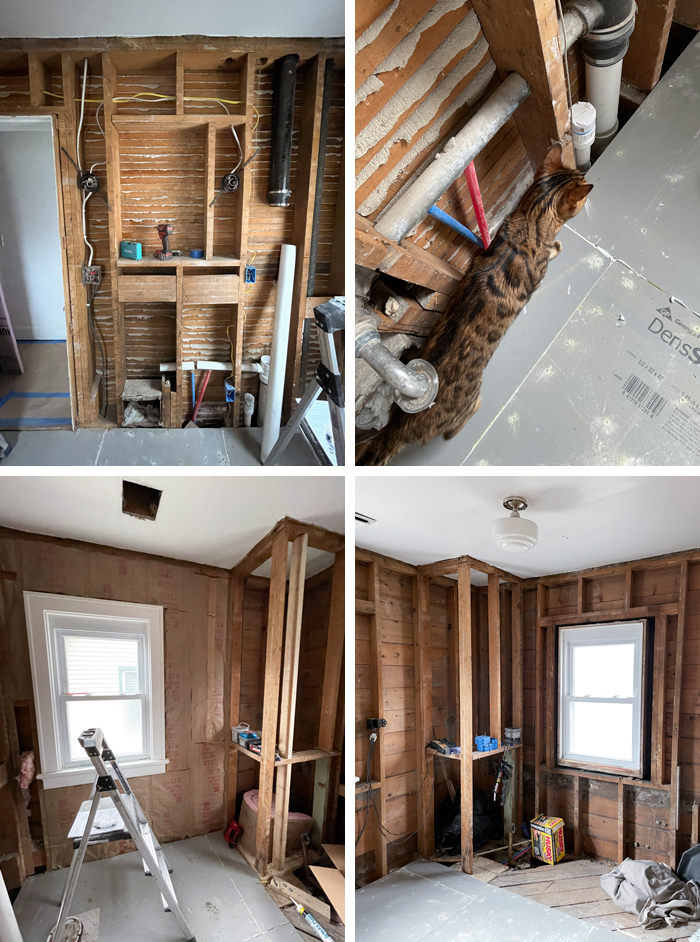
Here’s where we were at yesterday morning. We’re going to have two built-in cabinets flank the shower and they were able to frame the new one to match the original within an eighth of an inch in width. Also, removing that counter on the right side immediately added so much more room to the space.

The team is working on roughing in the tub and shower plumbing today. They’re also working on replacing the window that will be in the shower. We bought a new window that’s half the height, but the same width. This will allow us to keep the natural light that we love in there, but offers more privacy than that frosted window cling did. We chose a window that won’t open to ensure that the space remains watertight. We’ll be keeping the window at the left of this photo. It was important to me to save the original trim of the remaining window and the door, and we’re incredibly lucky that the old wood didn’t crack or break during demo.

This is one of my favorite additions: an electrical outlet inside the built-in cabinet! This is going to allow us to charge our toothbrushes in the cabinet and not on the counter! Seriously, if you’re doing a remodel of any sort, think of those ugly yet practical things that take up space and figure out a solution for them. Each contractor that we spoke with to get a quote thought this was brilliant and was going to suggest it to future clients. I should really get a commission. 😉

Clockwise from upper left: the wall where the vanity will go and progress on plumbing; our little home inspector; another look at the shower area; new insulation!

I’ll check in again once we’ve made more progress!

–
Let’s keep in touch!
Instagram / Facebook / Pinterest / Bloglovin’
Filed Under: Bathroom, Home, Main Bathroom Tagged With: Bathroom, Bathroom Remodel, Bathroom Renovation, Main Bathroom, renovation diaries

Main Bathroom: Product Selections

February 11, 2022 by jessica Leave a Comment

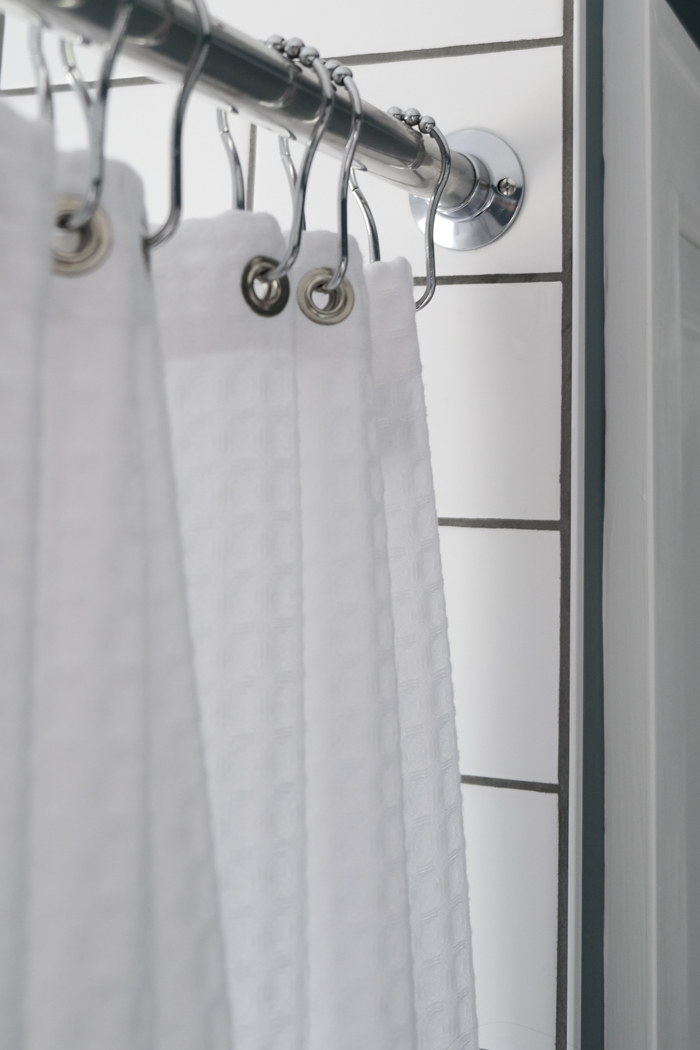
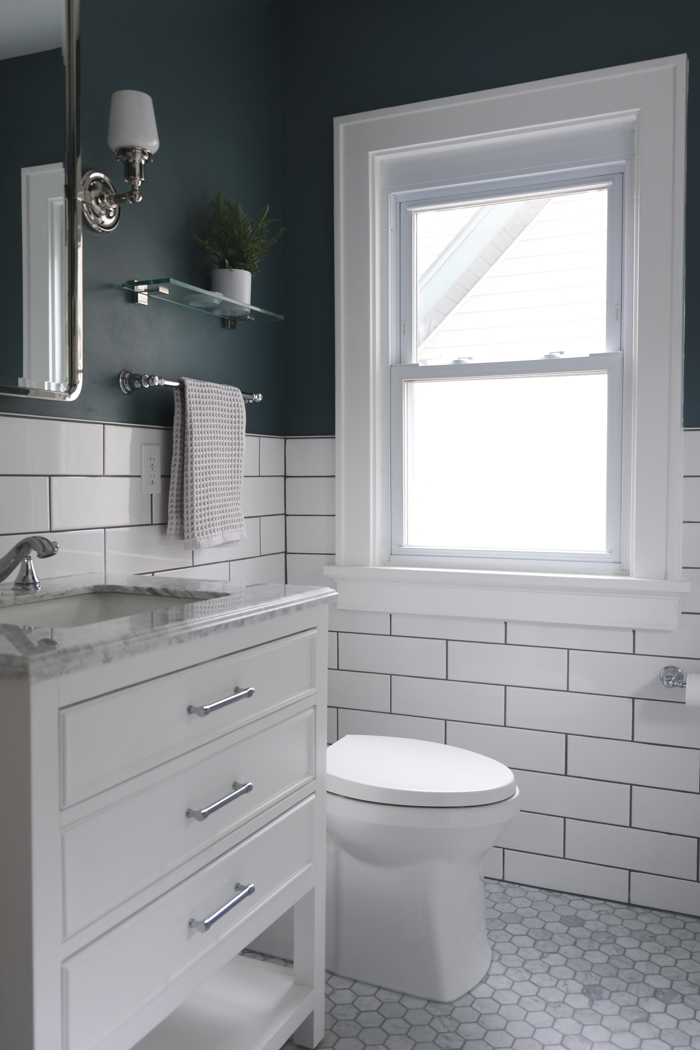
Drumroll, please… Here is the source list for our upcoming main bath remodel! (Scroll through the “before” tour here!) It feels amazing to see things come together after planning this renovation since August. Trust me when I say it’s been a lot of work to get this far. I didn’t think that I’d ever grow tired of shopping, but I think I’d ready to tuck my credit card away for a long while after this! I still need to buy an exhaust fan and a shower curtain rod, but those will be a cinch!

SOURCE LIST

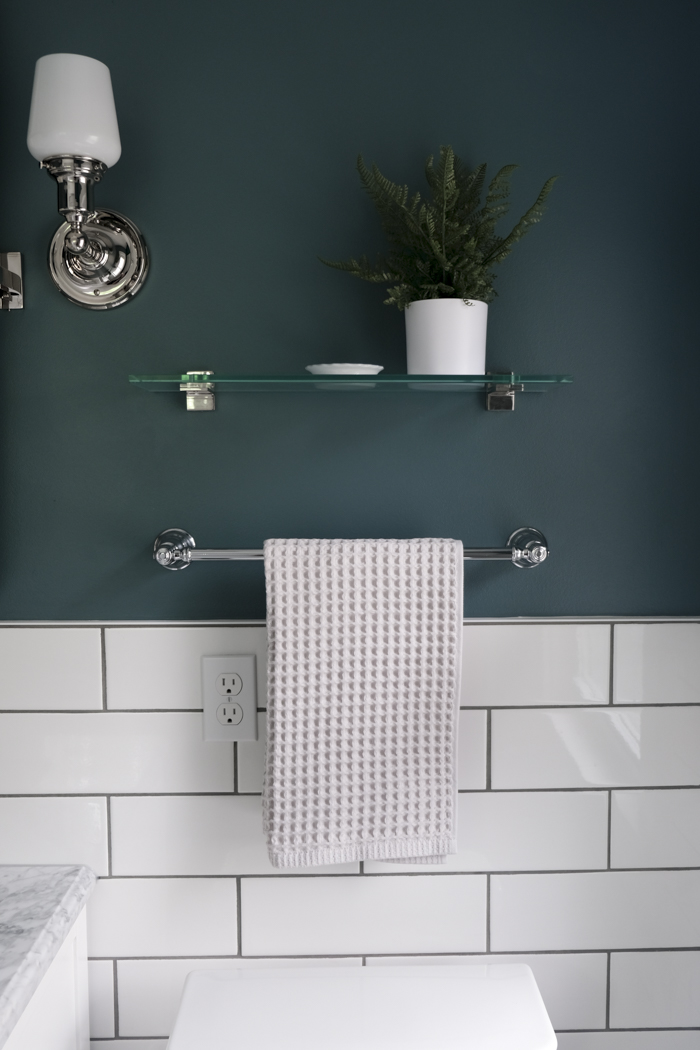
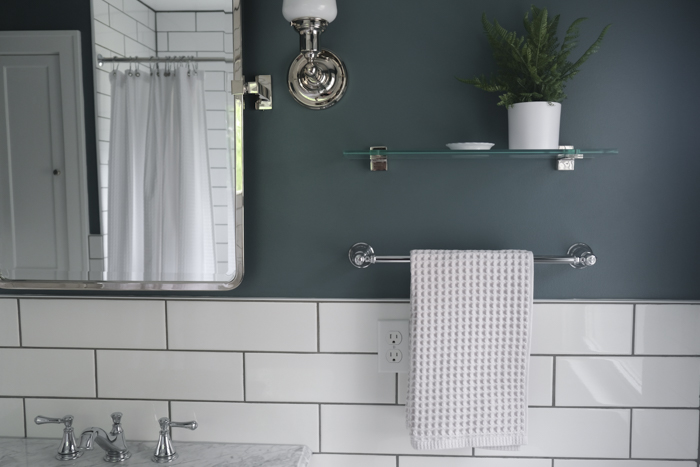
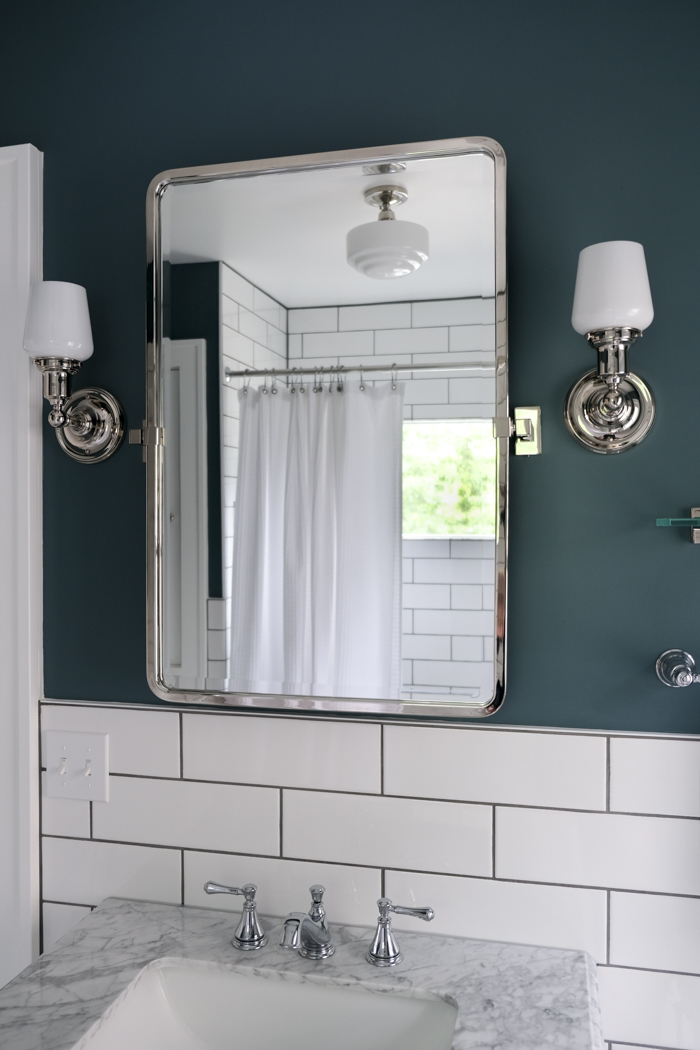
Paint: Sherwin-Williams – Riverway
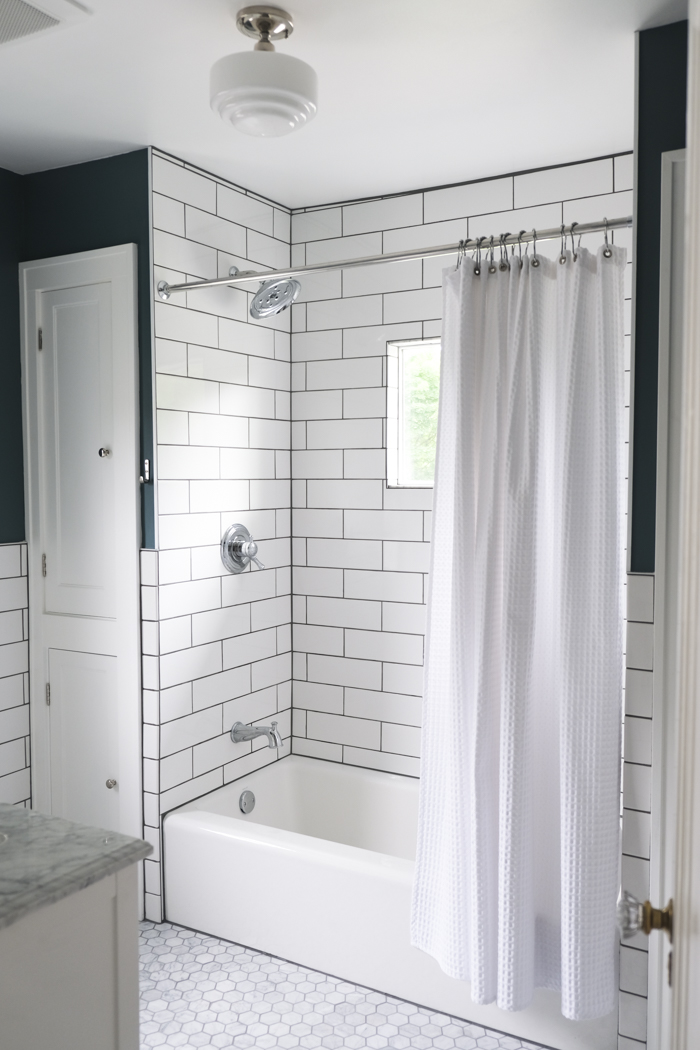
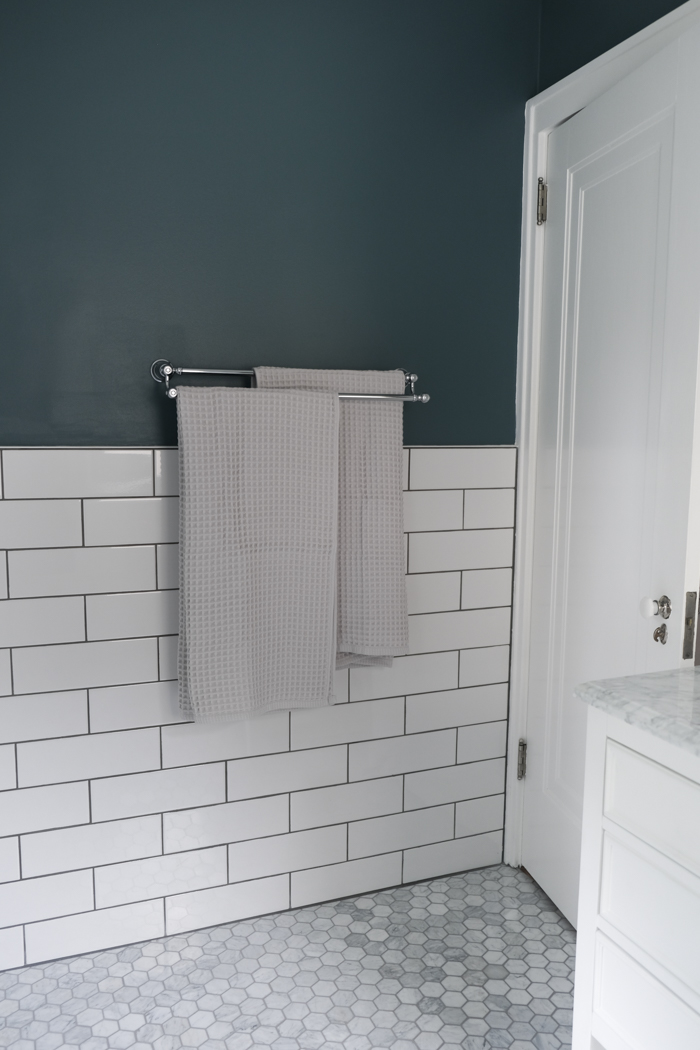
Wall Tile: 4″ x 12″ Subway Tile in White (tiling to the ceiling in the shower; midway up the wall throughout)
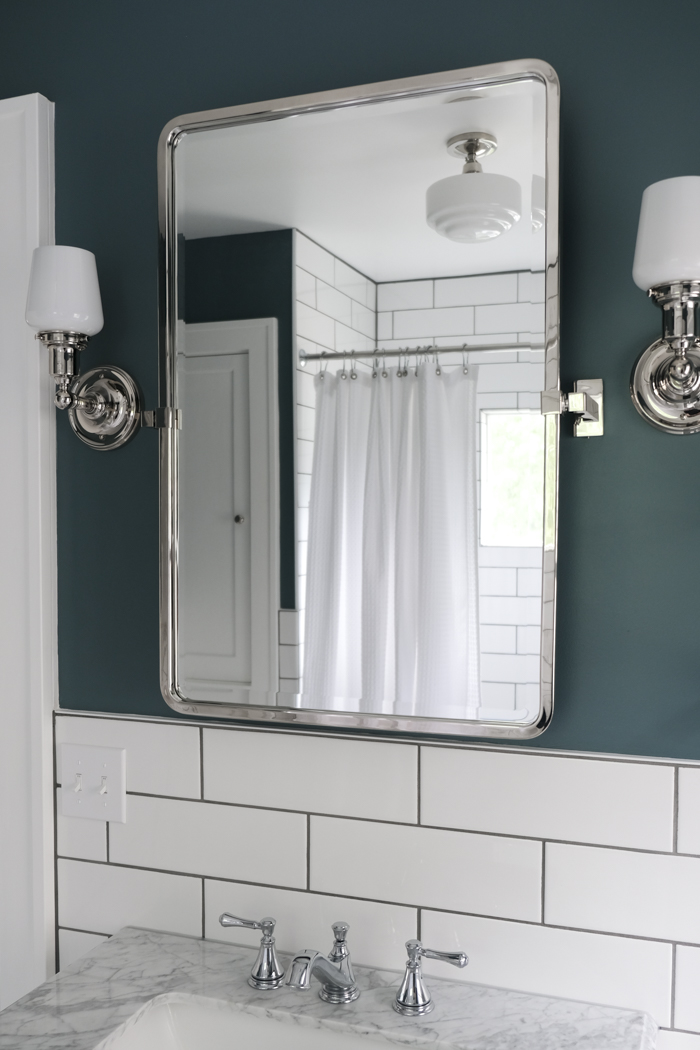
Mirror: Rejuvenation Yaquina Pivot Mirror
Sconce: Schoolhouse Electric Irvine
Sconce Shade: Schoolhouse Electric Straight Bell Shade
Vanity: Tile & Top 30″ Uptown Vanity
Shower Curtain: Target
Ceiling Light: Norwell Lighting (currently in the bathroom; might replace eventually)
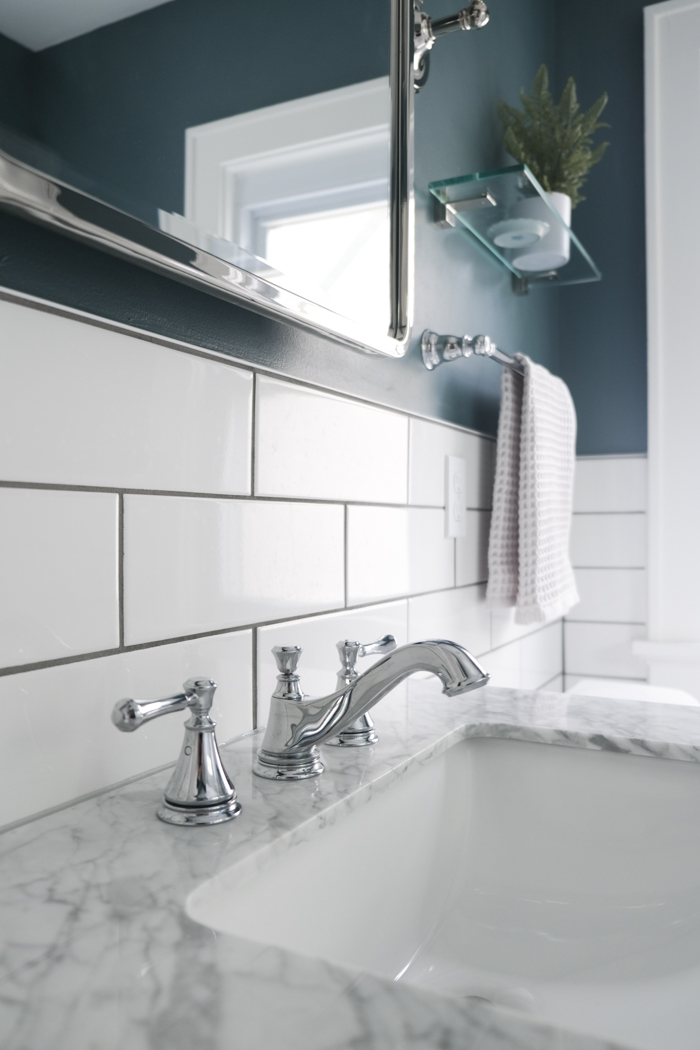
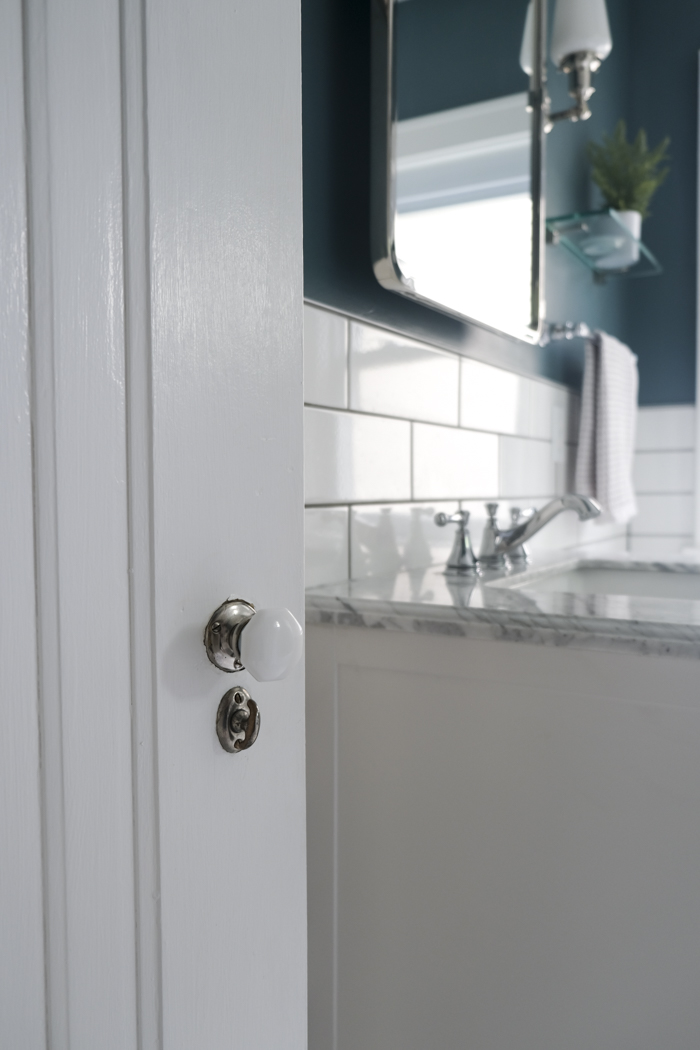
Faucet: Delta Cassidy
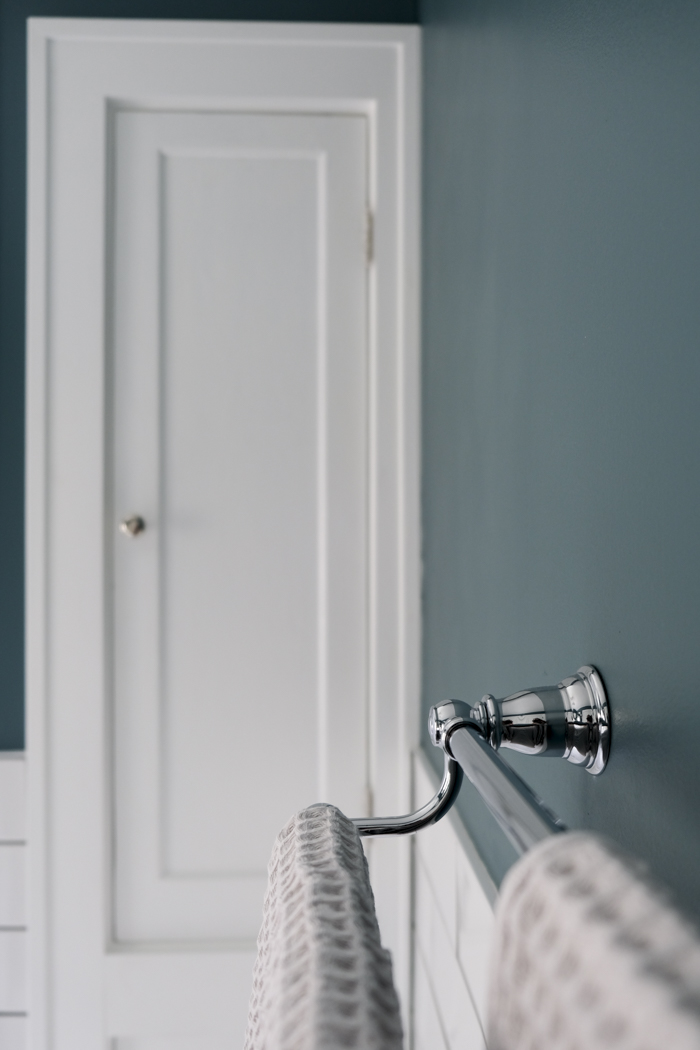
Towel Bars: Moen Kingsley 18″ & Moen Kingsley Double Towel Bar
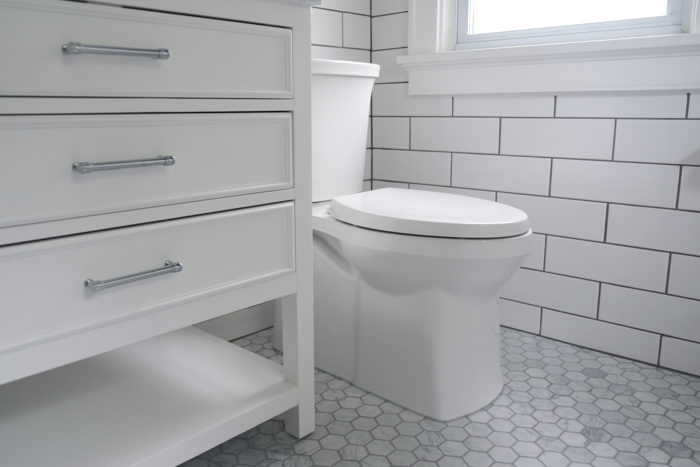
Toilet: Kohler Corbelle
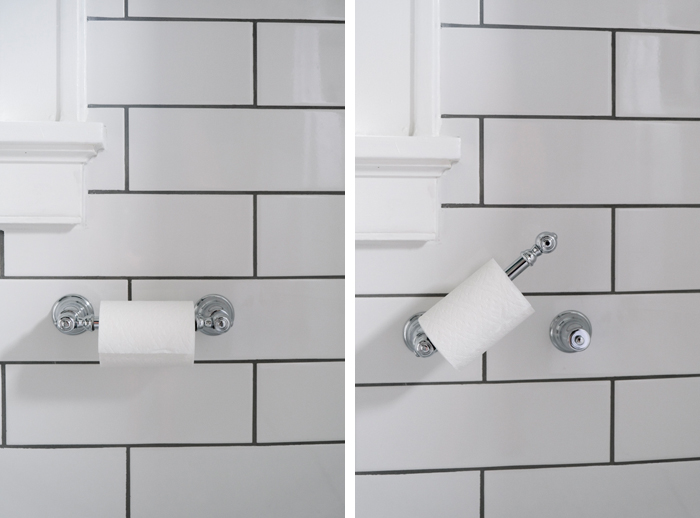
Toilet Paper Holder: Moen Kingsley
Cabinet Knobs: House of Antique Hardware
Cabinet Hinges: House of Antique Hardware
Shower & Tub Kit: Delta Cassidy
Bathtub: Kohler Bellwether
Floor Tile: Marble Hexagon

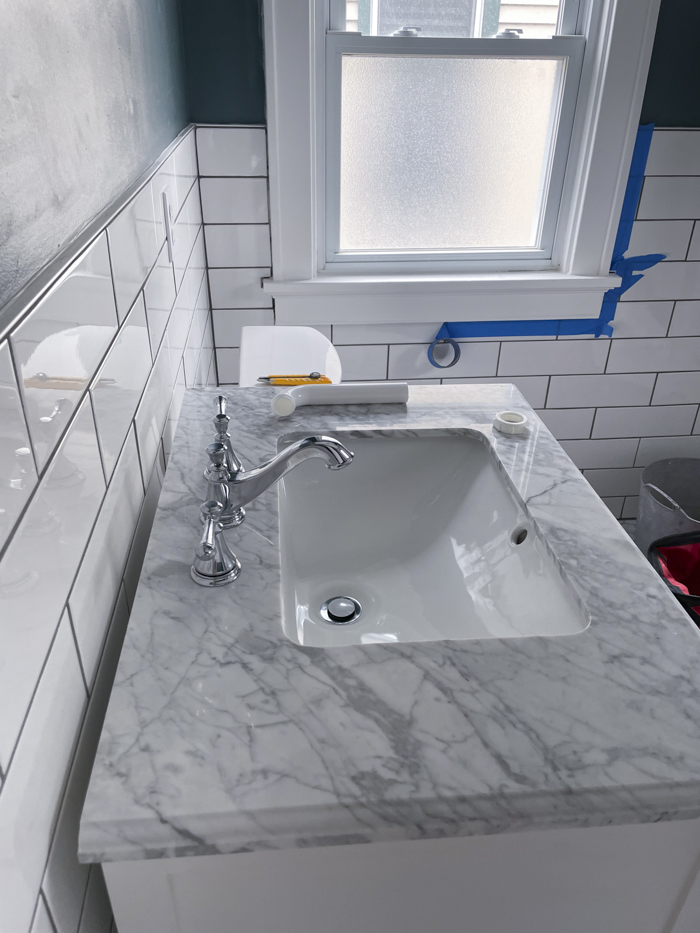
The vanity was such a headache to figure out. I didn’t love much of what I saw online and I really didn’t want a composite material. So, we went to Marling Lumber, a local company that specializes in custom and semi-custom cabinetry. It was like pulling teeth to get information on our options from their sales person and after many trips to the showroom and many emails, we finally got a quote for a base with a solid surface top and one with a quartz remnant top. Those prices were $1,800 and $1,400 respectively, plus another $100 for an undermount sink. I’m fine spending more for the right piece, but those prices fest astronomical for what we were getting. It was back to the drawing board and the search functions at dozens of sites. We eventually found this one at Home Depot that ticked our boxes: solid wood for the majority of the piece (unfortunately we noticed that part of it is made from composite after reading reviews, but most of it is solid wood), storage, a real stone counter, and rectangular undermount sink.

It arrived a couple of weeks later on a pallet. We thought we’d be able to get it in the house with the help of Forearm Forklifts and were sorely mistaken. As luck would have it, one of our neighbors was outside and asked if we needed help. An emphatic yes from me! So, he and Dave hoisted the 125-pound package inside where it’s going to sit until the main bathroom work begins in March.

And here’s where I started last summer. I knew I wanted to keep the paint we already have in the room. I ordered those sconces when the project was just a glimmer in our eye, and I knew early on that I wanted marble hexagon tile on the floor and a longer-than-traditional subway tile. It’s so fun to see it come together and I’m beyond eager for the install!

–
Let’s keep in touch!
Instagram / Facebook / Pinterest / Bloglovin’
This post contains affiliate links.

Filed Under: Bathroom, Home, Main Bathroom Tagged With: Bathroom Renovation, Main Bathroom, Renovation

Main Bathroom: The Before Tour

February 9, 2022 by jessica Leave a Comment

Our bathroom renovations begin next week! While we’re starting with the powder room, I wanted to give you a look at the main bathroom this week. Today’s post is the “before” tour of what it looks like now, along with some “before-before” images of what it looked like during our inspection and after we closed on the house. On Friday, I’m sharing the full product list of what’s going in the space!

Now, I want you to know that while it would have been great to do a remodel for aesthetics alone, that wasn’t exactly the case here. About 18 months ago, we had water leaking from the bathroom into the kitchen below. Fortunately it wasn’t an issue with the plumbing, but years of water seeping around poor caulking that led to the damage. Additionally (as you’ll see below), there’s a window in the shower with original wood trim. We’re covering it with plastic for the time being, but it’s not the correct way to do this by any stretch of the imagination. And to make this room even more obnoxious, we have an old drum trap which barely drains to the point where we’re standing in ankle-deep water after a shower. So, we will be gutting the entire room in order to find and address all of the water damage, and correct someone else’s poor DIY attempt at a renovation.

Here’s a photo from the doorway and a pretty good overview of what we’re working with. The room is large at about 8′ x 8.5′. I love that built-in, but the wood isn’t in great shape. So, we’ll be flanking the centered tub with two built-ins that will echo the style of this original one. There will be white subway tile going to the ceiling in the shower, we’ll be putting the plumbing into the wall, and we’ll continue with tile around the room midway up the wall (approximately 48″ high). I’ll be using this paint color again for the top half. (The paint is reading brighter here with these iPhone photos than it does in real life. IRL it’s more subdued.) The linoleum flooring will be replaced with marble hexagon tile. I really want the renovation to be classic and appropriate for a 1929 home and most of what’s in here now isn’t original to the house.

Going in the room a bit further, there’s a window to the left that will be staying and we’ll keep the original trim. We’re also keeping the original trim of the door frame, and we’ll copy the trim style for the two new built-ins to make it look like it was originally part of the house.

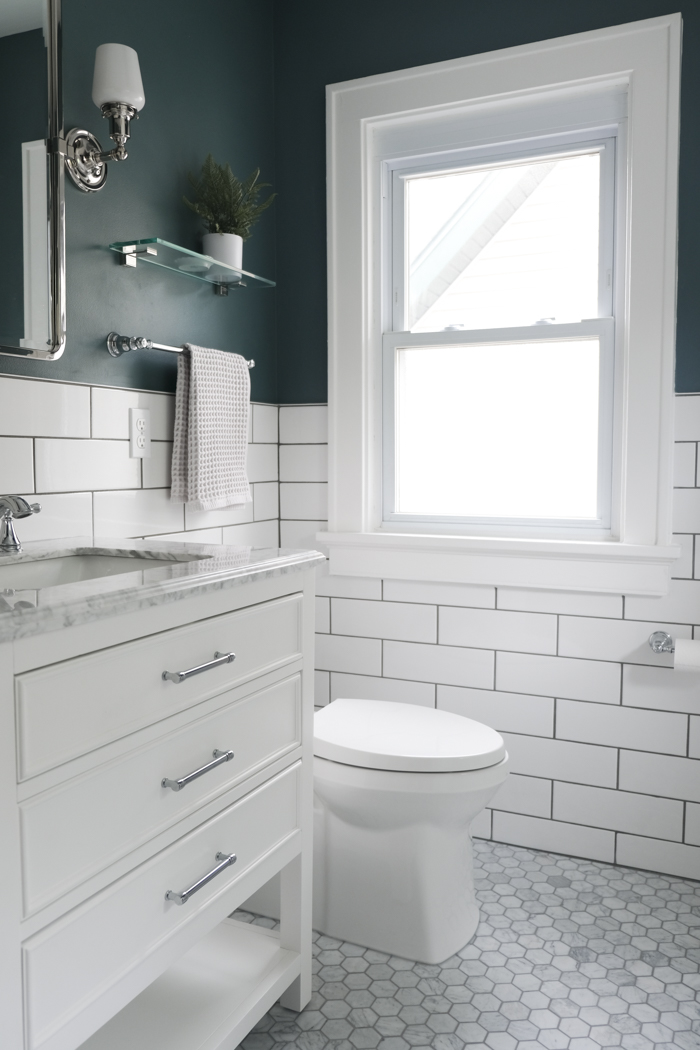
We’re not going to move any of the plumbing since that’s entirely too far out of our budget. Fortunately, though, I like the location of the fixtures in the room. So, the sink will be staying where it is as will the toilet. (Fun fact, our toilet isn’t level. I kept thinking it was a little tilted for the past few years and finally got the level from the basement to prove myself right.) We’ll be doing a pivot-style mirror above a vanity so it can “float” in front of the tiled wall. We’ll also replace those sconces with new ones. I absolutely love the flattering light of side sconces by a mirror. We’re not going to go with any recessed lighting in the room as I think that looks too modern for an old house. We’ll have a ceiling fixture, the sconces, and light from two windows.

Here’s the window that’s inside of the shower. I love the light that it brings in, but there’s no doubt that this isn’t water tight. We’ll replace it with a new window that’s the same width, but half the height for privacy. I can’t wait to finally get rid of that second clingy shower curtain!

On the other side of the tub, you’ll see this long counter that extends into the shower area.

Plus, there’s another mirror. Chances are that this was someone’s makeup table. The tub likely didn’t have a shower attachment originally, thus the window and its wood frame. This is very clearly all being ripped out. The tub is smaller than a standard-size bathtub, so we will be replacing it with a slightly larger one. The second built-in will go on the right of it. We’ll put a towel bar where the mirror is now.

I probably should have staged some of this photos, huh? Oh well, there’s all my junk and the reason why I’m eager for a second built-in cabinet.

This collection of snapshots are from shortly after we closed on the house. It’s been fine and serviceable up until the water damage, and some minor cosmetic changes like adding paint and replacing the fluorescent light fixture made a big difference. The photo in the lower left here cracks me up, though. It’s so illustrative of the mess we purchased with the horrible wood stain on the floor in the hall, the crappy paint job, and a broken glass doorknob that was taped together.

But this, my friends, is the crème de la crème:

This is what it looked like when we first toured the house and put in an offer. What can I say, the house has good bones and we fortunately were able to look beyond this horror show. 😉 (I cropped out the questionable stains on the floor towel for you.)

–
Let’s keep in touch!
Instagram / Facebook / Pinterest / Bloglovin’
Filed Under: Bathroom, Home, Main Bathroom Tagged With: Bathroom, Bathroom Remodel, Bathroom Renovation, Main Bathroom, renovation diaries

Here’s a sneak peek at the materials we’re using in our main bathroom remodel!

October 1, 2021 by jessica Leave a Comment

Our contractor is selected, deposits are paid, and our remodel begins in February! We’ll be doing both our half bath on the first floor and our main bathroom upstairs. Here’s a peek into the direction of our main bathroom:

  • Polished nickel fixtures – I like the warmth of nickel over chrome.
  • Marble hexagon floor tile – Just wait for all of the “shoefies!”
  • Subway tile in 4″ x 12″ inches instead of the traditional 4″ x 6″. We’ll be going up to the ceiling in the shower/bath and 48″ up the wall around the rest of the room.
  • Paint in Sherwin Williams “Riverway” that I painted last year and am still in love with. We’re completely gutting the bathroom because there’s water damage and the previous owners put the tile up higher than what I’d like to go with, so we’ll have fresh drywall to work with.

I’ll link the materials eventually, but I need to place my own orders first with the supply chain issues! 😉 This weekend, we’ll start looking at bathtubs, toilets, and faucets. Our contractor suggested that we start selecting all of the materials and ordering them as soon as possible to avoid delays.

–
Let’s keep in touch!
Instagram / Facebook / Pinterest / Bloglovin’
This post contains affiliate links.

Filed Under: Home, Interiors, Main Bathroom Tagged With: Bathroom, home renovation, Main Bathroom, Renovation

Hello!


Jessica Hamm
Hello there! I'm a first-time homeowner updating a 1920s house in Madison, Wisconsin. I have a penchant for travel and a love of costume jewelry. Follow along for personal style, travel, and lifestyle content.

Search

Keep In Touch

  • Bloglovin
  • Email
  • Facebook
  • Instagram
  • Pinterest
  • Twitter

You Might Also Enjoy These Popular Posts:

  • Sherwin Williams SuperDeck Wet Clay We stained the front porch!
  • How to Remove Paint from Antique Hardware How to Remove Paint from Original Antique Hardware
  • Copenhagen Travel Guide: Dos and Don’ts
  • Loloi II Layla Oriental Blue / Spice Printed Area Rug Review: Loloi II Layla Rug
  • What Fits Inside the Gucci Small Marmont Bag? What Fits Inside the Gucci Small Marmont Bag?

Currently Coveting

A retro-inspired blouse that’s fun for spring!

Vintage-like glasses that could easily pass for heirloom pieces.

Visit Me on Instagram!

I planted over 100 flower bulbs last fall and whil I planted over 100 flower bulbs last fall and while that many haven’t come up, I’m feeling exceptionally proud of the ones that did — even if my involvement was minimal. 

#muscari #flowers #springgarden #zone5a #zone5agardening
I am just the happiest! I keep looking at this bat I am just the happiest! I keep looking at this bathroom and thinking how lucky we are that we were able to do this! It wasn’t always easy to navigate the stressful moments, but the end result is worth it. I feel like I’m at a luxury hotel every time I shower! (And it sure beats showering with the spiders in our [basically unfinished] basement bathroom. It was like camping in our own home for the past six weeks — and I very much hate camping!)

More photos to come!

#bathroomremodel #bathroomdesign #bathroom #bathroomrenovation #thisoldhouse #1920shouse #subwaytile #showertile #marbletile #marblefloor
For as stressful as this project has been, it’s For as stressful as this project has been, it’s amazing to see it come together. (Swipe for a before!) 

The rest of the shower tile will be installed on Monday and then they’ll starting laying the floor tile. I can’t wait!

#bathroom #bathroomremodel #bathroomrenovation #thisoldhouse #1920shouse #home #oldhouselove #oldhouse #centuryhome #tile #tiling #floortile #progressphotos
Grocery store tulips arrived a month later than us Grocery store tulips arrived a month later than usual this year. Let’s hope spring doesn’t follow suit. 

#flowers #tulips #whiteflowers #whitetulips #grocerystoreflowers
My NCAA bracket was busted within the first few ho My NCAA bracket was busted within the first few hours of the tournament, but there's a much more fun one to take part in: a bagel bracket with @bantambagels -- and you can win a month's supply of the winning flavor! There will be a daily matchup on their Instagram stories each Thursday, Friday, Monday, and Tuesday now through April 5. Each vote in the daily face off is a chance to be one of five grand prize winners! My vote goes to Everybody's Favorite, an everything bagel stuffed with veggie cream cheese. 

#sponsored #springtable #breakfast #bagels #bantambagels #tablescape #breakfasttable #tablesetting #foodphotography #thebiteshot #foodflatlay
So long, farewell, auf Wiedersehen, goodbye ... to So long, farewell, auf Wiedersehen, goodbye ... to this bathroom. Demolition on our upstairs main bathroom starts today! I love old houses and #OldHouseThings, but this bathroom's prior renovation clearly isn't part of the original home -- nor was it done well. A leak from the bathtub into our kitchen on Easter 2020 kicked off our plans for the renovation and it's finally coming to fruition two years later. The prior damage wasn't caused by leaking pipes (although we just replaced all of the old galvanized pipes with PVC plumbing to futureproof the house); it was from water pooling on the edge of the tub after a shower and then spilling over the side onto the floor. As we discovered, the tub isn't level (nor is the toilet) which caused water to flow over. I'm sure we'll discover plenty of other water damage as our contractor's team starts pulling everything out and I'm so excited for the peace of mind that will come from getting everything in tip top shape. 

Today is also the day that fixtures will be installed in the half bath! There's a short punch list of small things yet to do in that space, but the finished product is right around the corner! 

#bathroom #bathroomremodel #bathroomrenovation #thisoldhouse #1920shouse #home #oldhouselove #oldhouse #centuryhome
Load More... Follow on Instagram

Copyright © 2022 · Jennifer on Genesis Framework · WordPress · Log in

Posting....