
In full disclosure, our bathroom is completed and it’s gorgeous! I can’t believe it’s ours and I’m just the happiest! Before we get to the full reveal in an upcoming post, I wanted to share some photos and updates from the last leg of the project.
As you know, we renovated our first floor half bath before we began the upstairs main bathroom. The project was expected to take six to eight weeks, and it ended up being a full three months. It was stressful and expensive. I will do a full cost breakdown for you in a future post as I think it’s helpful to get an idea of what these things cost as you plan and save for your own renovation. Now that we’re through it, though, I’m starting to have “renovation amnesia” as Emily Henderson put it in her new book. It’s completely accurate that the final product makes you forget the frustration you felt during the process. I’m not going to sugarcoat the fact that the process sucks sometimes. You’ll have moments of bliss and excitement. I felt that when our tub was placed or when I saw our built-in cabinets coming together. Those are counterbalanced by annoyances that pop up during the process — two of mine are shared below.
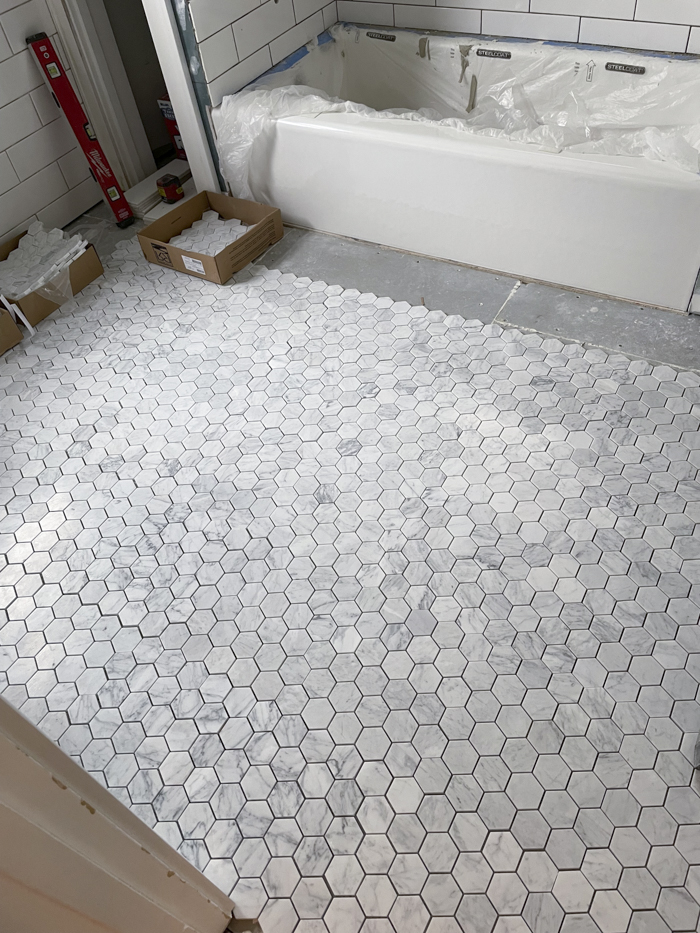
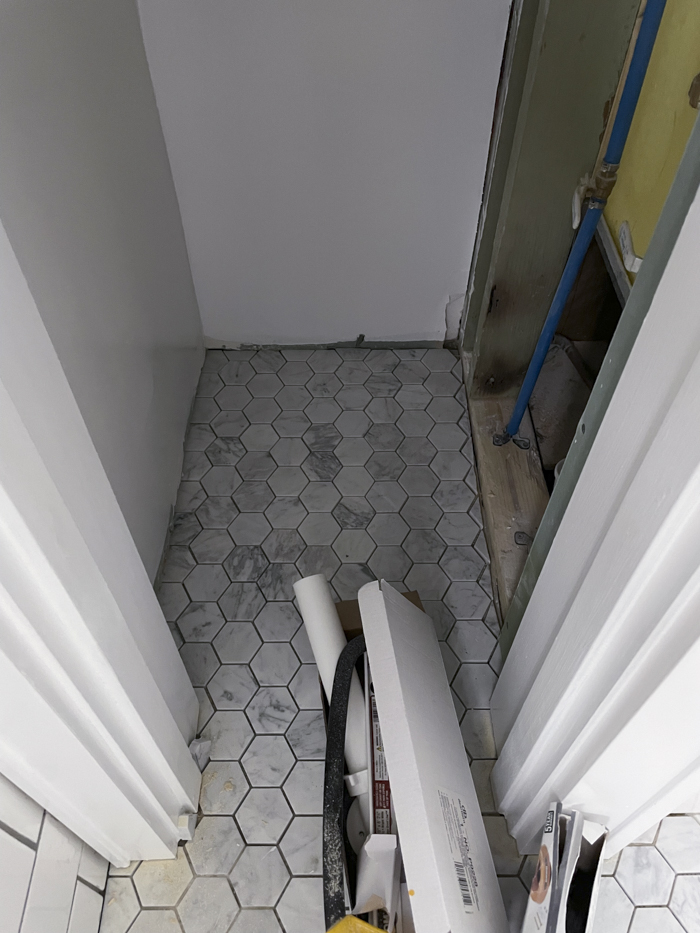
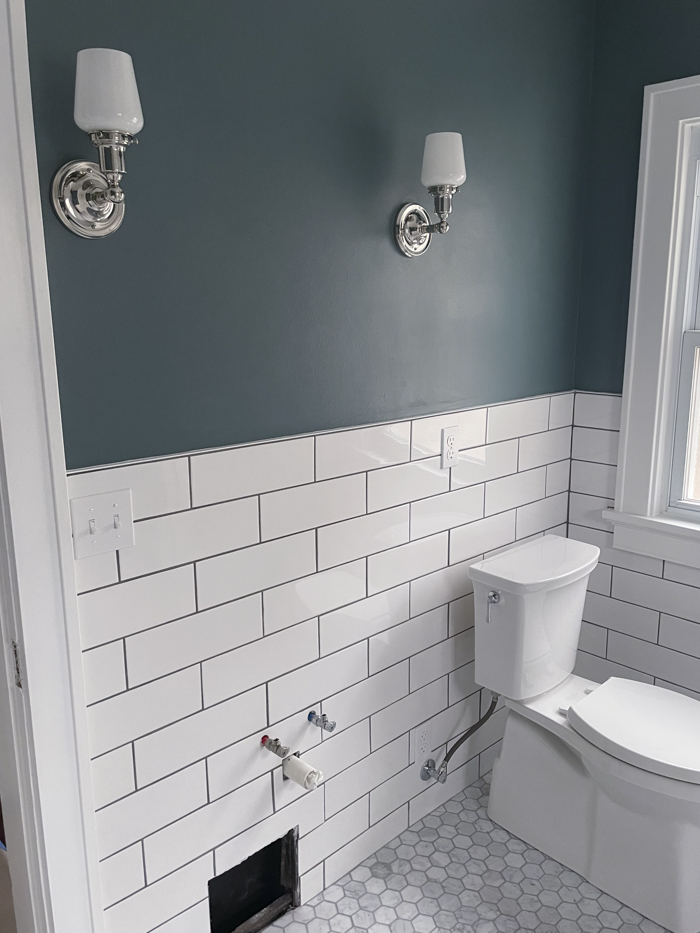
Shortly after I left you with the last update, team finished tiling the shower and we turned our attention to the flooring. You may recall that we had to shift gears with our flooring. The marble tile I had originally purchased from Home Depot had good reviews when I bought it, but shortly after there were complaints about tile yellowing once it was grouted, likely due to too many mineral deposits that were oxidizing. We shifted gears and ordered a more expensive marble hexagon flooring from The Tile Shop. I’m really glad that we did because the new tile is beautiful and better quality than the budget marble. When you’re already spends tens of thousands of dollars, you may as well figure out a way to pay for the nicer finishes. I know that costs add up and it feels overwhelming, but I promise that you’ll be happier in the long run if you can make it work with your budget or a home equity line of credit.
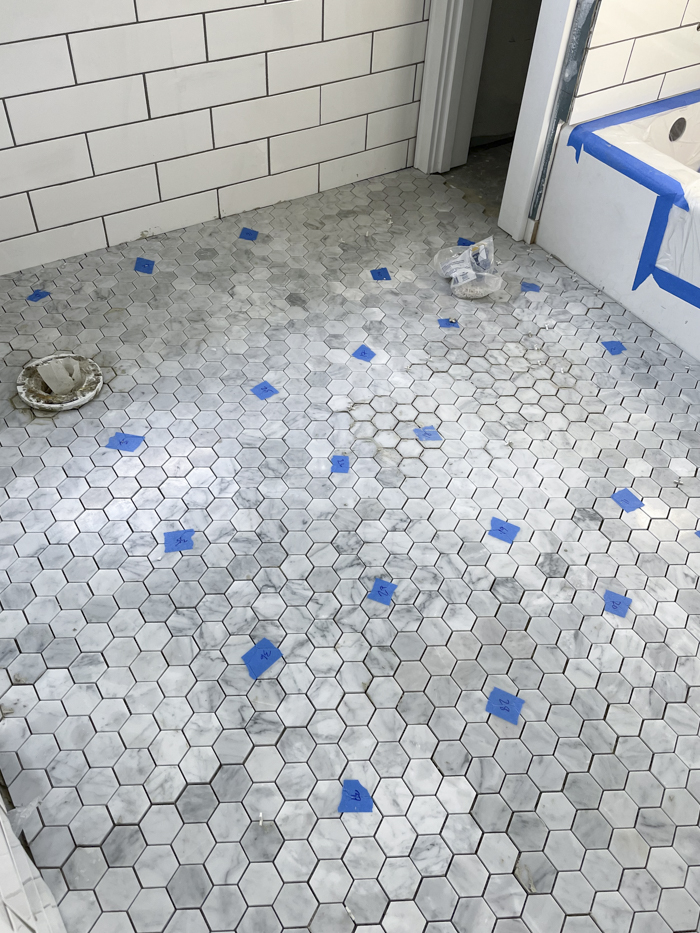
I spent a lot of time obsessing over the layout of our tile and our contractor numbered each sheet so it would go back where I wanted it. It was a great idea in theory, until a couple of sheets were rotated. For the most part, it didn’t matter. A natural material is going to have variations. That’s why it’s attractive and why people pay for it. But we had an unfortunate tile layout that, well, looked phallic:
It wasn’t really noticeable in person, but I couldn’t unsee a penis in those dark tiles when I took photos of the room — as you can see from this screenshot from my phone. I hated it so much that I asked our contractor how much it would cost to replace tiles that I delicately phrased as “a dark line that catches the eye.” He quoted approximately $20 per tile to replace individual ones (thankfully this was before it was grouted), but asked Dave if he thought the tiles were really that bothersome. Dave bluntly told our contractor, “she sees a dick.” Haha. So, for around $100, the tiles were replaced with a few lighter ones to break up the pattern:

Of those two options, I went with the set of five replacements on the left.
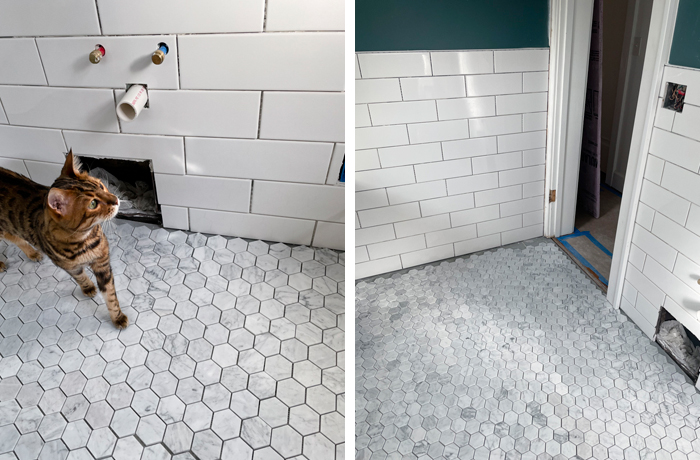
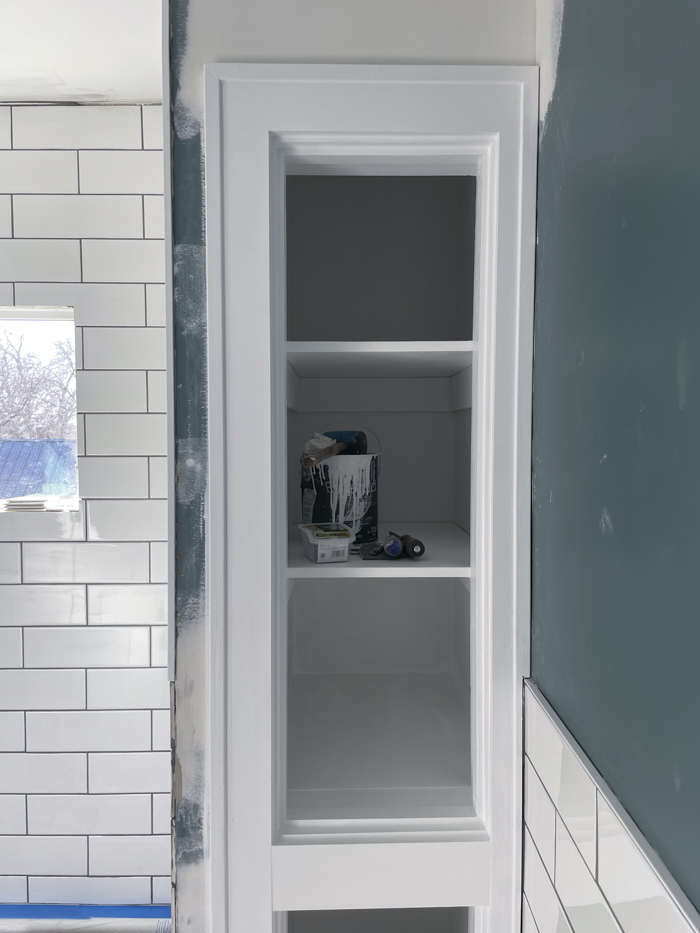
We extended the tile to the floors of the built-ins. We could have either done this or placed a wood “shelf” on the floor. I figured that this would be easier to clean when I mop the floor.
This is the interior of the left cabinet where there’s an access panel for the shower plumbing. The team eventually created baseboards for the inside of the cabinets to give them a clean finish.
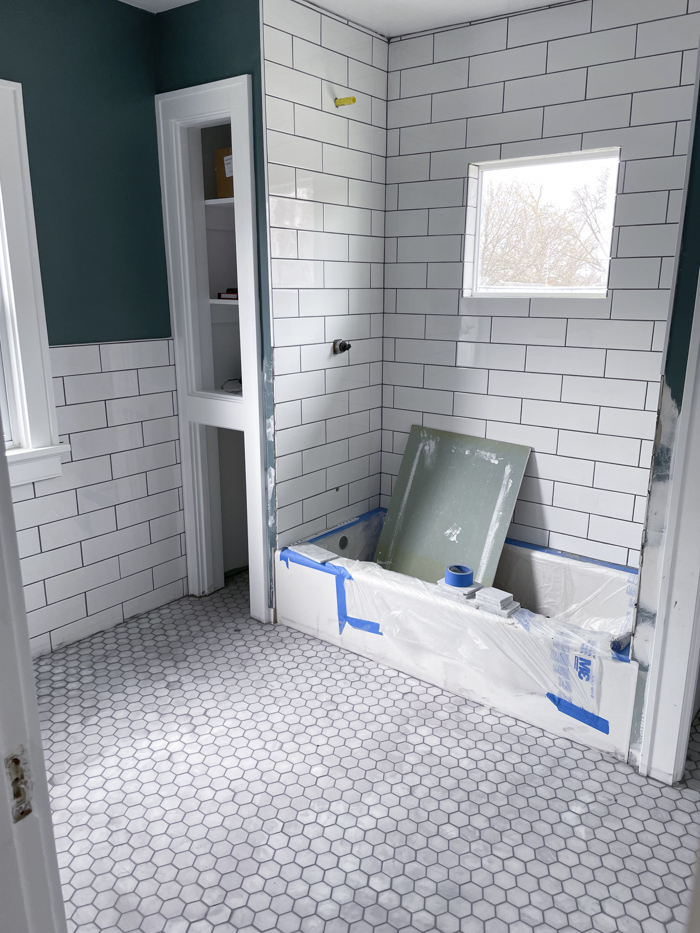
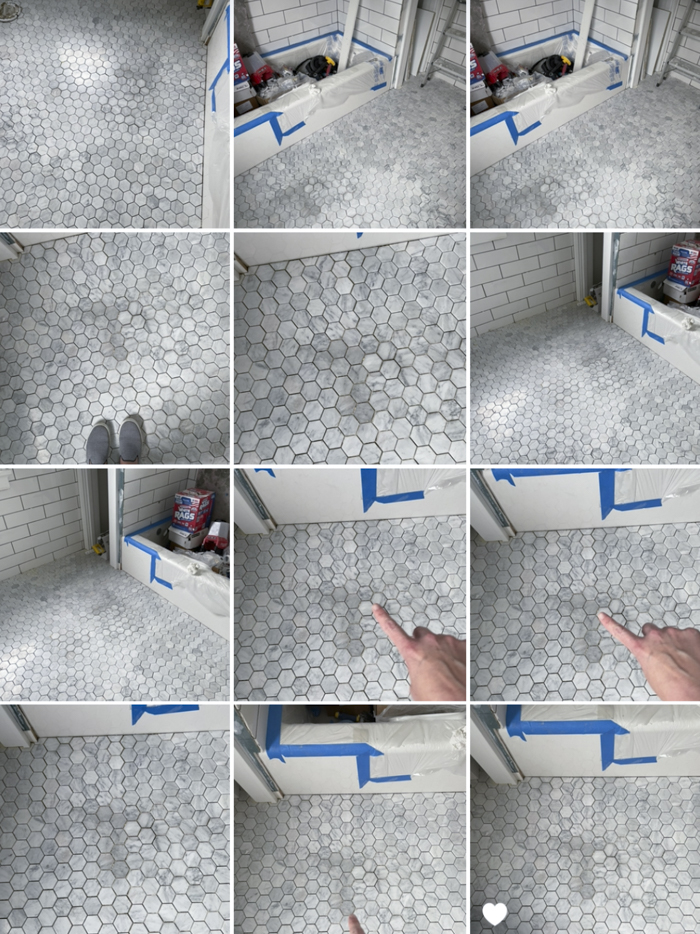
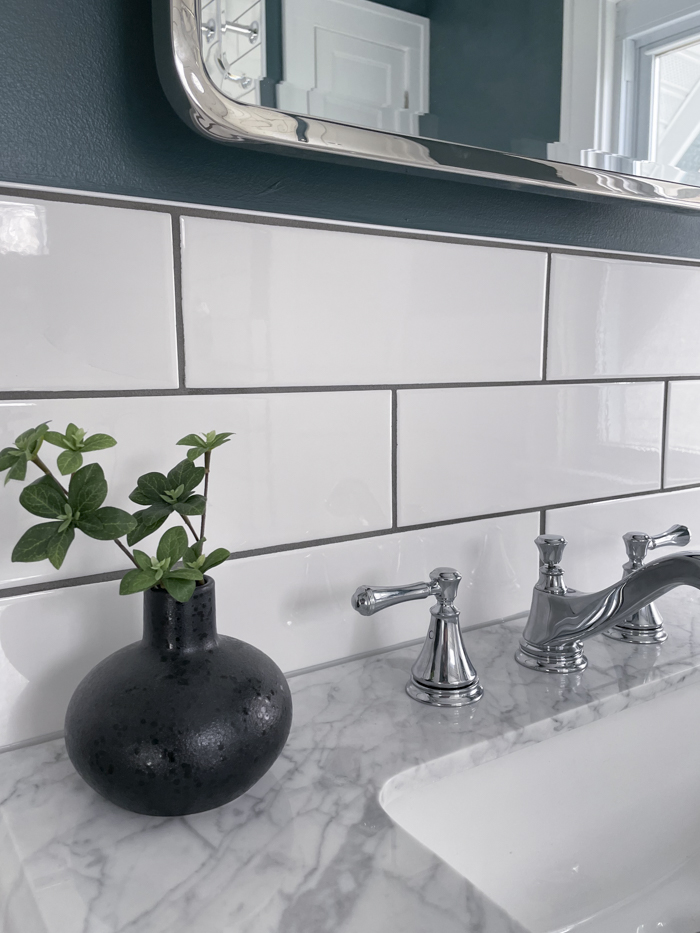
The tiles still had a grout haze in this photo, but it was such a delight to see the room coming together exactly how I had imagined it last summer when we started interviewing contractors. It was a long time coming!
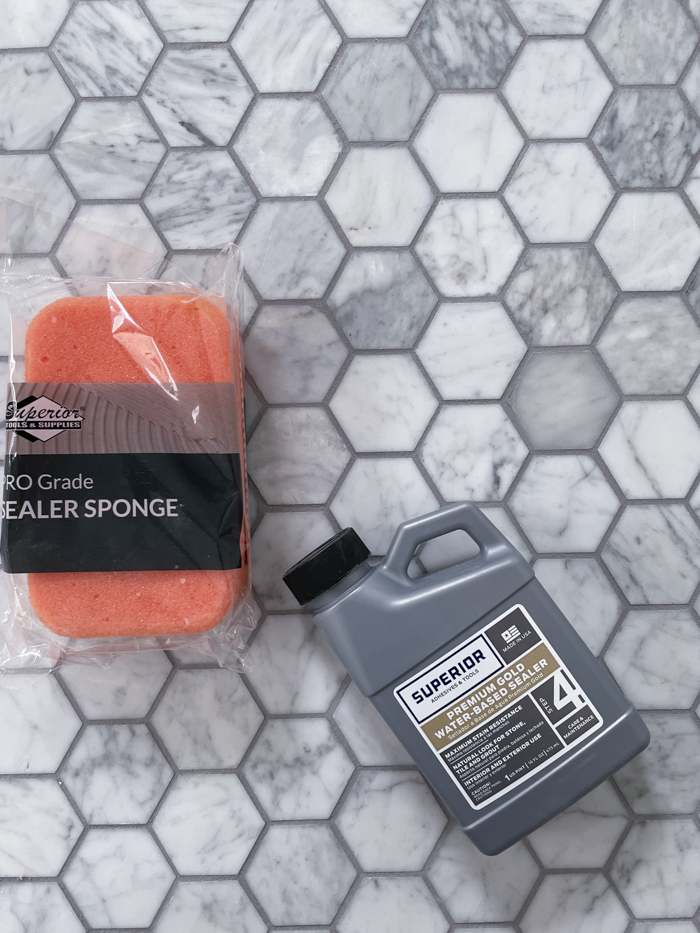
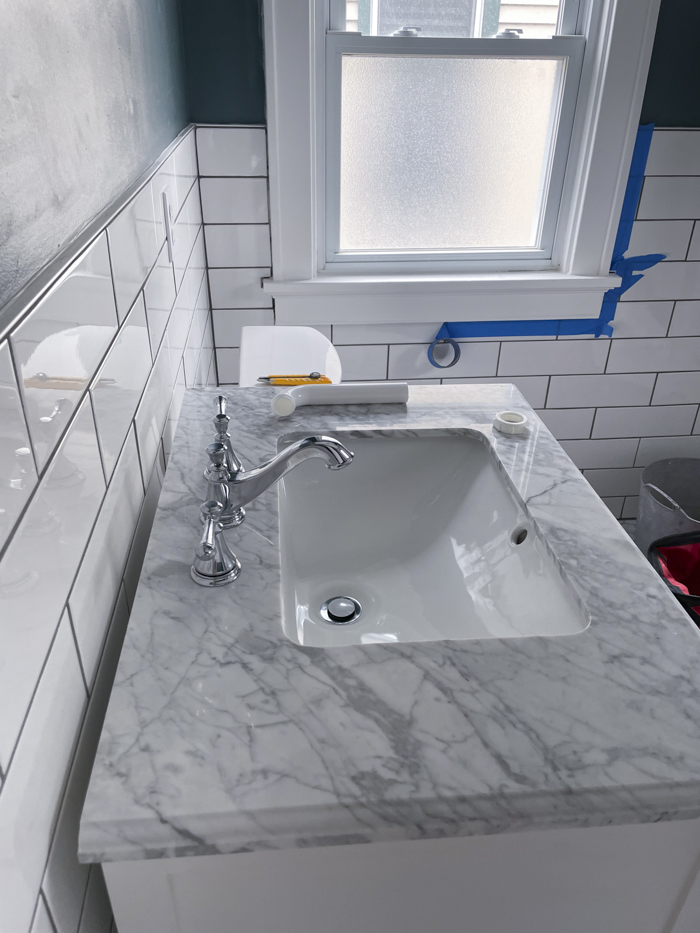
The marble was sealed after grouting with a water-based sealer that was recommended by The Tile Shop. We also added a marble ledge in our shower niche and window, which was also sealed prior to showering for the first time to reduce water stains.
I can’t begin to tell you how happy I am with the built-ins. They replicated the original cabinet (seen here) and added a second to flank the tub. It was important to me to make sure this room incorporated design features that were original to our 1929 house. While the original built-in was in bad shape, the replicas are spot on.
The team was also able to keep the original trim for the window that isn’t in the shower. They carefully cut around it during demo. The doorframe wasn’t so lucky, but they rebuilt it so it looks original.
Take a moment to note that register opening. Like the rest of our house, it’s a large register. I had expressed concern about this when we began the project, and wondered how this was going to work with a vanity in front of it. It was too expensive to move the duct, so I had asked if a decorative register cover would work since the vanity has an open shelf. I was assured that it would be fine, so I spent $100 on a register cover.
…it clearly was not fine. So, the register cover jutted out from the wall about an inch, which was just enough to keep the vanity from being flush against the wall. Our contractor had gone to lunch when I popped my head in to see how things were coming along and saw this. Surely he wasn’t going to leave it like this, right? Yet, I still texted to share my concern. (I figured it’s cheaper to share concerns earlier rather than later.) He told me that the register cover was the issue and that we could try to set a piece of marble behind the vanity to meet up with the wall or built a wood ledge — and then had the audacity to suggest that some people like floating vanities. No, they do not. (Never mind that floating vanities are those without legs; not those that float away from the wall.)
I asked him if there was a way to recess the register cover by cutting out some tile that surrounded the hole and setting it in deeper, or to just go with a smaller register cover that fit within the open shelf. The latter would simply force more air to other rooms upstairs, which isn’t the worst. I’m still a little sour that I had to suggest those solutions rather than him coming up with them, but whatever. We got through it and went with the smaller register:
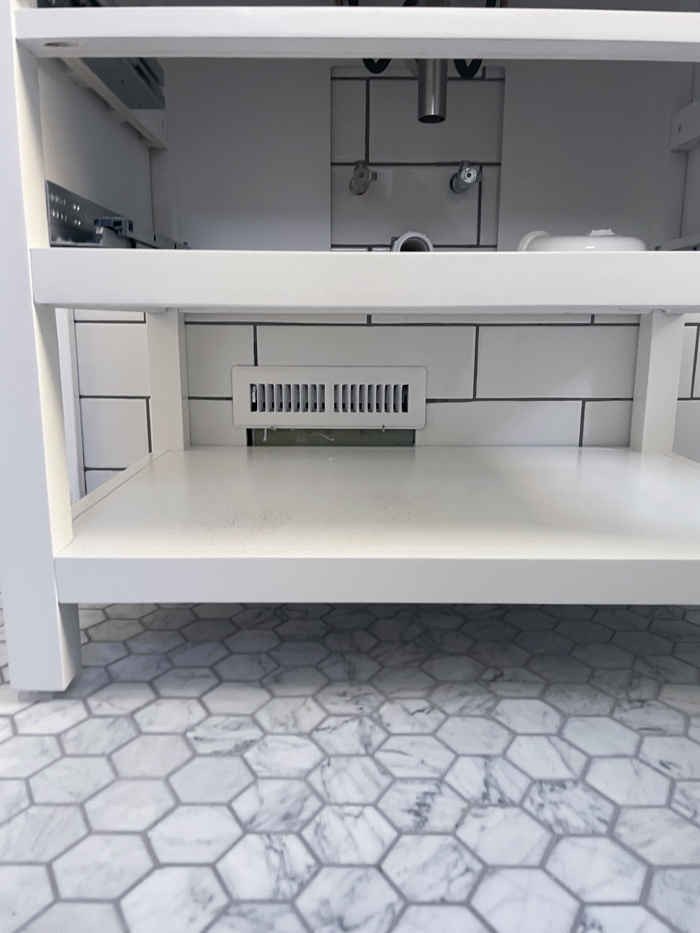
He eventually tiled underneath the new cover. The spacing of the tile down there doesn’t match the rest of the wall as a result, which bothered him. (Weird time to be a perfectionist.) I told him that I didn’t care and we can address it down the road if if we ever swap out this vanity for one where we can see that tile. This was clearly a better solution than a “floating vanity.”
Truth be told, this room has the most direct run from the furnace, so it would always get too hot or cold, depending on the thermostat, so reducing the opening and forcing air to other rooms has actually been great. Even if that weren’t the case, pushing up the vanity against the wall was necessary:
Stay tuned for the full reveal!
–
Let’s keep in touch!
Instagram / Facebook / Pinterest / Bloglovin’