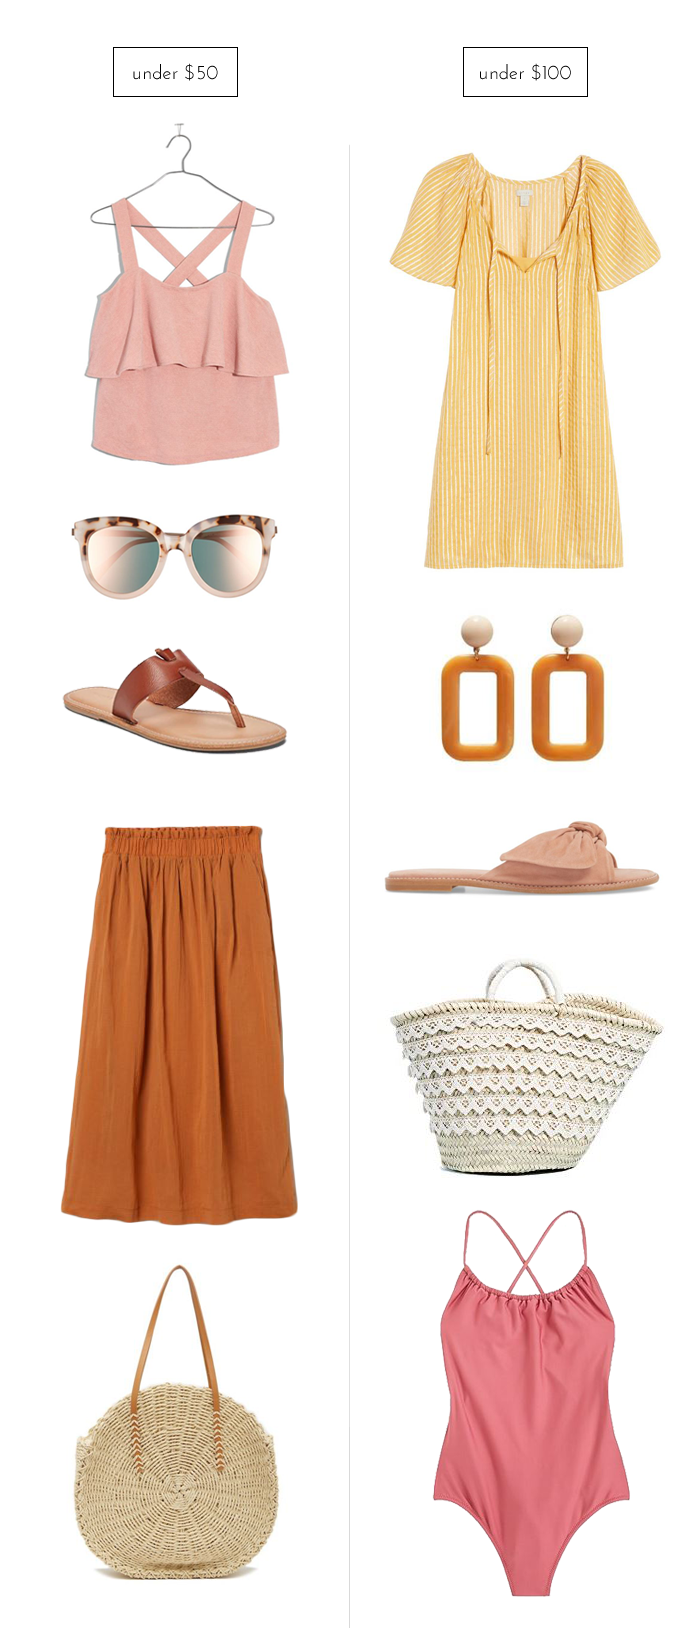
Under $50
cami | sunglasses | pants | bag | slides
Under $100
dress | earrings | sandals | bag | headband | sunglasses
–
Let’s keep in touch! Instagram / Facebook / Pinterest / Bloglovin’
Under $50
cami | sunglasses | pants | bag | slides
Under $100
dress | earrings | sandals | bag | headband | sunglasses
–
Let’s keep in touch! Instagram / Facebook / Pinterest / Bloglovin’
Happy Saturday, everyone! We made it through another week, which means spring is that much closer. (Don’t forget to “spring ahead” and move your clocks an hour forward tonight.) We have absolutely nothing on our must-do list this weekend and I couldn’t be happier about it. Yesterday afternoon was a busy one, though. I was on the phone for almost two hours scheduling companies to give us quotes on tree trimming and widening the end of our driveway. I also scheduled an appointment for someone to come in and discuss adding roller shades to our dining room and bedrooms. They don’t look difficult to do on my own, but I want to feel all of the material choices and have someone else measure and install them so I don’t screw it up. We’ll look at adding drapes down the road. For now, I just need our bedroom to be dark!
Weekend Links:
Finds Under $50:
Earlier This Week:
_
image via Unsplash
Let’s keep in touch! Instagram / Facebook / Pinterest / Bloglovin’
Last month, I mentioned that I wanted to bring back a roundup of “Mini Moments” from the month prior and share some of my goals for the month ahead. I dropped the ball on getting this up closer to the first of the month, but hey, there were still a few things worth reminiscing about and sharing with you! I’ll have this week’s “Weekend Links” post up tomorrow.
Mini Moments (top to bottom, left to right):
Upcoming Goals:
–
Let’s keep in touch! Instagram / Facebook / Pinterest / Bloglovin’
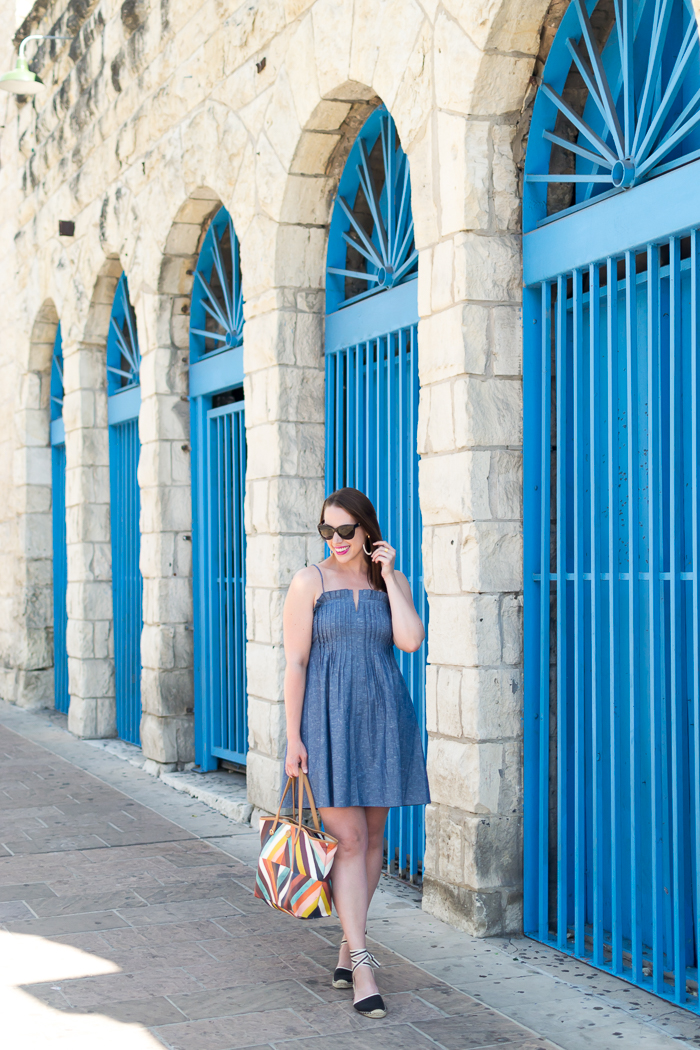
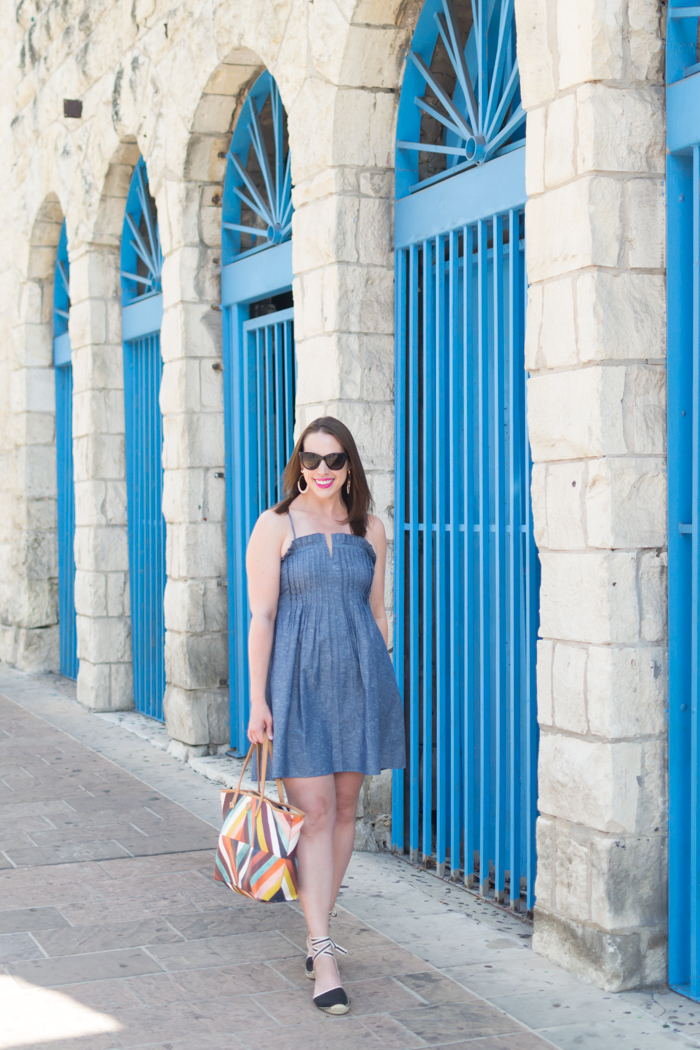
Even the most devout fashionistas can have trouble pinpointing exactly what they’d describe as their personal style. Oftentimes, we stumble upon it through trial and error, after trying different trends and different aesthetics until we find one that clicks. While the style journey can be a fun one, it’s also a frustrating experience wrought with unworn clothing and wasted money. The simplest solution, of course, is to identify your style early on and focus all of your purchases with that style in mind. It’ll streamline your closet, guaranteeing you’ll have a wardrobe of pieces that are so perfect for you that you’ll never grow tired of them. Below, you’ll find a few tips to pinpoint your personal style.
SEEK INSPIRATION
First and foremost, you need to figure out what outfits and styles you’re drawn to. Begin by creating a Pinterest board for outfits, textures, colors, and silhouettes that capture your attention. Pin items from blog, runway presentations, and stores. Don’t overthink this step. This is just the information gathering stage and the more images you collect, the better. After working on your Pinterest board for a week or two, take a few days off and return to your board with a fresh set of eyes. Do the images still speak to you? If not, delete the images that no longer resonate. You’ll likely begin to see themes between these images. Are the styles classic? Romantic? A version of a modern day hippie? Do you like loose, flowing silhouettes? Structure? This exercise will help you find the styles you’re naturally drawn to. I went through my own style board to determine some of the styles that clicked most with me, which included this, this, this, this, and this. This probably isn’t surprising, but my style isn’t overly feminine. I’m attracted to classic silhouettes, vintage-inspired designs, flats, and short hemlines. There are also a lot of prints that aren’t reflected in those pins that I love and I do think most of these outfits are in need of a piece of statement jewelry.
ANALYZE YOUR CLOSET
After you’ve spent time working on your Pinterest collection, it’s time to tackle your existing closet. You’re not making determinations here about what will stay or go, however. Simply take stock of what’s in your collection and the pieces you naturally gravitate to. What are the workhorses of your wardrobe? Do you always wear dresses? Are striped long-sleeve t-shirts the first thing you reach for every weekend? Additionally, what outfits do you feel the most beautiful wearing? For me, those items include little black dresses, a-line mini dresses, jackets and coats, my collection of Ferragamo flats and loafers, well-made handbags, and jewelry. By identifying your favorite pieces and most-often worn items, you’re getting closer to labeling your personal style.
LABEL IT
Here’s where the first two steps converge. What are the ties between your Pinterest board, the items that you wear regularly, and the outfits you feel the best in? You’ll likely notice similarities emerging. Grab a piece of paper and describe what this style looks like and the attributes of it. Words that might come to mind could be classic, feminine, ethereal, crisp, refined, or relaxed. Jot down all of the words that describe these pieces and narrow it down to two or three that best describe the items and the overall vibe you want to portray. Admittedly, this isn’t the easiest step and I’m having difficulty with it myself. My style is undoubtedly classic, but I ultimately want to portray “modern classic” or “updated classic” or “classic with a twist.”
PICK A SIGNATURE ITEM
It seems that all style icons have a signature piece or two that identifies their wardrobe. Audrey Hepburn had her ballet flats. Elizabeth Taylor was never far from her opulent fine jewels. And Twiggy rocked a short hemline better than anyone else could. Follow in the footsteps of these fashionable ladies and pick a signature item that falls in line with your style label. It can be one of your wardrobe MVPs as identified during your wardrobe analysis or you can reinvent yourself with a newly minted signature piece. Whatever you choose, it’s a great way to always feel like your style and outfits are true to yourself.
CONSIDER YOUR LIFESTYLE
Your sartorial style should be in line with your lifestyle. Make a list of the places you typically go during the week and what you’re usually up to. Do you work in a conservative office? Do you attend a lot of evening cocktail outings? Do you spend weekends exploring nearby cities? You’ll want to make sure your personal style fits in with the lifestyle you actually have — not the one you daydream about. This will be the backbone to creating a wardrobe that will work for you.
Let’s say that you’ve identified that your personal style is feminine. This becomes your starting point when actually making purchases that fit your lifestyle. If your week is mostly spent going to a conservative workplace, curling up on the couch in the evening with a good book, and heading to brunch on the weekends, then you probably don’t need a myriad of flouncy dresses that you may not wear. Instead, incorporate femininity in ways that do work for you. Do you need a silk blouse in a pretty blush tone for the office? What about a floral-print scarf to tie to your tote bag? You could consider a playful romper with eyelet or ruffle details for your weekends out. Conversely, if you work in a creative office and you’re usually flitting from one social event to another at night, then you can enjoy all of the cocktail dresses your closet can handle!
–
Let’s keep in touch! Instagram / Facebook / Pinterest / Bloglovin’
We still have work to do in our living room in terms of accessorizing and styling, but I thought I’d give you a peek into where things are at right now compared to when we did our inspection in May. Obviously the before photos are on the dim side and that’s not an intentional editing choice to make you think it’s worse than it was. It was really that bad. Most of the light bulbs were partially unscrewed so they wouldn’t turn on and just about every window in the house was covered by fabric (men’s shirts and old sheets rather than window treatments). The paint was this awful creamy color that wasn’t quite as yellow in the images below, but it was as dingy and soul sucking as it appears here.
The first thing we tackled (after removing kitchen cabinetry from the guest room and a random square of teal carpet in the coat closet) was repairing cracks in the plaster walls and painting as much as we possibly could before we had our floors refinished. We got through the living room, dining room, the wood-paneled master bedroom and office, the guest bedroom, and the tiny room that eventually became my closet. The far wall in the staircase was left unpainted at the time because I’d like to wallpaper it. I didn’t want to spend the time painting something I was just going to cover up eventually. At this point, though, we’re leaning toward painting it white and doing wallpaper next year for my living room. It’s such an expensive project and we have other priorities to take care of. However, painting everything else white and removing the window coverings opened up the space and made it feel brighter and more welcoming, so the cream wall doesn’t bother me too much at the moment. My plan is to paint the upstairs hallway, ceiling, and trim this month and get to the top of the stairs. We’ll hire someone to finish up the stairwell since I’m not graceful enough to stand on a ladder while I paint. We have pretty high ceilings there and I have no doubt that I’d fall or get paint all over the stairs.
After about a month of painting every night after work and on weekends, we finally got a week-long break when our floors were refinished. The red oak floors were in awful shape (check out this pic of the floor in my closet) with patches in the floor that were different colors, and scuffs and scratches throughout. Upstairs, the stain was on the yellow side. I’m not sure if it was the polyurethane was showing age or if it was just a bad stain choice to begin with. Our floor refinisher said that the downstairs floors had likely never been refinished, which is great for future owners because you can only refinish floors approximately 10 times since you’re sanding off approximately .75 to 1mm with each round. We went with Minwax’s “Early American” stain. It’s lighter than the original color, but still felt traditional in the 1920s home. The biggest selling point was that it didn’t have red or yellow undertones. We paid $2.75 per square foot and ultimately came in just shy of $2,600. Worth every penny. (Pro tip: hardwood floors will eventually get scratched no matter what you do. Use a stain pen to camouflage the imperfections.)
Replacing the sconces is next on the to-do list for the living room. We’d also like to find a better throw pillow, a larger rug, and redesigning the corner that we have that wood chair in the photo above. The side chair is great for putting on shoes and using for additional seating. However, a mid-century modern bench might fill the space better. I’d also like to find artwork to hang in that area. All that stuff is easy, though, and will fall into place as we find the right pieces. I don’t want to push anything and accidentally have our house look like the 2017/2018 West Elm catalog because I was too impatient to wait for the right item. Now that the living room is in a good spot, we’re talking about what room to embark on next. It’s a toss up between the dining room or kitchen. The dining room is definitely easier and really just requires furniture, a woodworker to fill in spots were the trim and crown molding is missing, and window treatments. The kitchen is a more adventurous project. It’ll all be cosmetic updates and not a true renovation, but there’s a lot to do in that room from skim coating the textured walls to replacing the linoleum flooring that has a gross river rock design.
Sources: Target mirror | West Elm lamp | West Elm bar cabinet | Minted art (c/o) | Braxton Studio chair | EQ3 leather chair | Younger Furniture sofa | Faribault Mills blanket | West Elm coffee table | Target vase | CB2 candle holders | Ekais credenza | CB2 decanters | vintage duck bottle opener | West Elm planters | West Elm rug
–
Let’s keep in touch! Instagram / Facebook / Pinterest / Bloglovin’