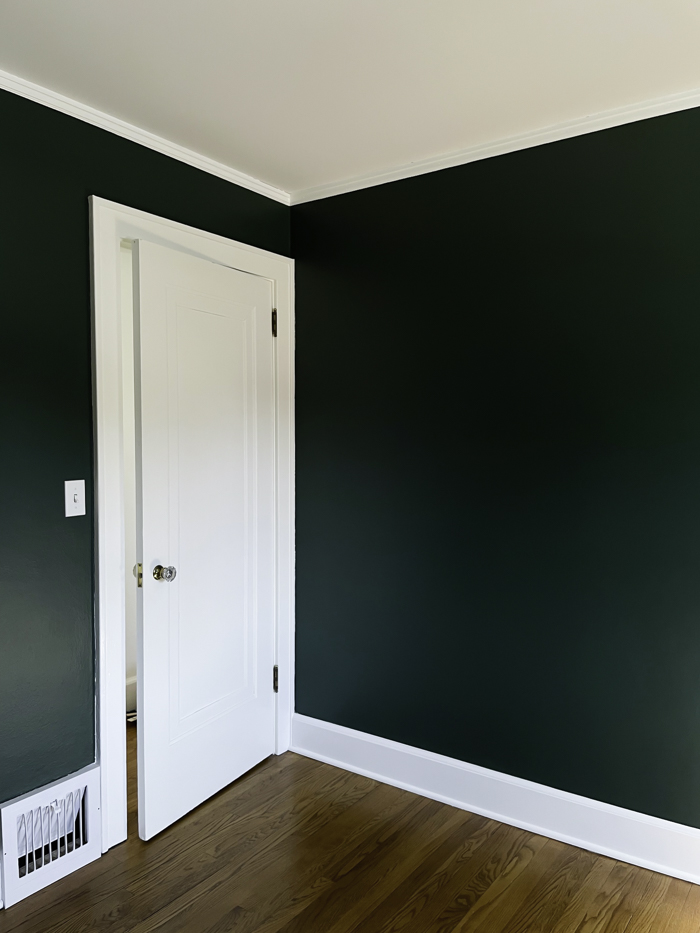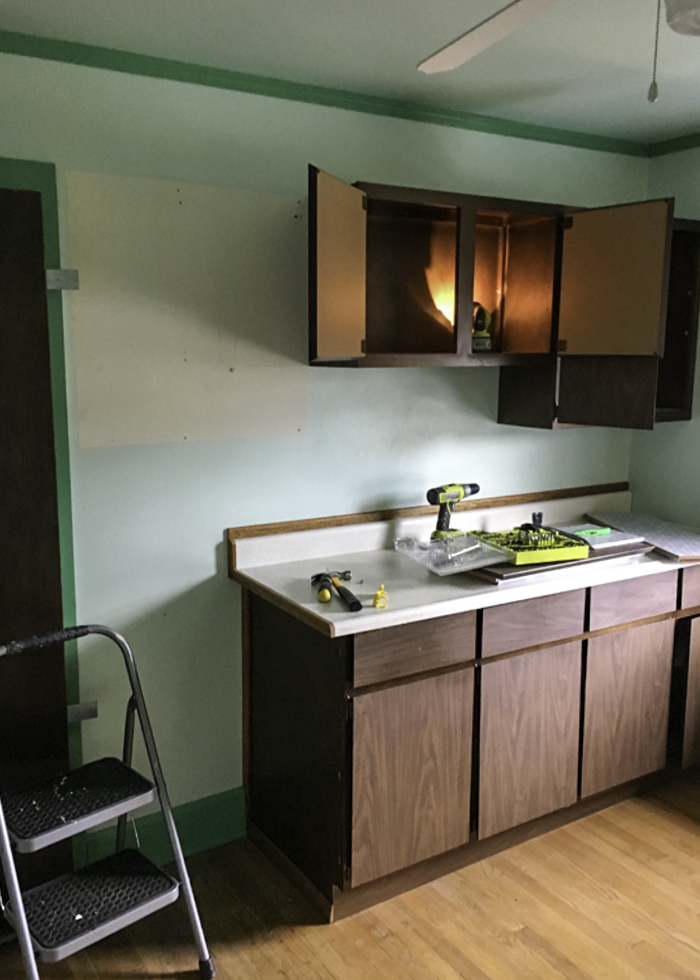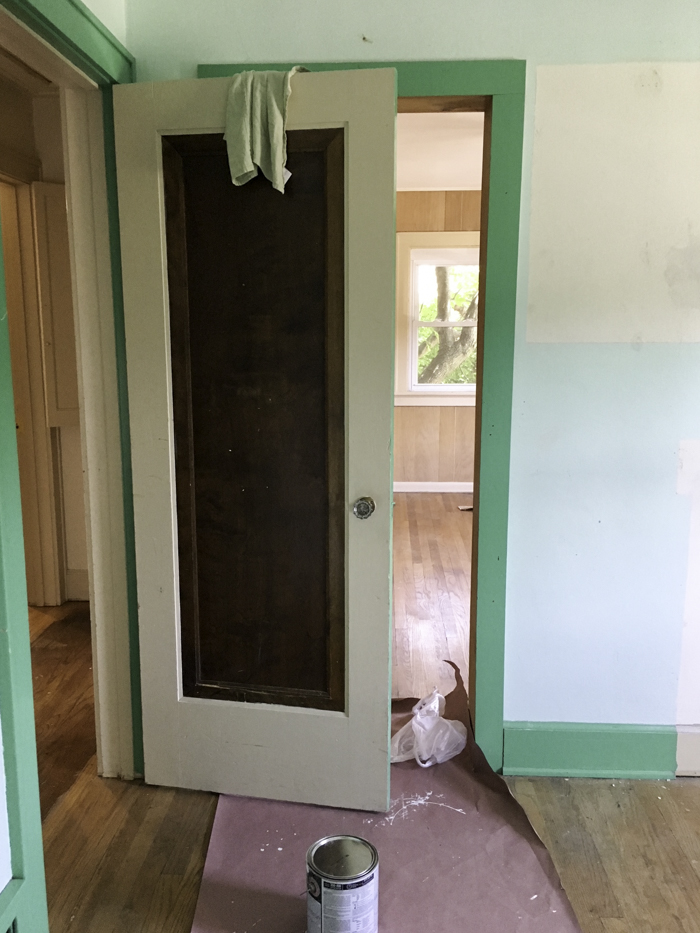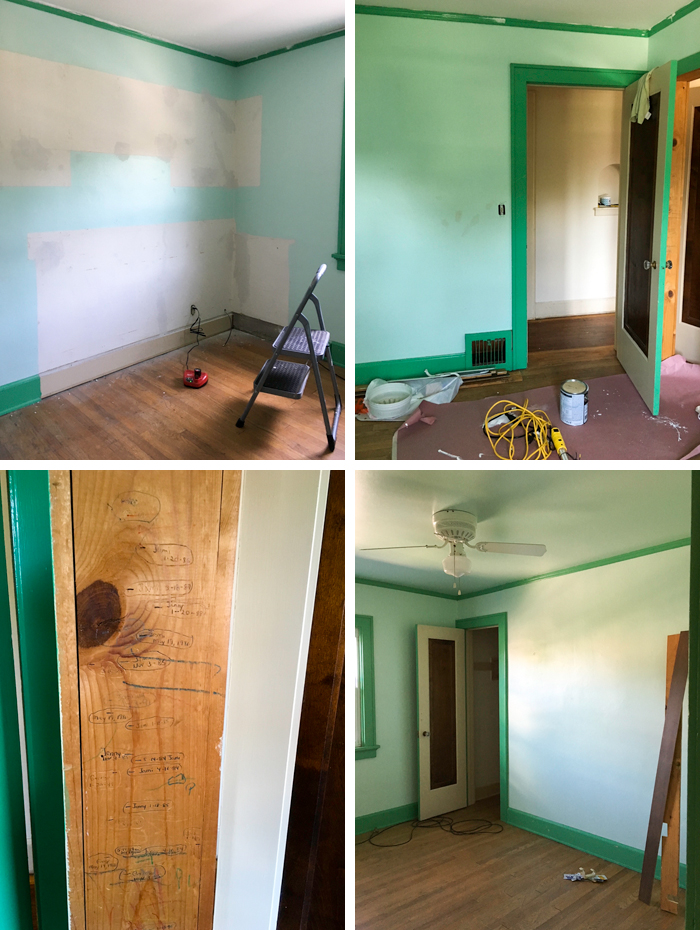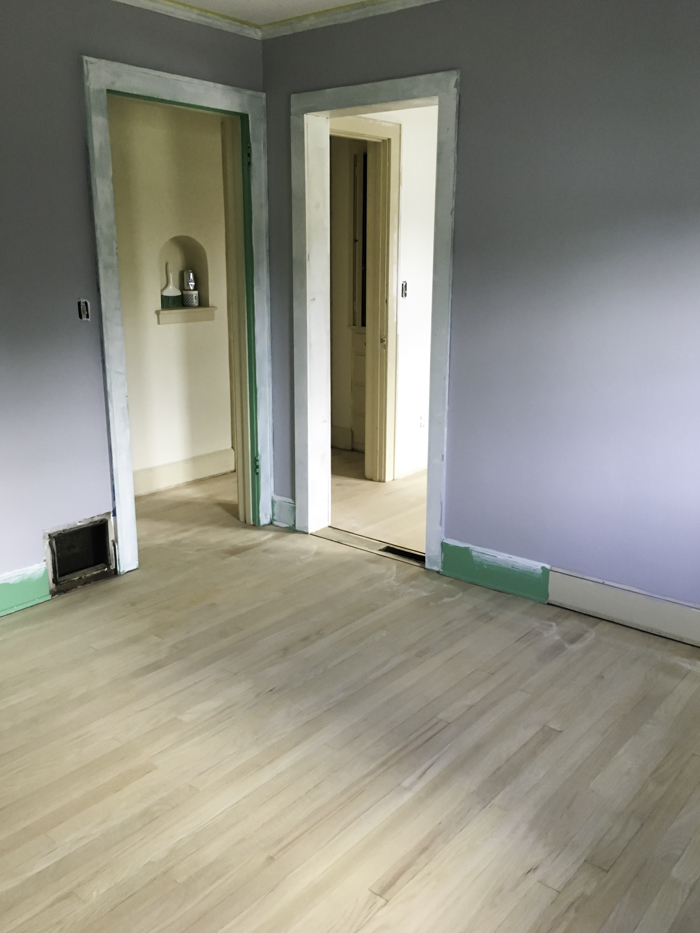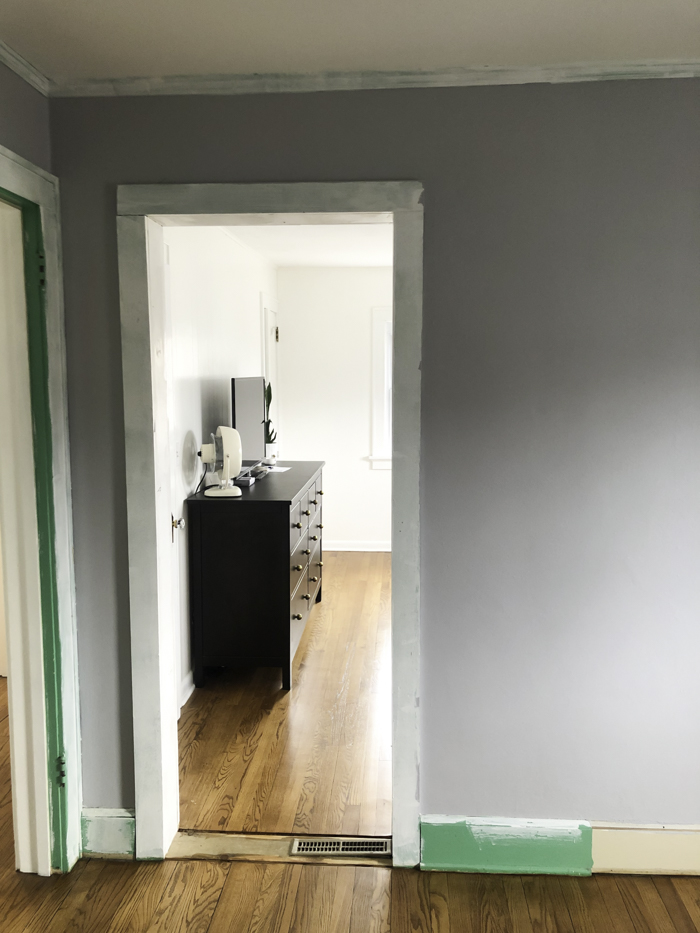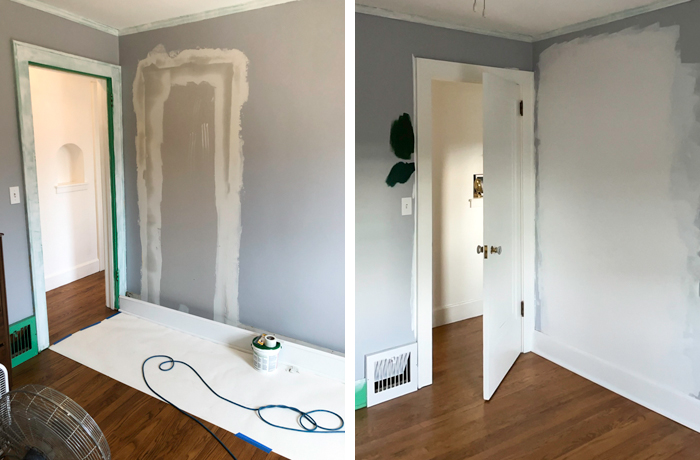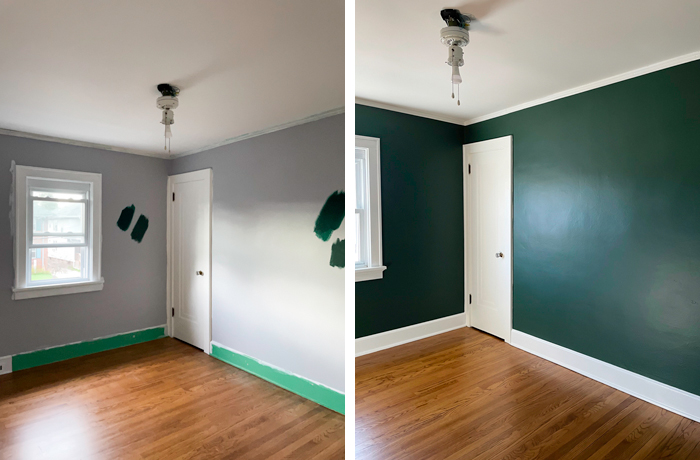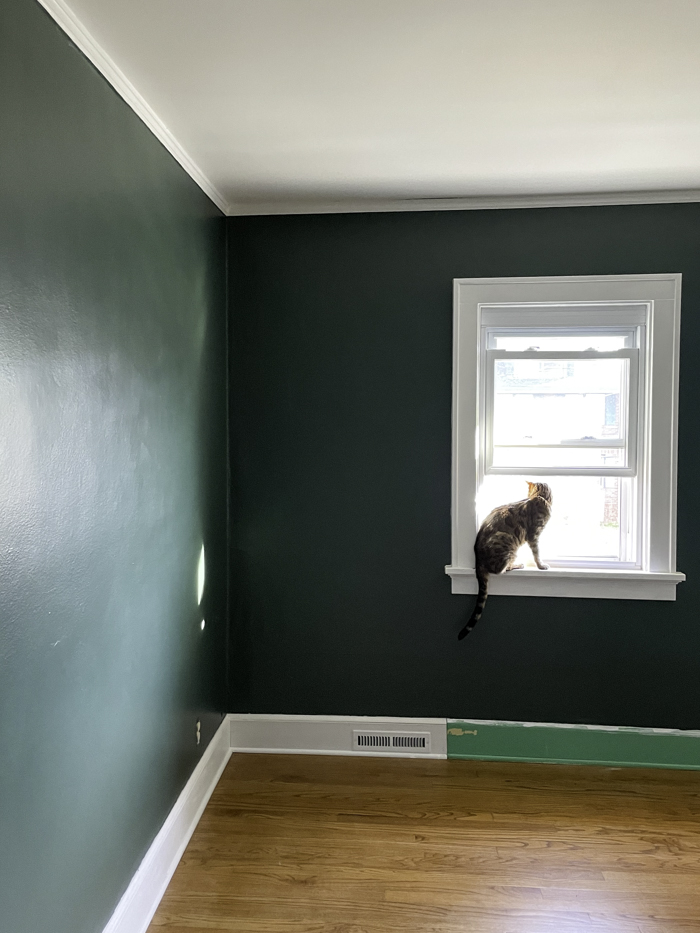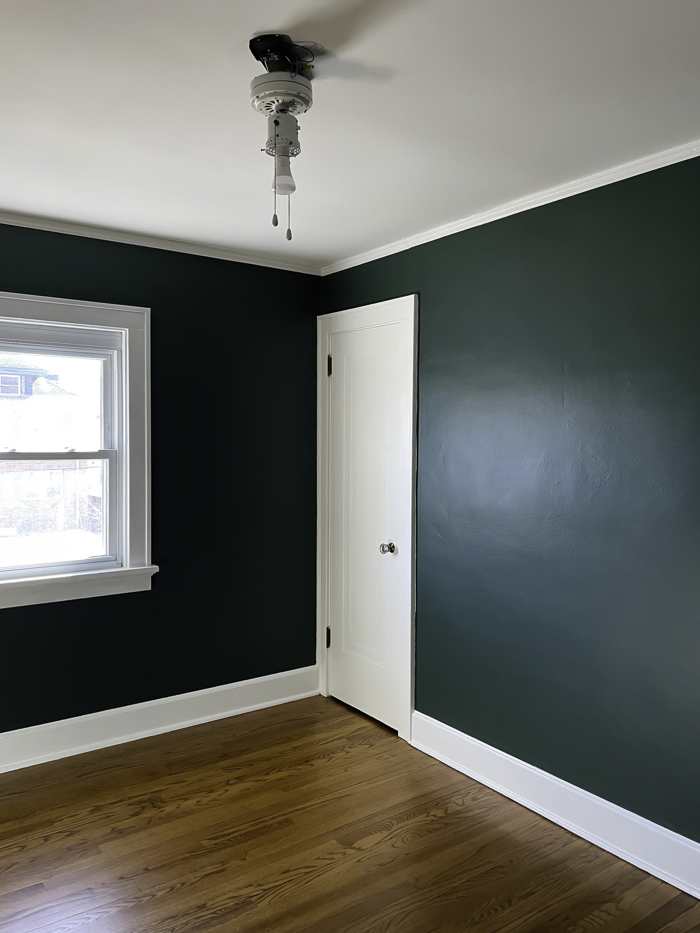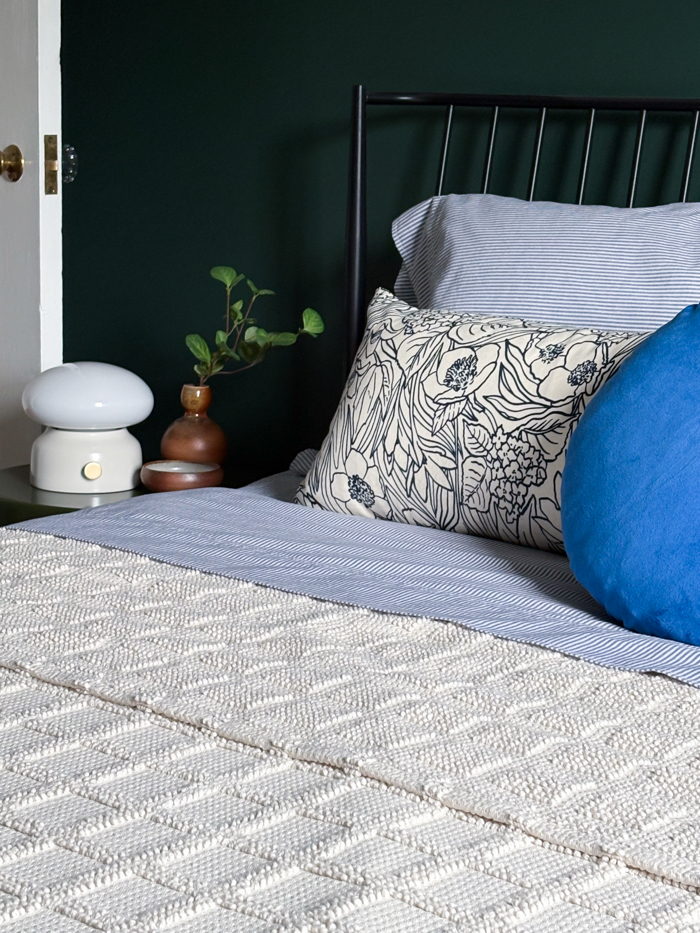
While the guest room is still a work in progress, it has come a long way from where it started as you can see here. We sprung for a bed frame and mattress last year, and outfitted the bed with old bedding and extra blankets from our primary bedroom, tucking the generous overhang of our king-size blankets under the queen-size mattress. It wasn’t aspirational, but it worked.
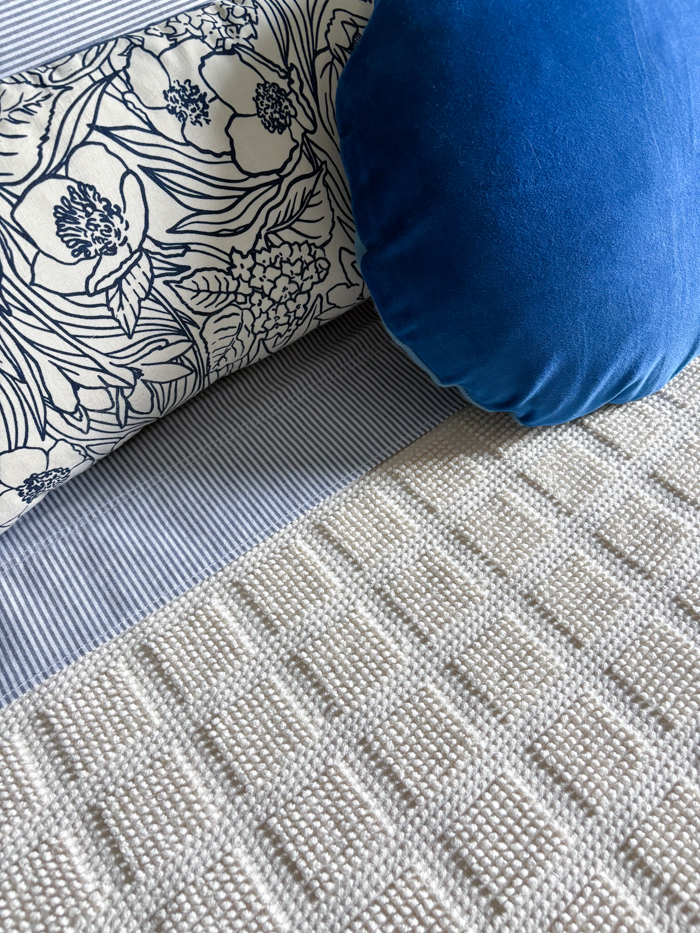
Over the past few months, I’ve put more effort (and, let’s be honest, money) into creating a space that’s more inviting — starting with the bedding. As with any of my house products, I tend to start with Schoolhouse’s lineup. I have quite a few pieces from the brand that I’ve collected over the years and they’ve all held up beautifully over time, so I didn’t hesitate too long before adding one of my wish-listed pieces to the space during a sale earlier this spring: the Popcorn Grid Coverlet. It reminds me of a vintage blanket, but the grid pattern leans modern.

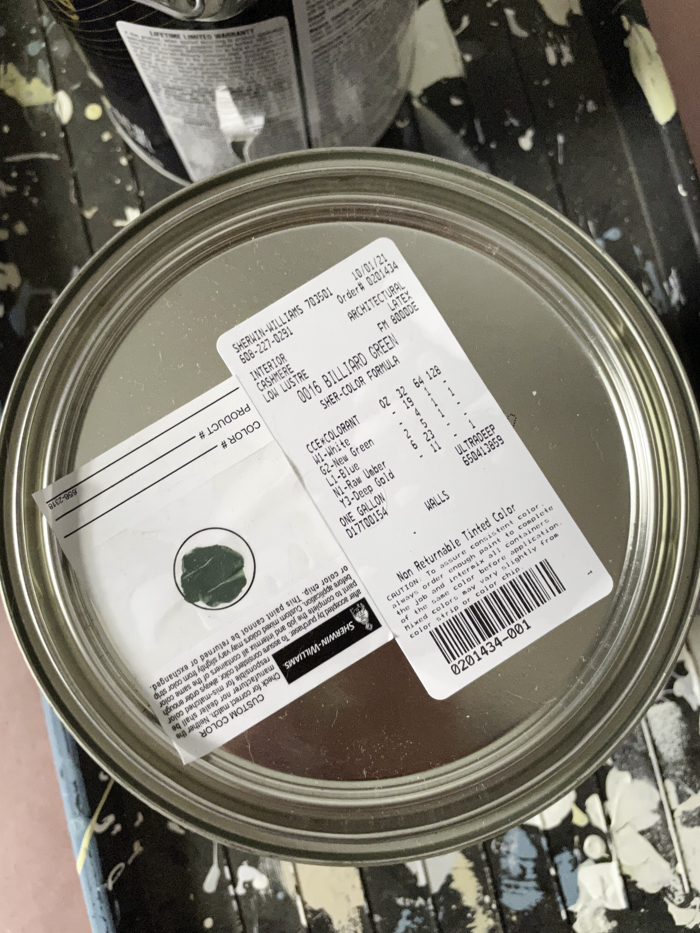
Since the room itself leans traditional with deep green walls and white trim, I wanted the bedding to have a sense of whimsy while retaining a classic feel. Striped sheets naturally fit the bill. We have this set of oxford sheets in another color for our own bedroom and appreciate how they get softer with each wash.
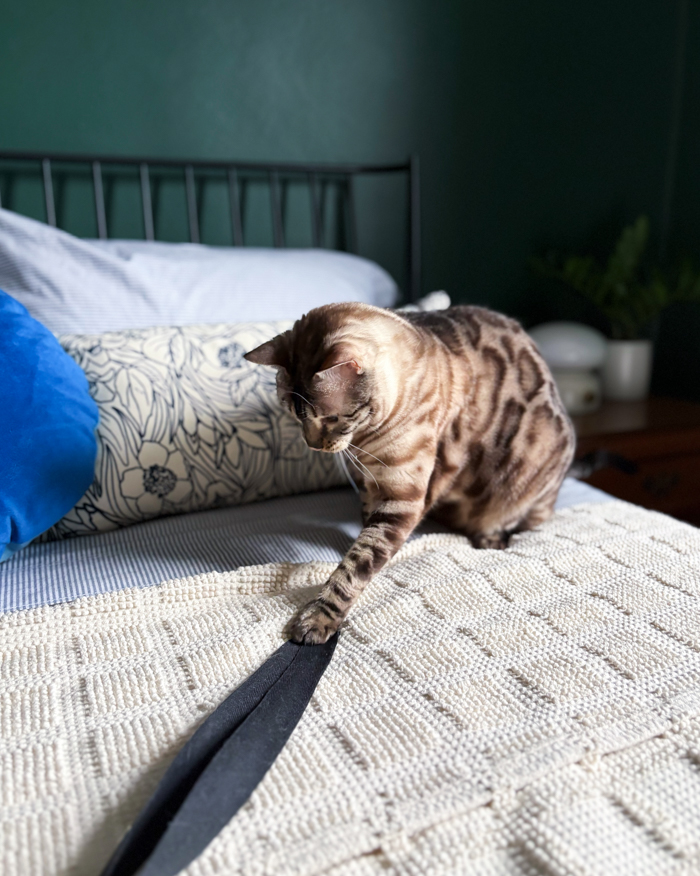
It took awhile to land on a combination of throw pillows I liked. I already had a pair of 12″ x 24″ lumbar pillow inserts that I hoped to use and finding a pillow cover in that size is surprisingly difficult. The set from Schoolhouse had been on my radar, but I kept talking myself out of them. I have no idea why because they ended up being perfect with a floral pattern that’s more graphic than girly, and the line drawing echoes the pinstripe of the sheets. The bright blue velvet polka dot of a pillow was another from Schoolhouse, which was generously gifted as part of a recent collaboration. I love how it adds an unexpected, playful touch to the space.
SOURCES
Paint Color: Sherwin-Williams Billiard Green
Bed: AllModern
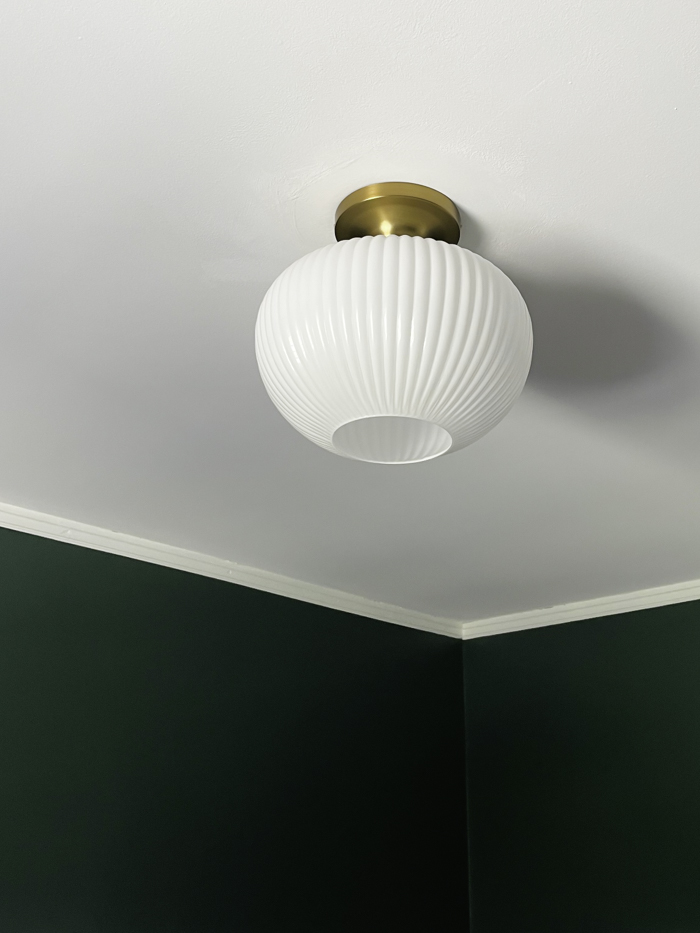
Lamp: Schoolhouse (c/o)
Sheets: Lands’ End
Coverlet: Schoolhouse
Floral Pillows: Schoolhouse
Round Pillow: Schoolhouse (c/o)
Vase: Purchased from an artist in Richmond, VA
Bowl: I made it!
–
Let’s keep in touch!
Instagram / Facebook / Pinterest / Bloglovin’
Thank you for stopping by! Please note that I may earn an affiliate commission if you buy an item linked here, which is at no cost to you. I truly appreciate your continued support.

