It’s amazing how quickly time slips by after you’ve purchased a house and how some of those “we’ll get to it eventually” projects are still on the to-do list years later. It’s not all that unexpected, of course. Houses are expensive and it takes time to save money again if you’re unwilling to shell out even more right away for renovations or furnishings. And then there’s the sage advice of urging you to live in your space before you make real changes. It gives you time to consider how the space is utilized and the opportunity to pinpoint the things that drive you crazy. And, if you’re like me, your style evolves along the way.
One of our spaces is the guest room — or, rather, the room on our second floor that makes sense to be a guest room but hasn’t actually had a bed in it since we’ve moved in seven years ago. The idea of spending money on a bed and mattress when we were in our mid-30s wasn’t something that we wanted to take on when we had other priorities: our own bedroom and a two bathroom renovations. Something recently switched for us and we’ve been more intent on furnishing that space. We’ve ordered a bed and a mattress, and I have plenty of products pinned to round out the room.
Before we get to all that, I wanted to share the guest room’s progress starting from our inspection through today.
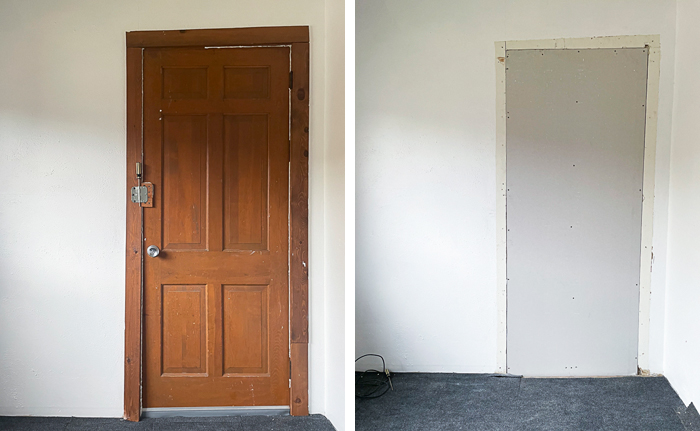
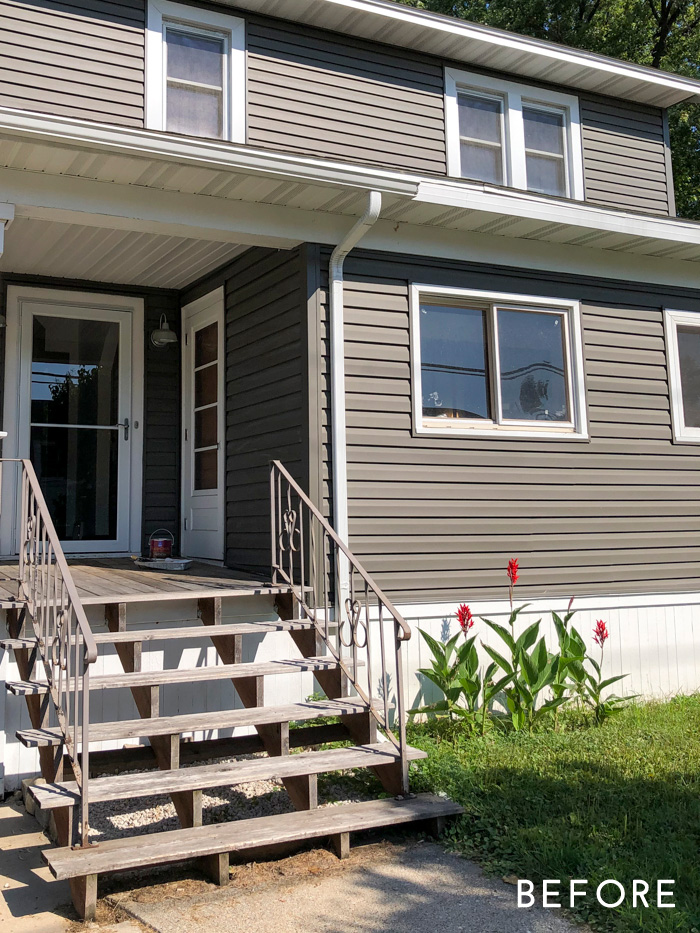
Here’s where we started:
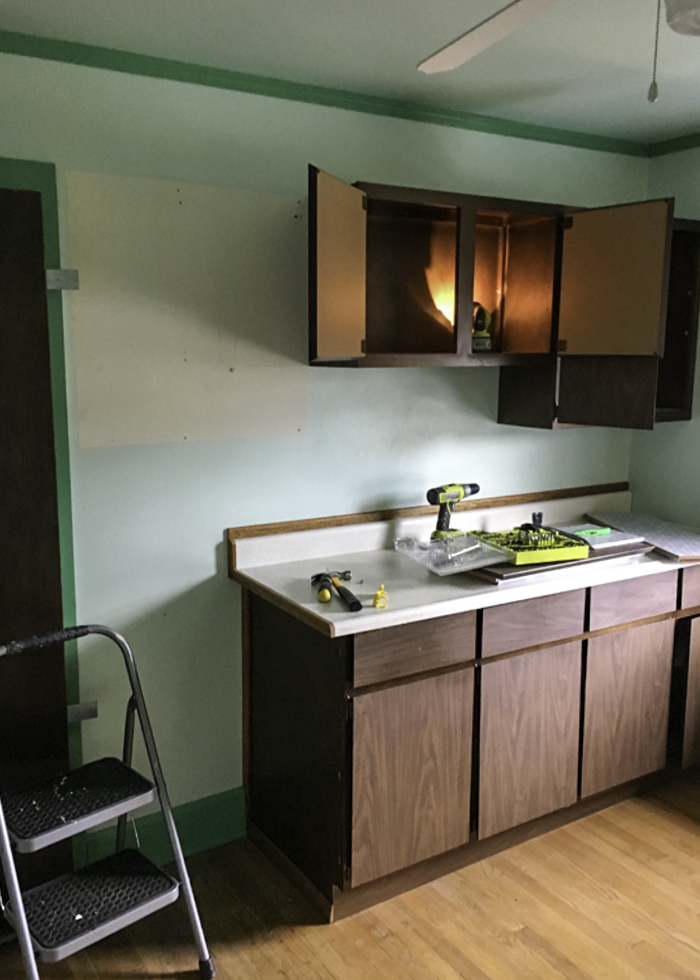
At some point, this house was a two-flat and the guest room had some kitchen cabinetry in it. We removed this within the first four hours of having the keys to the house and eventually put it up in the garage for added storage. On the left, you’ll see a doorway that was boarded up with an inoperable door and brackets. We also removed that right away, leaving us with an “open concept” space between the guest room and main bedroom that we ended up living with for a couple of years.

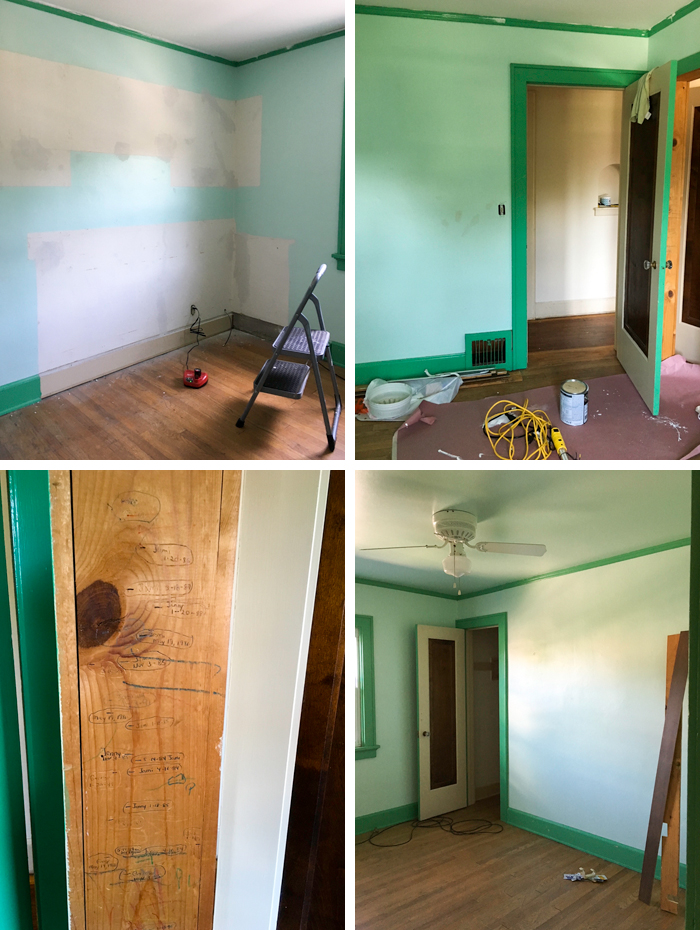

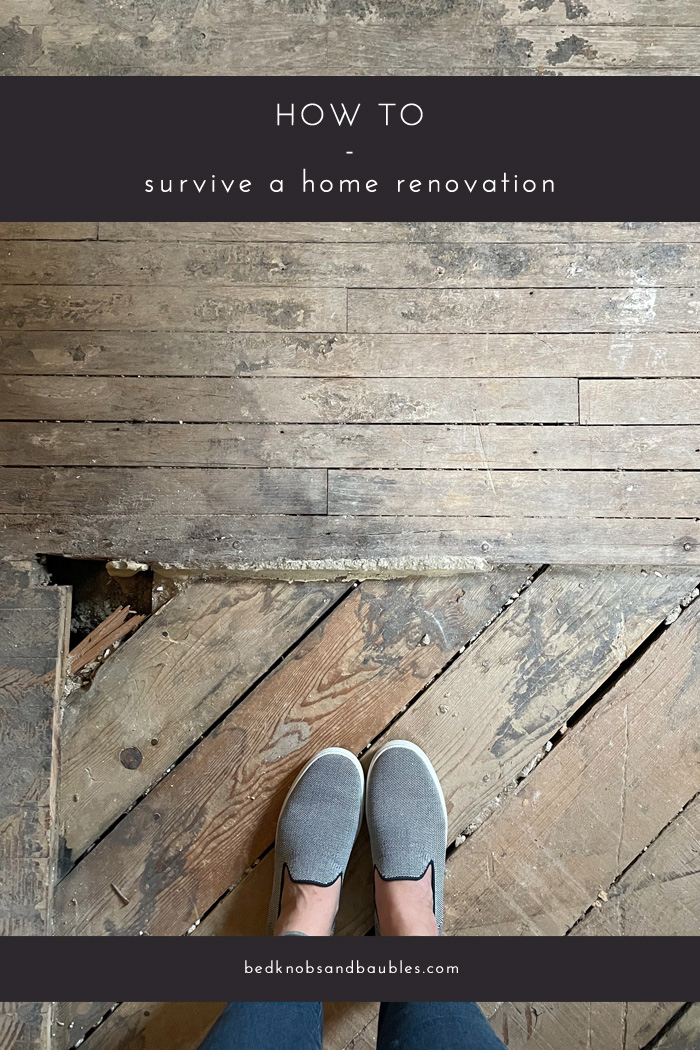
We had our floors refinished a couple of weeks after closing on the house. The timing worked out well as we had about six weeks left of our apartment lease while we were doing some cosmetic updates to the house, which included painting as much as we could manage. We were going to the house every day after work and painting until it got dark, then driving to the apartment. It was draining, and it’s what likely led me to go with this paint color initially:
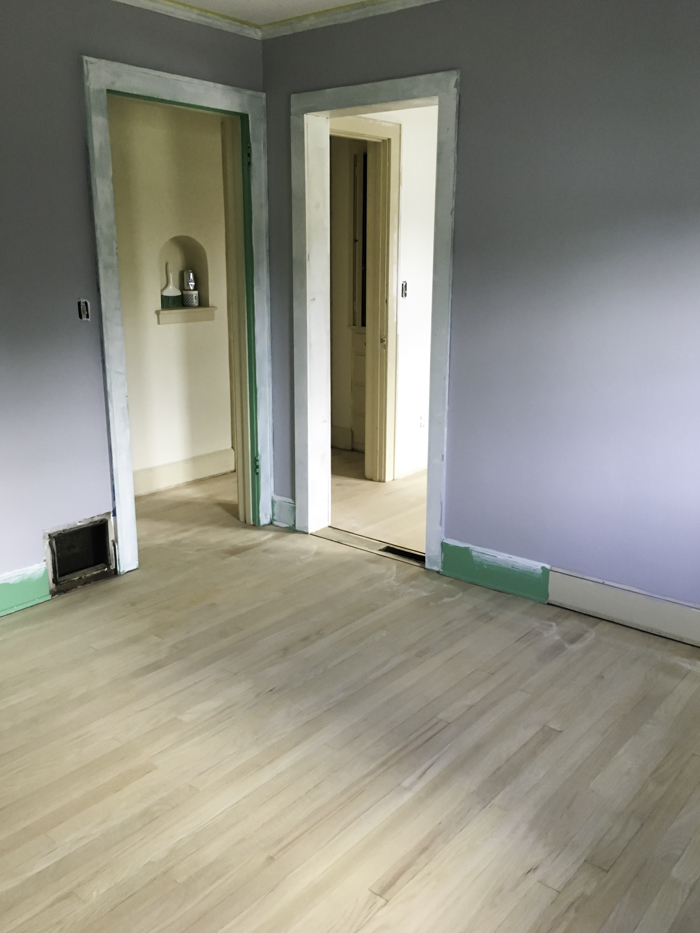
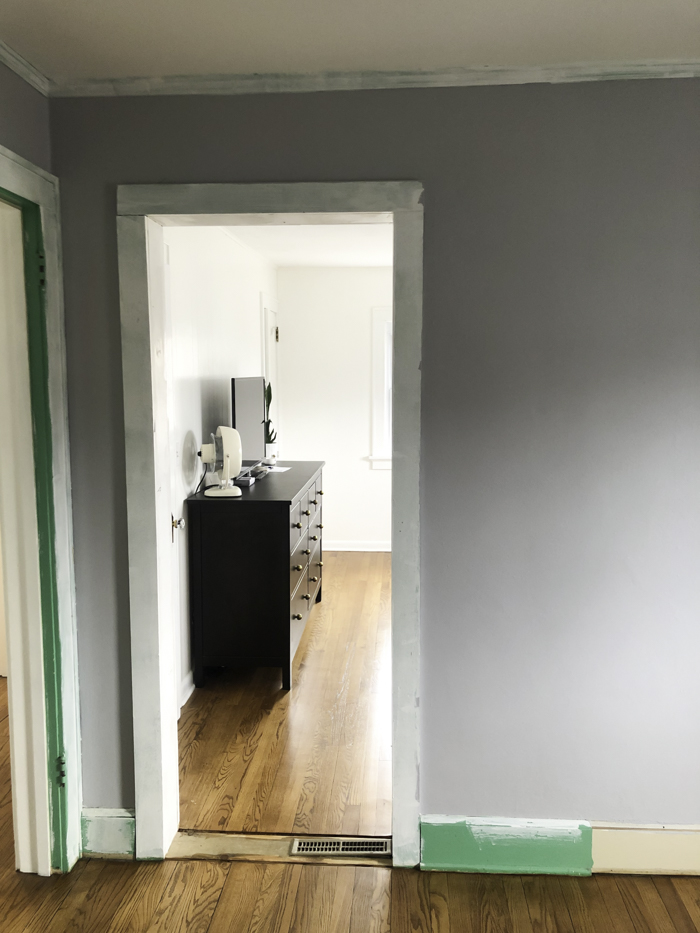
I swear it looked grey in the swatches, but I didn’t take the time to put multiple samples on the wall to evaluate how it changed with the light. Instead of a pretty dove grey, it was lavender. I didn’t bother repainting right away; it was a space we weren’t using and we needed to solve this doorway situation before I was willing to spend a couple of hours repainting.

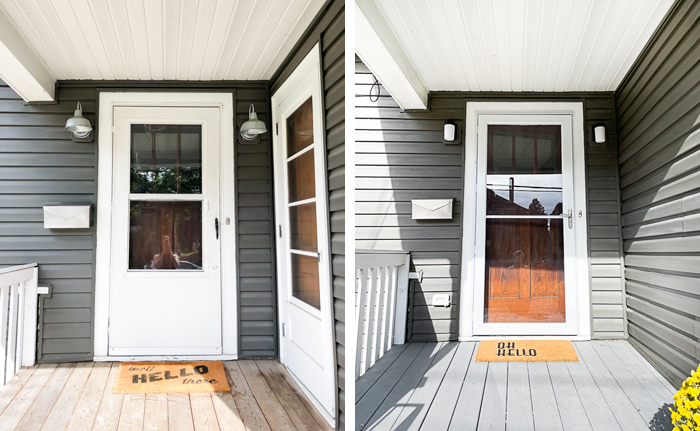
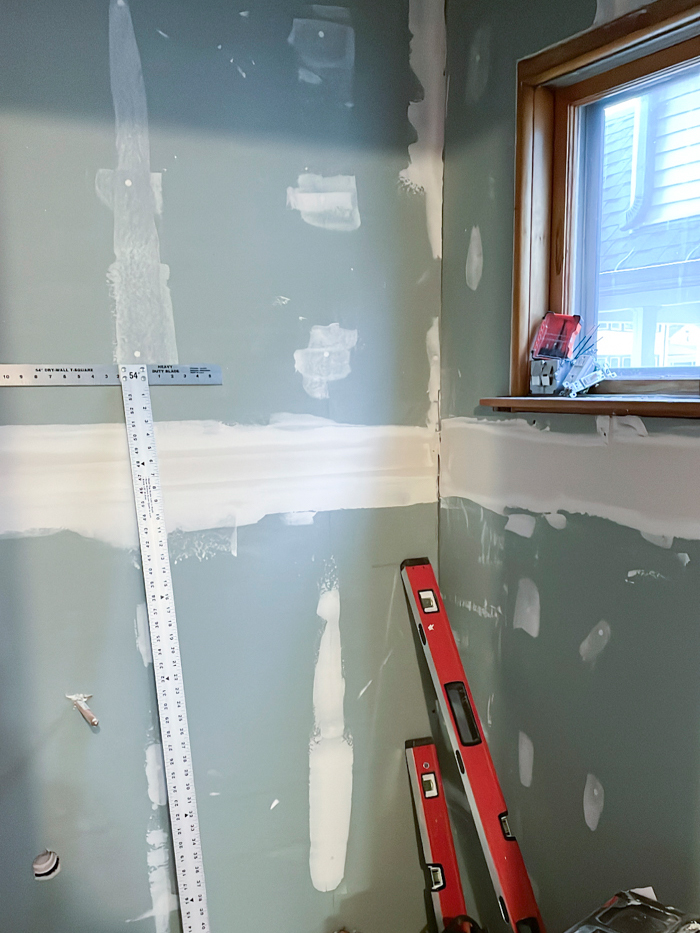
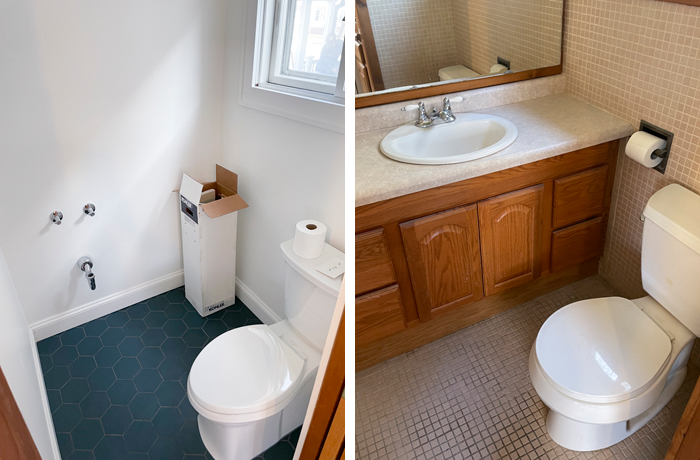
We eventually filled in the gap in the doorway with a shallow built-in on the main bedroom side (see it here). Our carpenter also created baseboards to match the original trim in order to fill in and repair the missing trim along the floor.
Also worth noting is that this area of the wall is now thin; it’s the depth of a piece of drywall and a layer of wood on the back of the built-in. There won’t be anything hung on the wall here because the nail will go right through the back of the built-in.
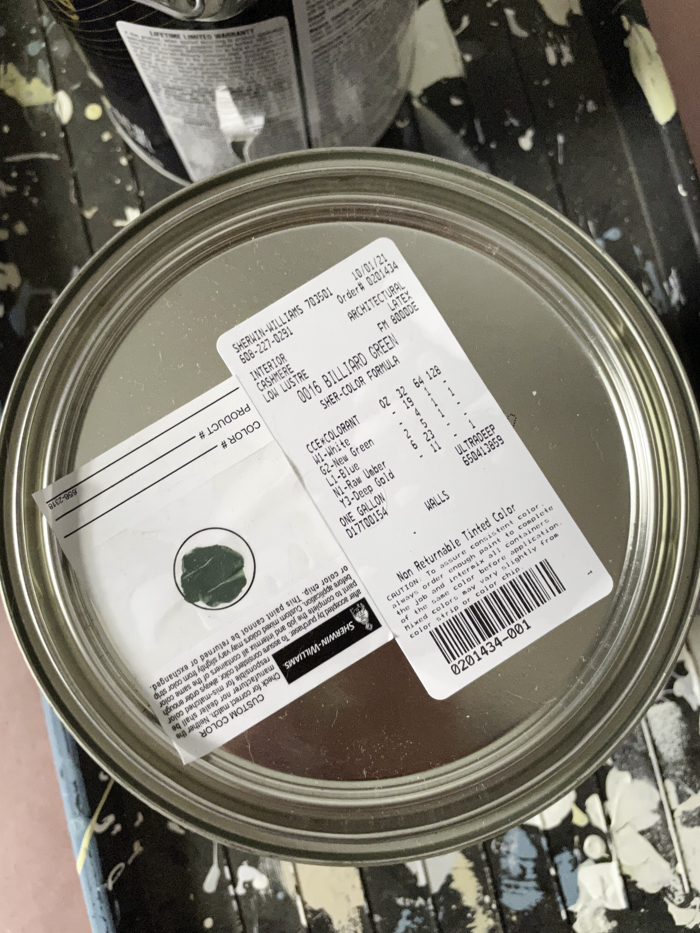
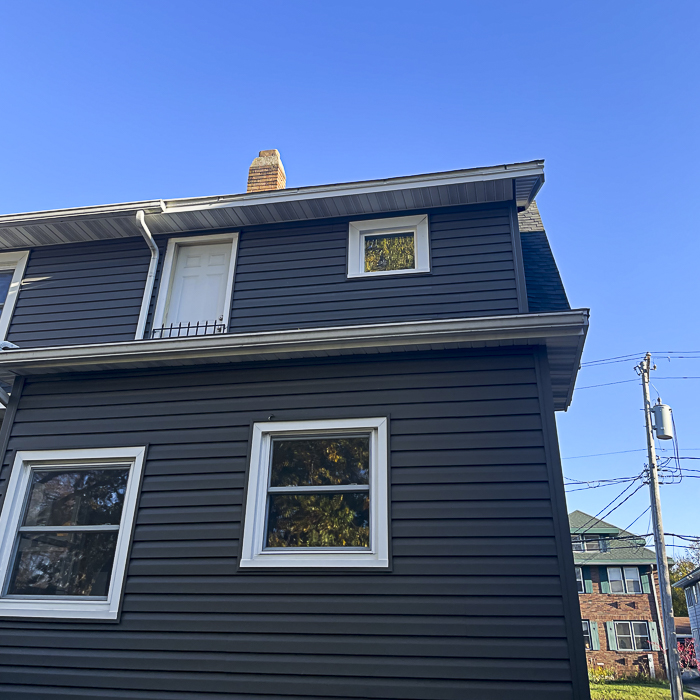
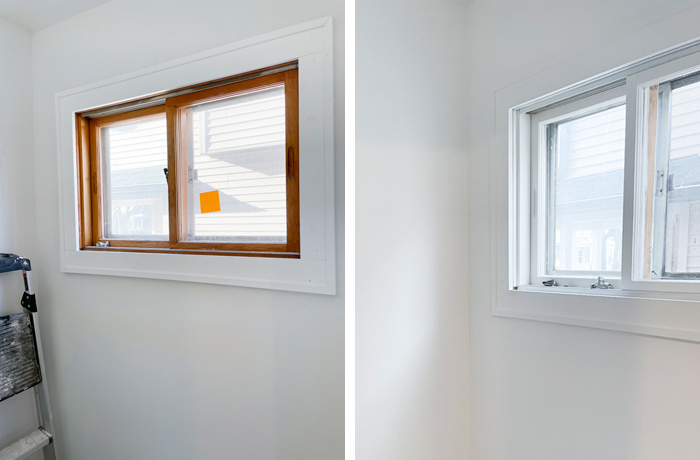
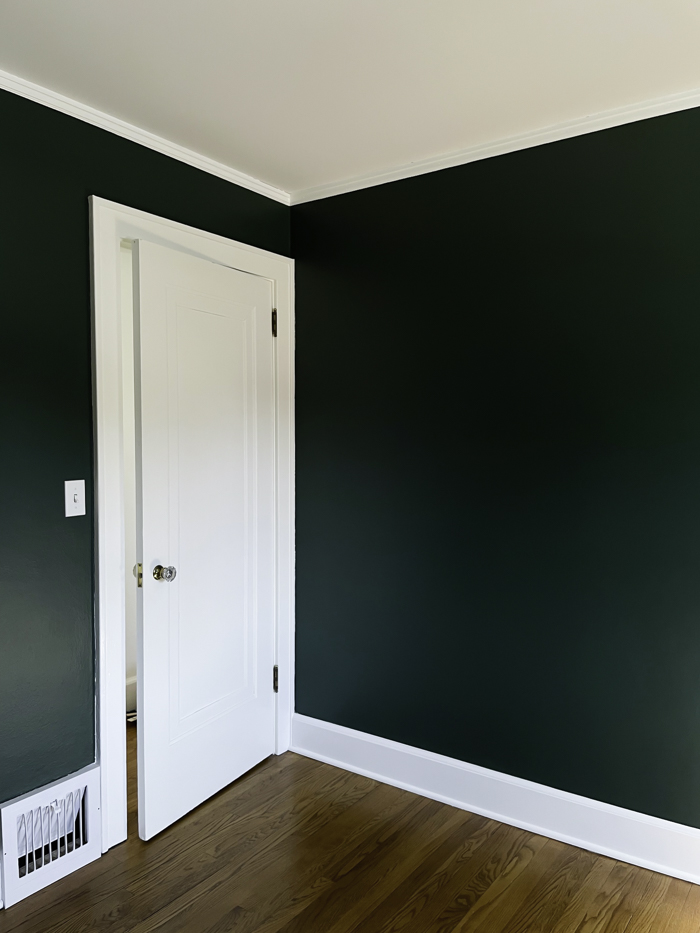
For paint, I decided to go in a completely different direction. Our main bedroom and office on the second floor are light and airy. Since the guest room doesn’t get a lot of light, I wanted to lean in on the coziness and go for something dark, yet classic. “Billiard Green” is one of the historic colors at Sherwin-Williams and I appreciate that it doesn’t skew too blue or yellow as many greens tend to do.
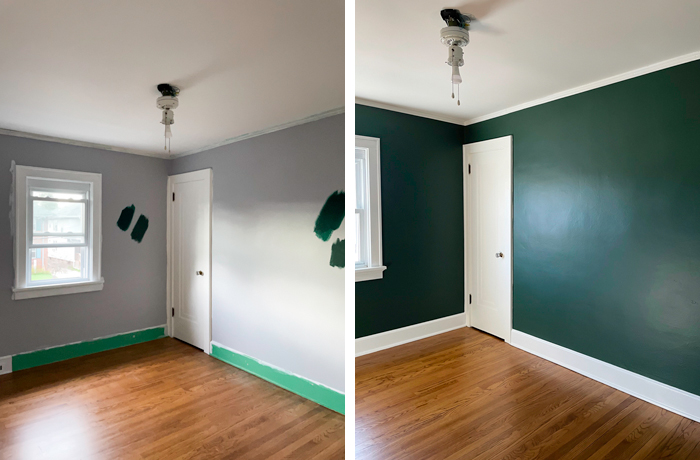
It was like that room was always meant to be green — just not in its previous iteration. It’s a beautiful color and I love how it looks on the original plaster walls.

(Oliver! I miss that little guy!)
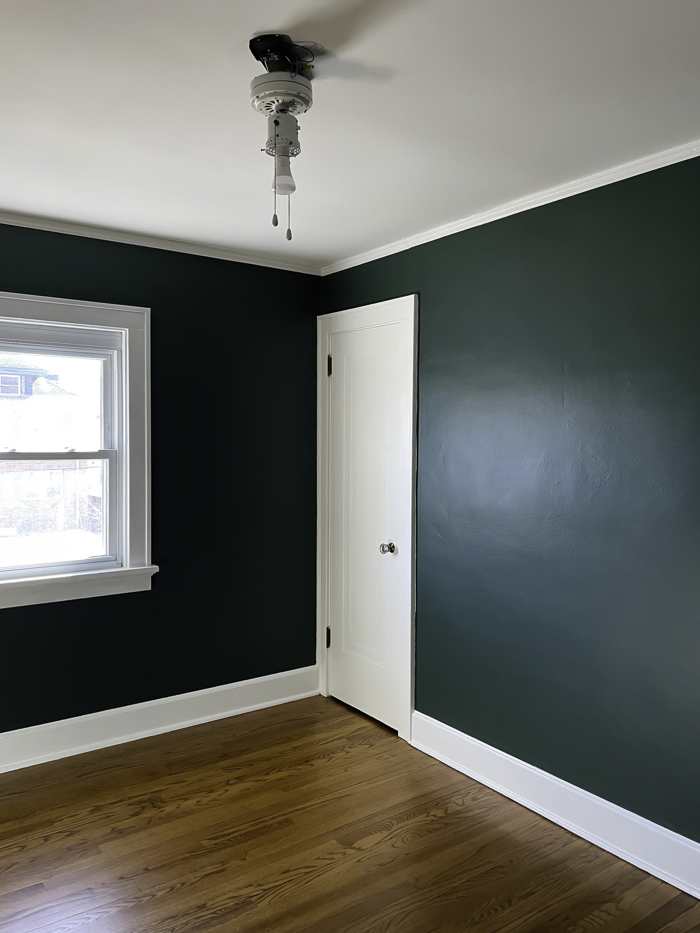
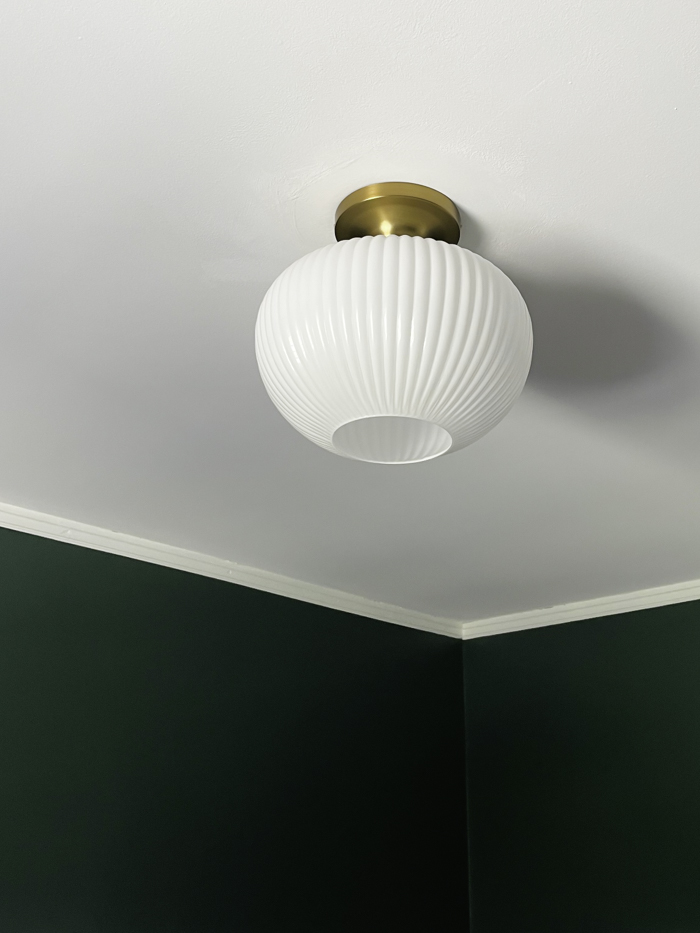
After getting the walls squared away, we swapped out that ceiling-fan bracket for an actual light fixture and went with this one. It’s a $60 dupe of a more expensive West Elm fixture.
Now, the fun part! I don’t have a design fully fleshed out, but here’s what I’m thinking:

A metal bed is traditional and echoes the ribbed texture of the ceiling fixture. Plus, the bed is a a great price at $620 for a queen. Our style is very much traditional-meets-midcentury, so I’ll opt for a vintage-inspired nightstand like this one. We have a vintage dresser that I’ll keep, which has a similar wood tone. I haven’t settled on this lamp yet, but I do like the mix of wood and ceramic. I’m still exploring options for bedding, but I can’t wait to show you how it’s coming along!
—
Let’s keep in touch!
Instagram / Facebook / Pinterest / Bloglovin’
Thanks for visiting! As a reminder, I may earn an affiliate commission if you buy an item through my links. This is at no cost to you. I appreciate your continued support!