Interior blogs often focus on the pretty stuff — the “good stuff.” The stuff that comes after new drywall is placed and construction debris has long been cleared away. After beginning our own home renovations last week, I’ve come to realize that the pretty stuff isn’t the “good stuff.” The good stuff is the opportunity to improve your home’s mechanics, electrical, and plumbing to make a century home last another hundred years.
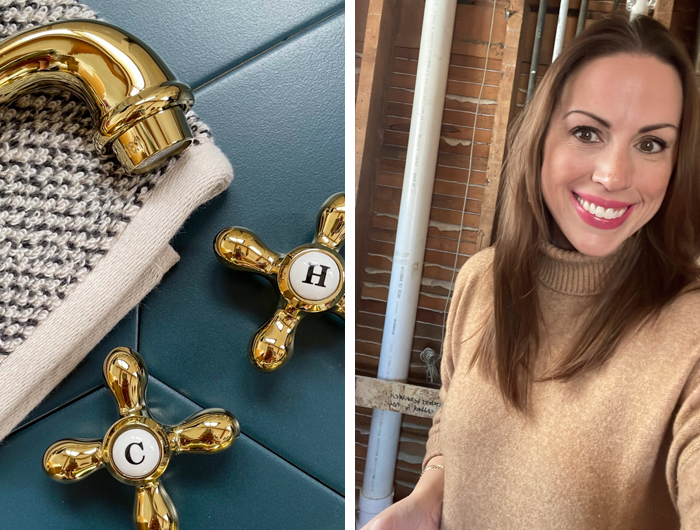
Before I tested positive for a COVID breakthrough infection and before our contractor’s crew began work, we estimated that our powder room would take two weeks from start to finish. That’s not quite how things actually went and I wanted to take a moment to document the progress we have made over the past couple of weeks. The crew did take a few days off from work over the past two weeks. There was an ice storm and a couple of the crew members that are on-deck weren’t comfortable with my COVID-positive status until I cleared the 10 days (can’t blame ’em). We’ll be at it full time starting Monday until both bathrooms are complete, barring any additional illnesses.
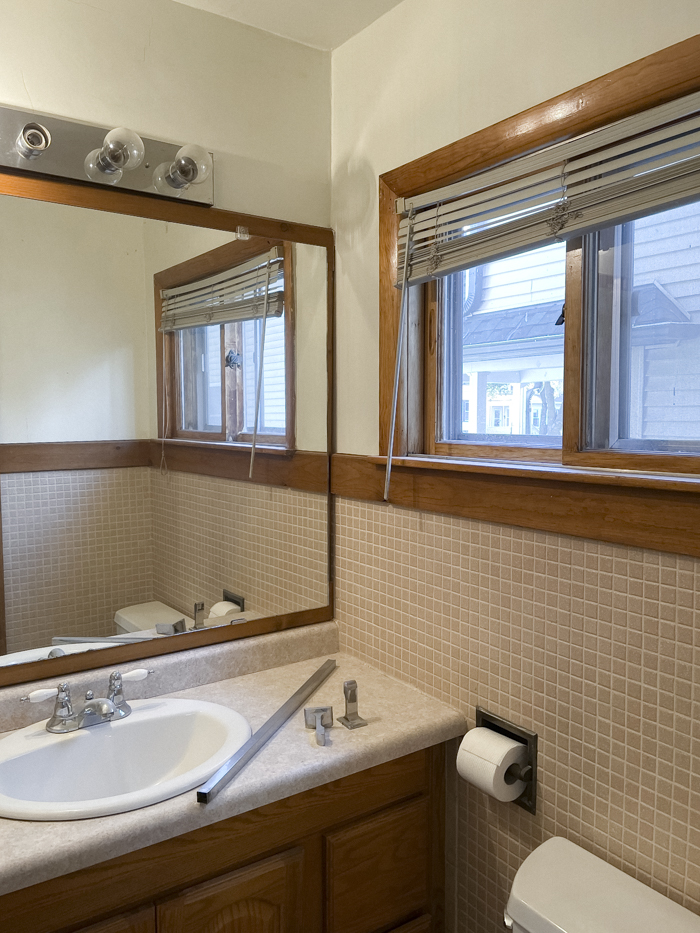
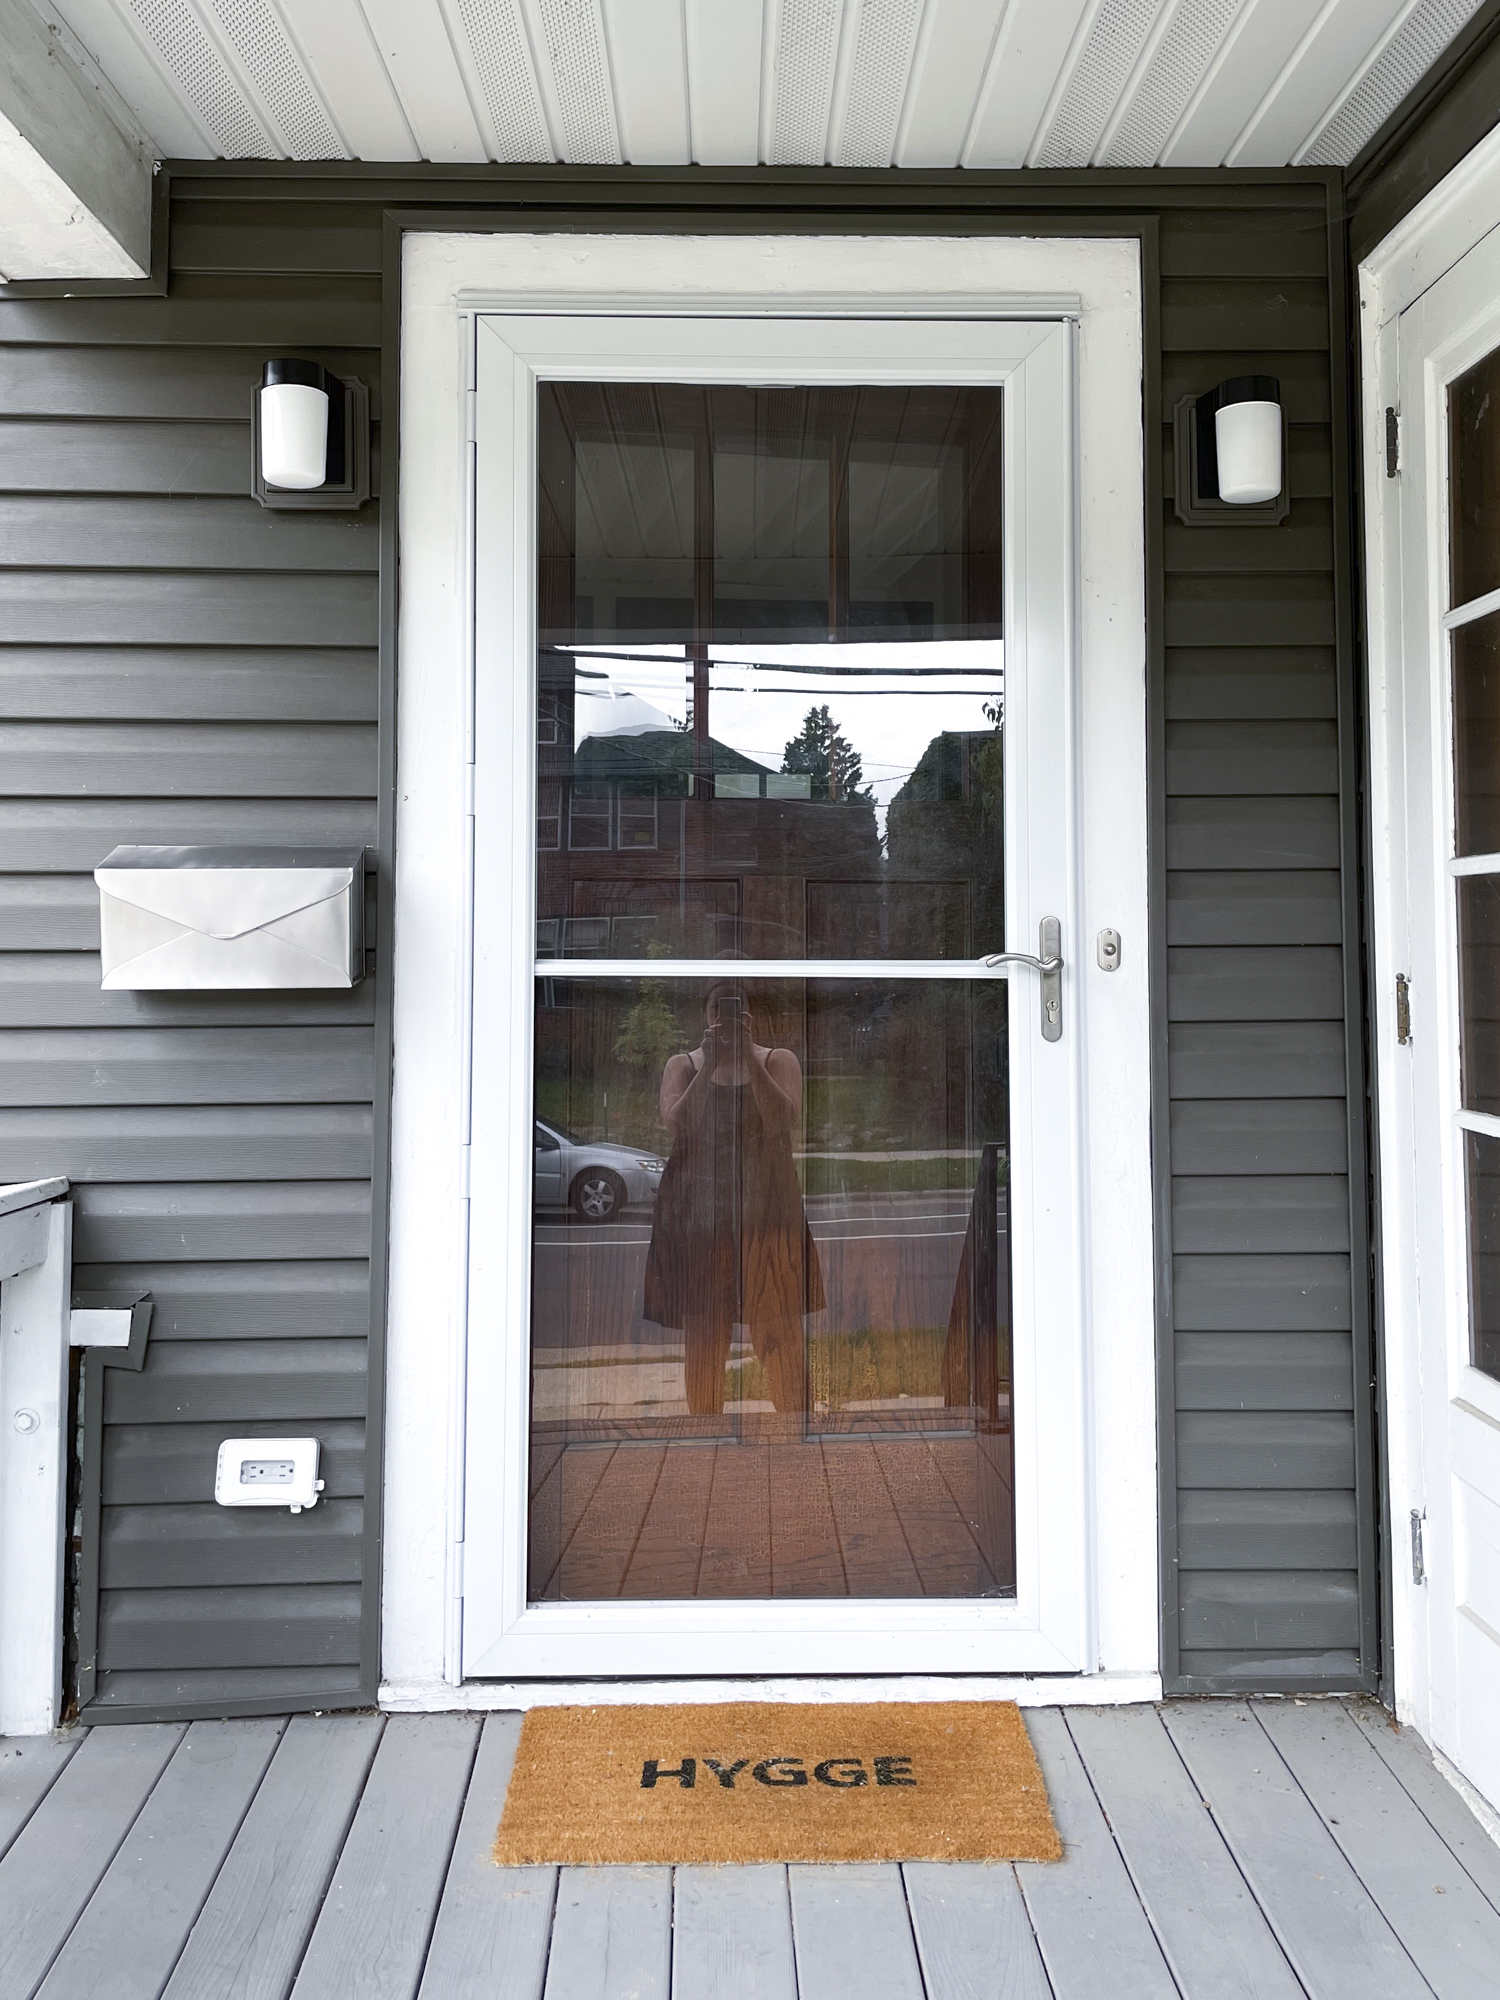
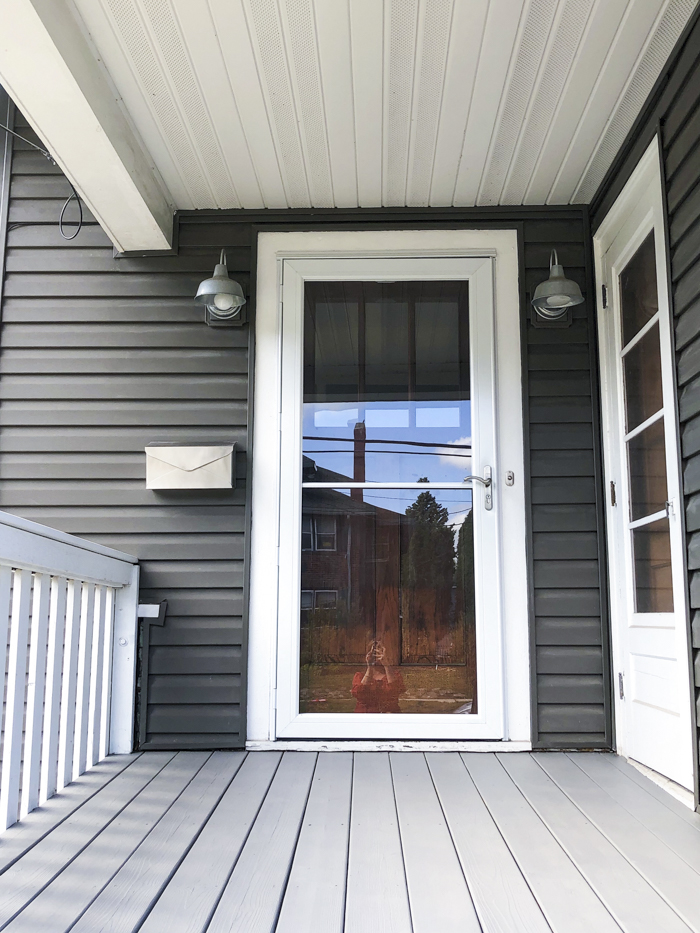
First up, here are some of the before images:
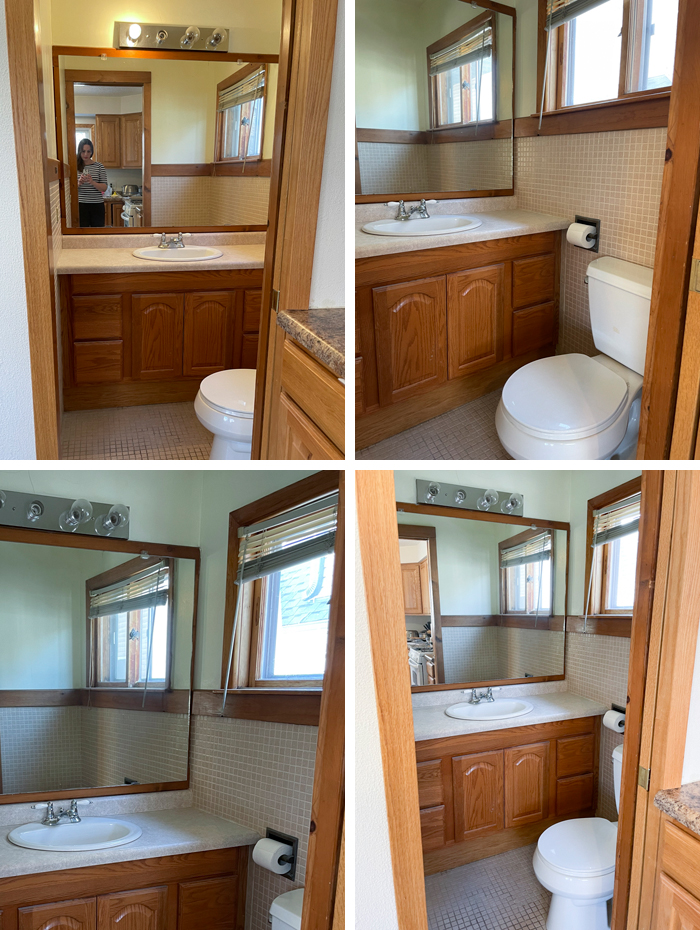
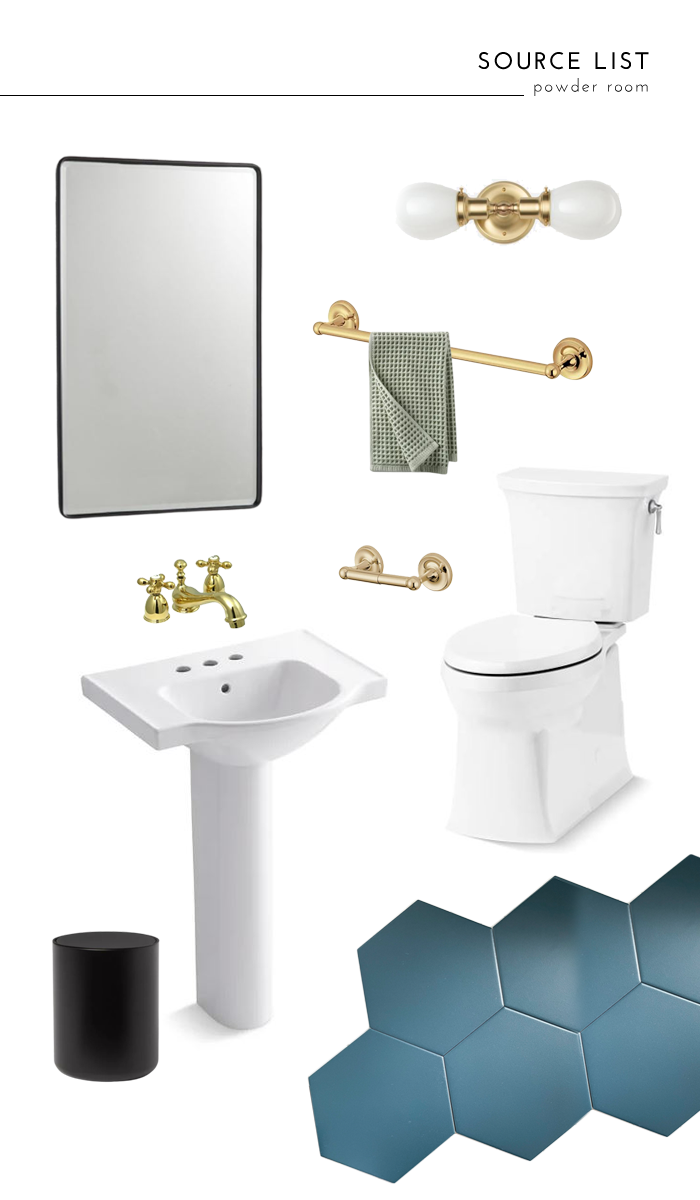
The powder room is off of the kitchen on the first floor. The kitchen and this powder room are both part of an addition to the house. Judging by the product selections, I’d guess this happened in the ’90s or early aughts. The room is approximately 25 square feet, which is a pretty decent size for a half bath, but the space wasn’t utilized effectively. When we started this project, we figured we’d keep the plumbing in the same locations — and for the most part that ended up being the case. It would be too pricey to move the toilet, even if it’s not in the ideal location for this space. That’s just a reality of renovations and budgets. The sink, as we came to learn was not correctly plumbed and would need to be moved. We’re going to center it with the door frame, so when you look into the room, you’ll see a pedestal sink, the mirror, and a sconce. You’ll still see that peek of the toilet seat, but eh, whatcha gonna do?
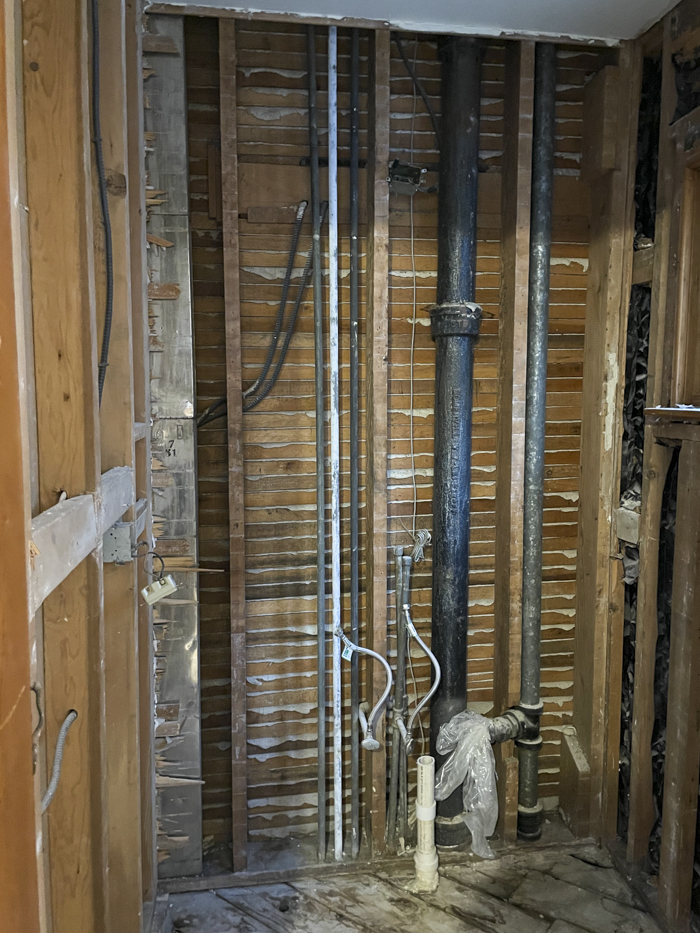
Here’s what we had when we opened up the walls. The pipe that ran to the sink was drilled through the floor, which apparently isn’t legal, and it wasn’t vented at all. The previous owner had also sealed an unused pipe with a wad of plastic. There was some minor water damage by the sink and toilet, which is to be expected. There was shockingly insufficient insulation on the exterior wall. And, of course, we had galvanized pipes. Replacing the pipes wasn’t part of the original scope of the project, but galvanized pipes can rust and crack over time. Having the walls already open is by far the best opportunity we’d have to proactively take care of a future problem. Our contractor said that it would cost another $500 to replace it all with modern PVC plumbing. The plumber was here longer than the half day that they anticipated, so I expect the final dollar amount to be higher. Still worth it because look at the grossness that’s inside of those pipes:
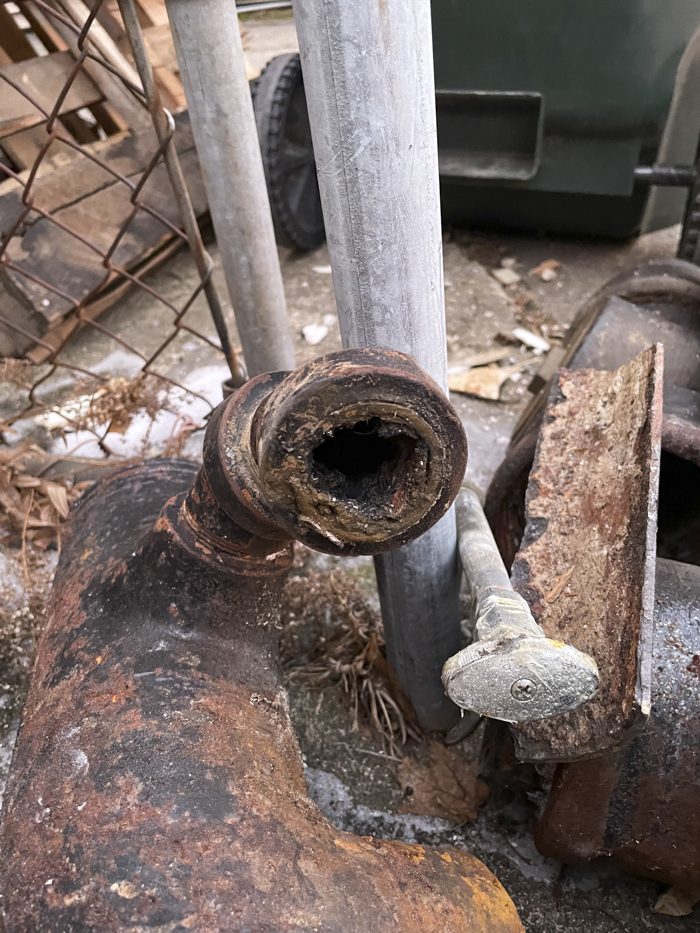
Ew. Haha. So, the thing with galvanized pipes is that they’ll rust on the inside of the pipe, too. The inside then becomes rough, making it more likely that hair and other gunk will get stuck leading to frequent clogs. And let me tell you, we are very familiar with this issue. Our upstairs shower connects to this plumbing and for the past four years we’ve lived here, we’ve been standing in ankle-deep water after a shower every single time. Snaking the pipes and Draino didn’t do much — it was a bigger problem that we are so grateful to have taken care of. You wouldn’t believe my excitement the first time I showered upstairs after the new pipes were in and the water drained like it should! I told our contractor later that it I didn’t know what kind of witchcraft the plumber did, but I’m a fan — to which he said “it’s the magic of PVC pipes.” Money well spent.
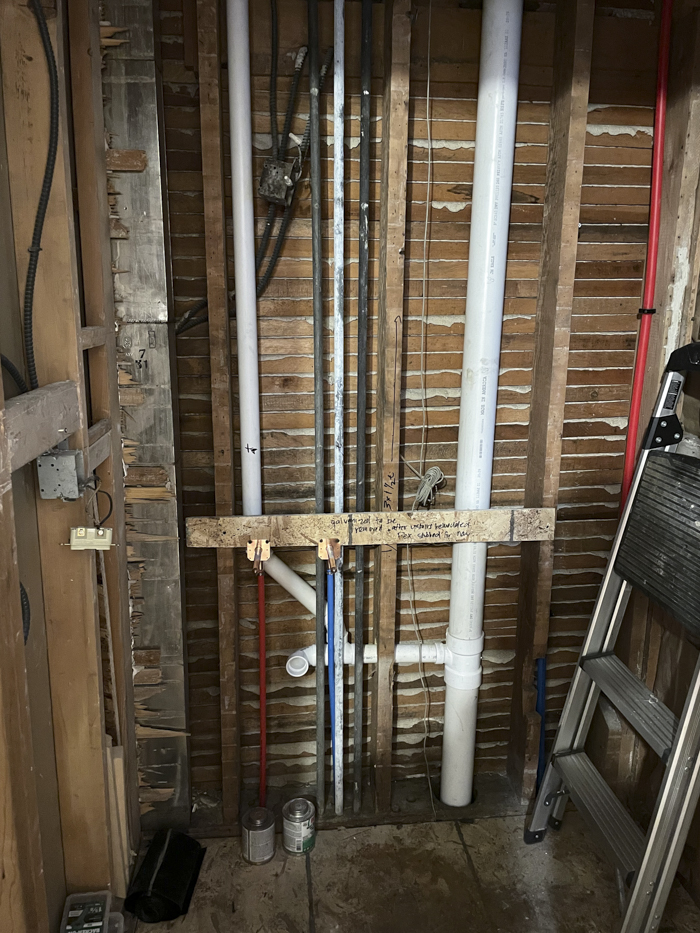
Here’s where we decided to move the sink. It’s a pedestal sink that will now be centered across from the doorway rather than being centered on the wall. This opens up space to the right where we can put a basket of towels or toilet paper. We’re also considering installing some floating corner shelves for plants.
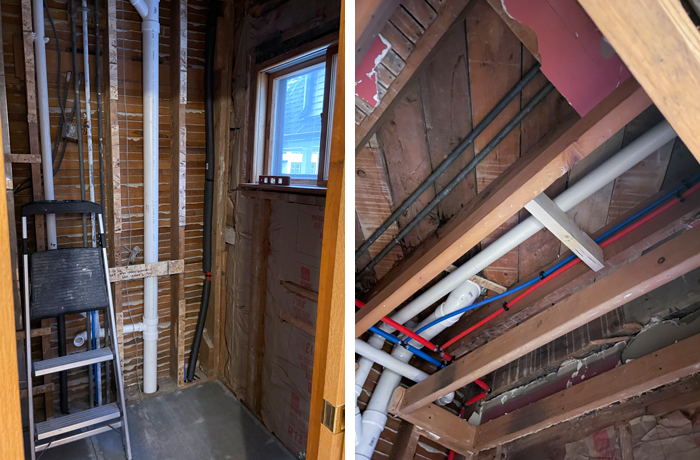
You can see all of our beautiful new pipes and supply lines here — the real “good stuff.” Those remaining galvanized supply lines will be pulled when we’re working on the upstairs main bathroom. They’ve since insulated all of the hot water lines. (You can learn about the benefits of pipe insulation here.) There’s also new insulation in the exterior wall and the tile-ready subfloor has been laid. (And look at that bold red ceiling that used to be in the original galley kitchen! I had no idea!)
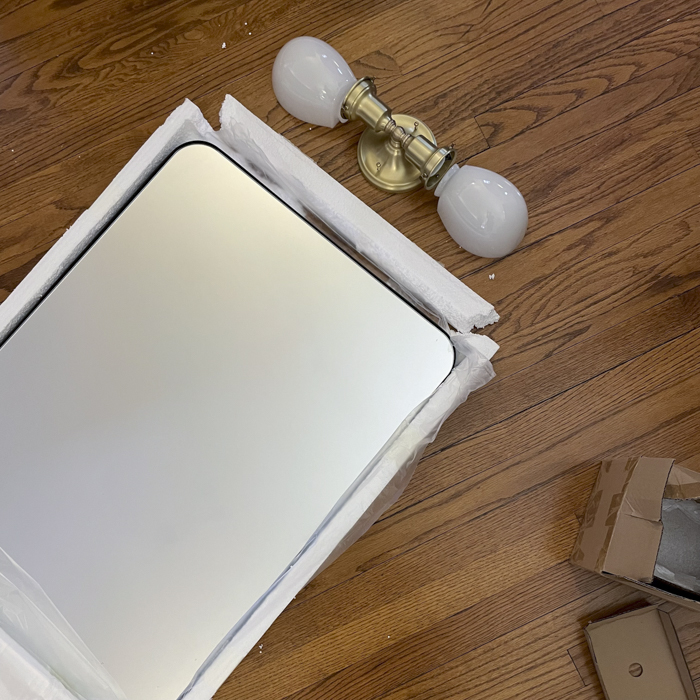
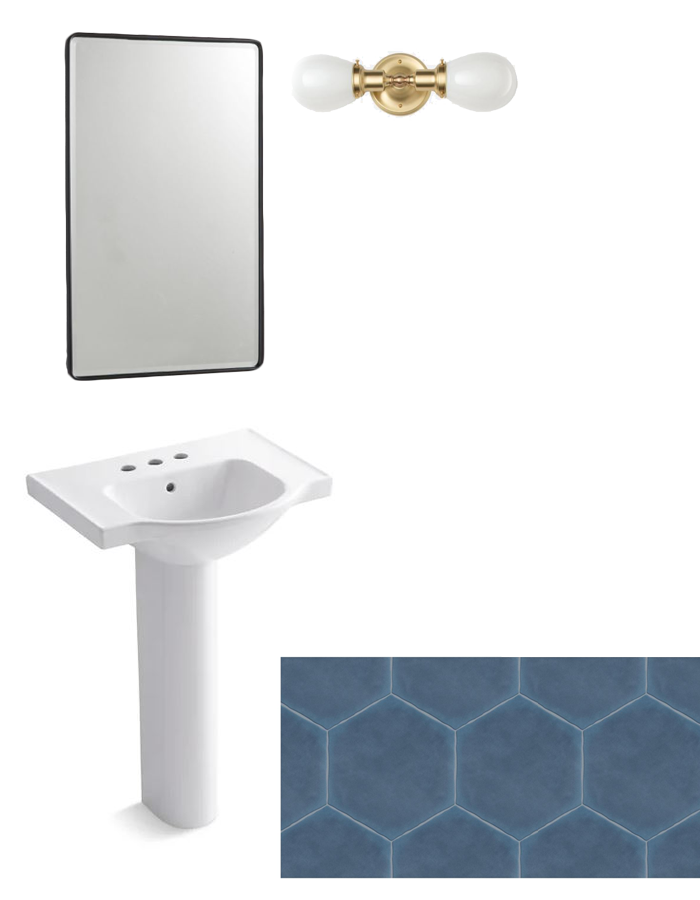
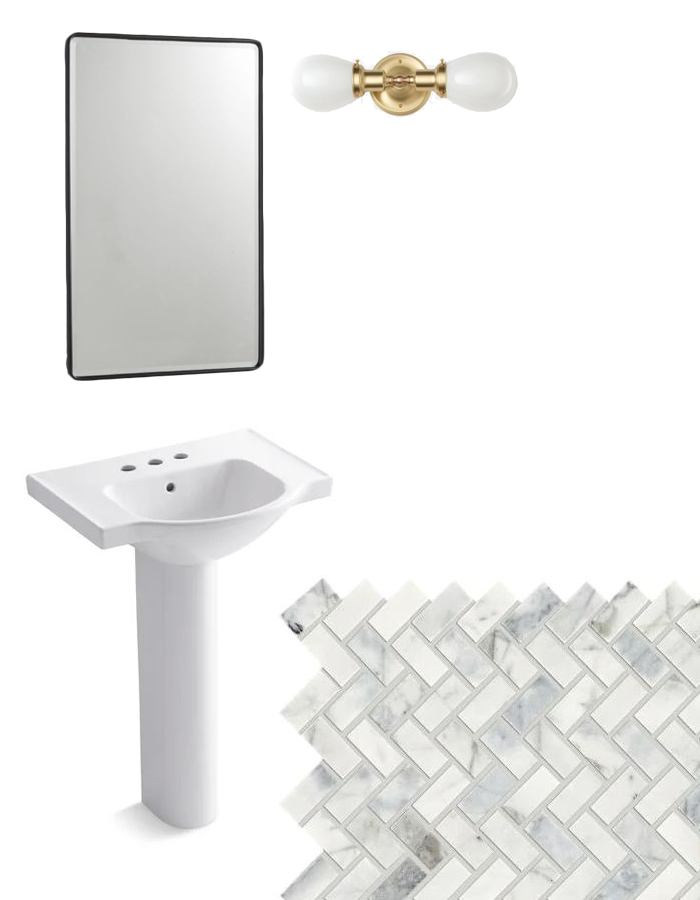
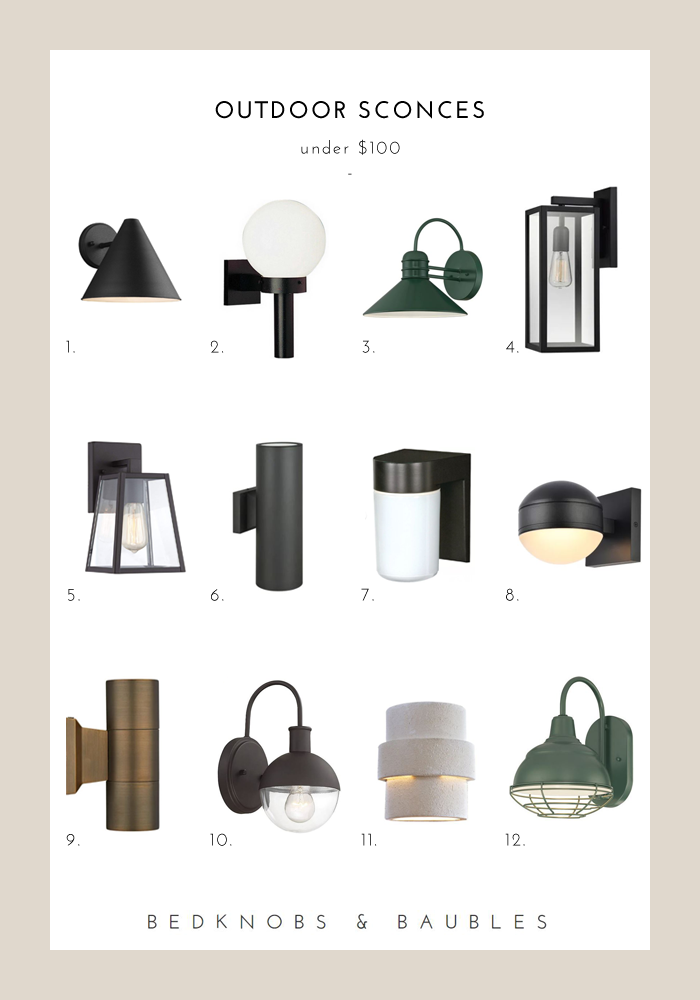
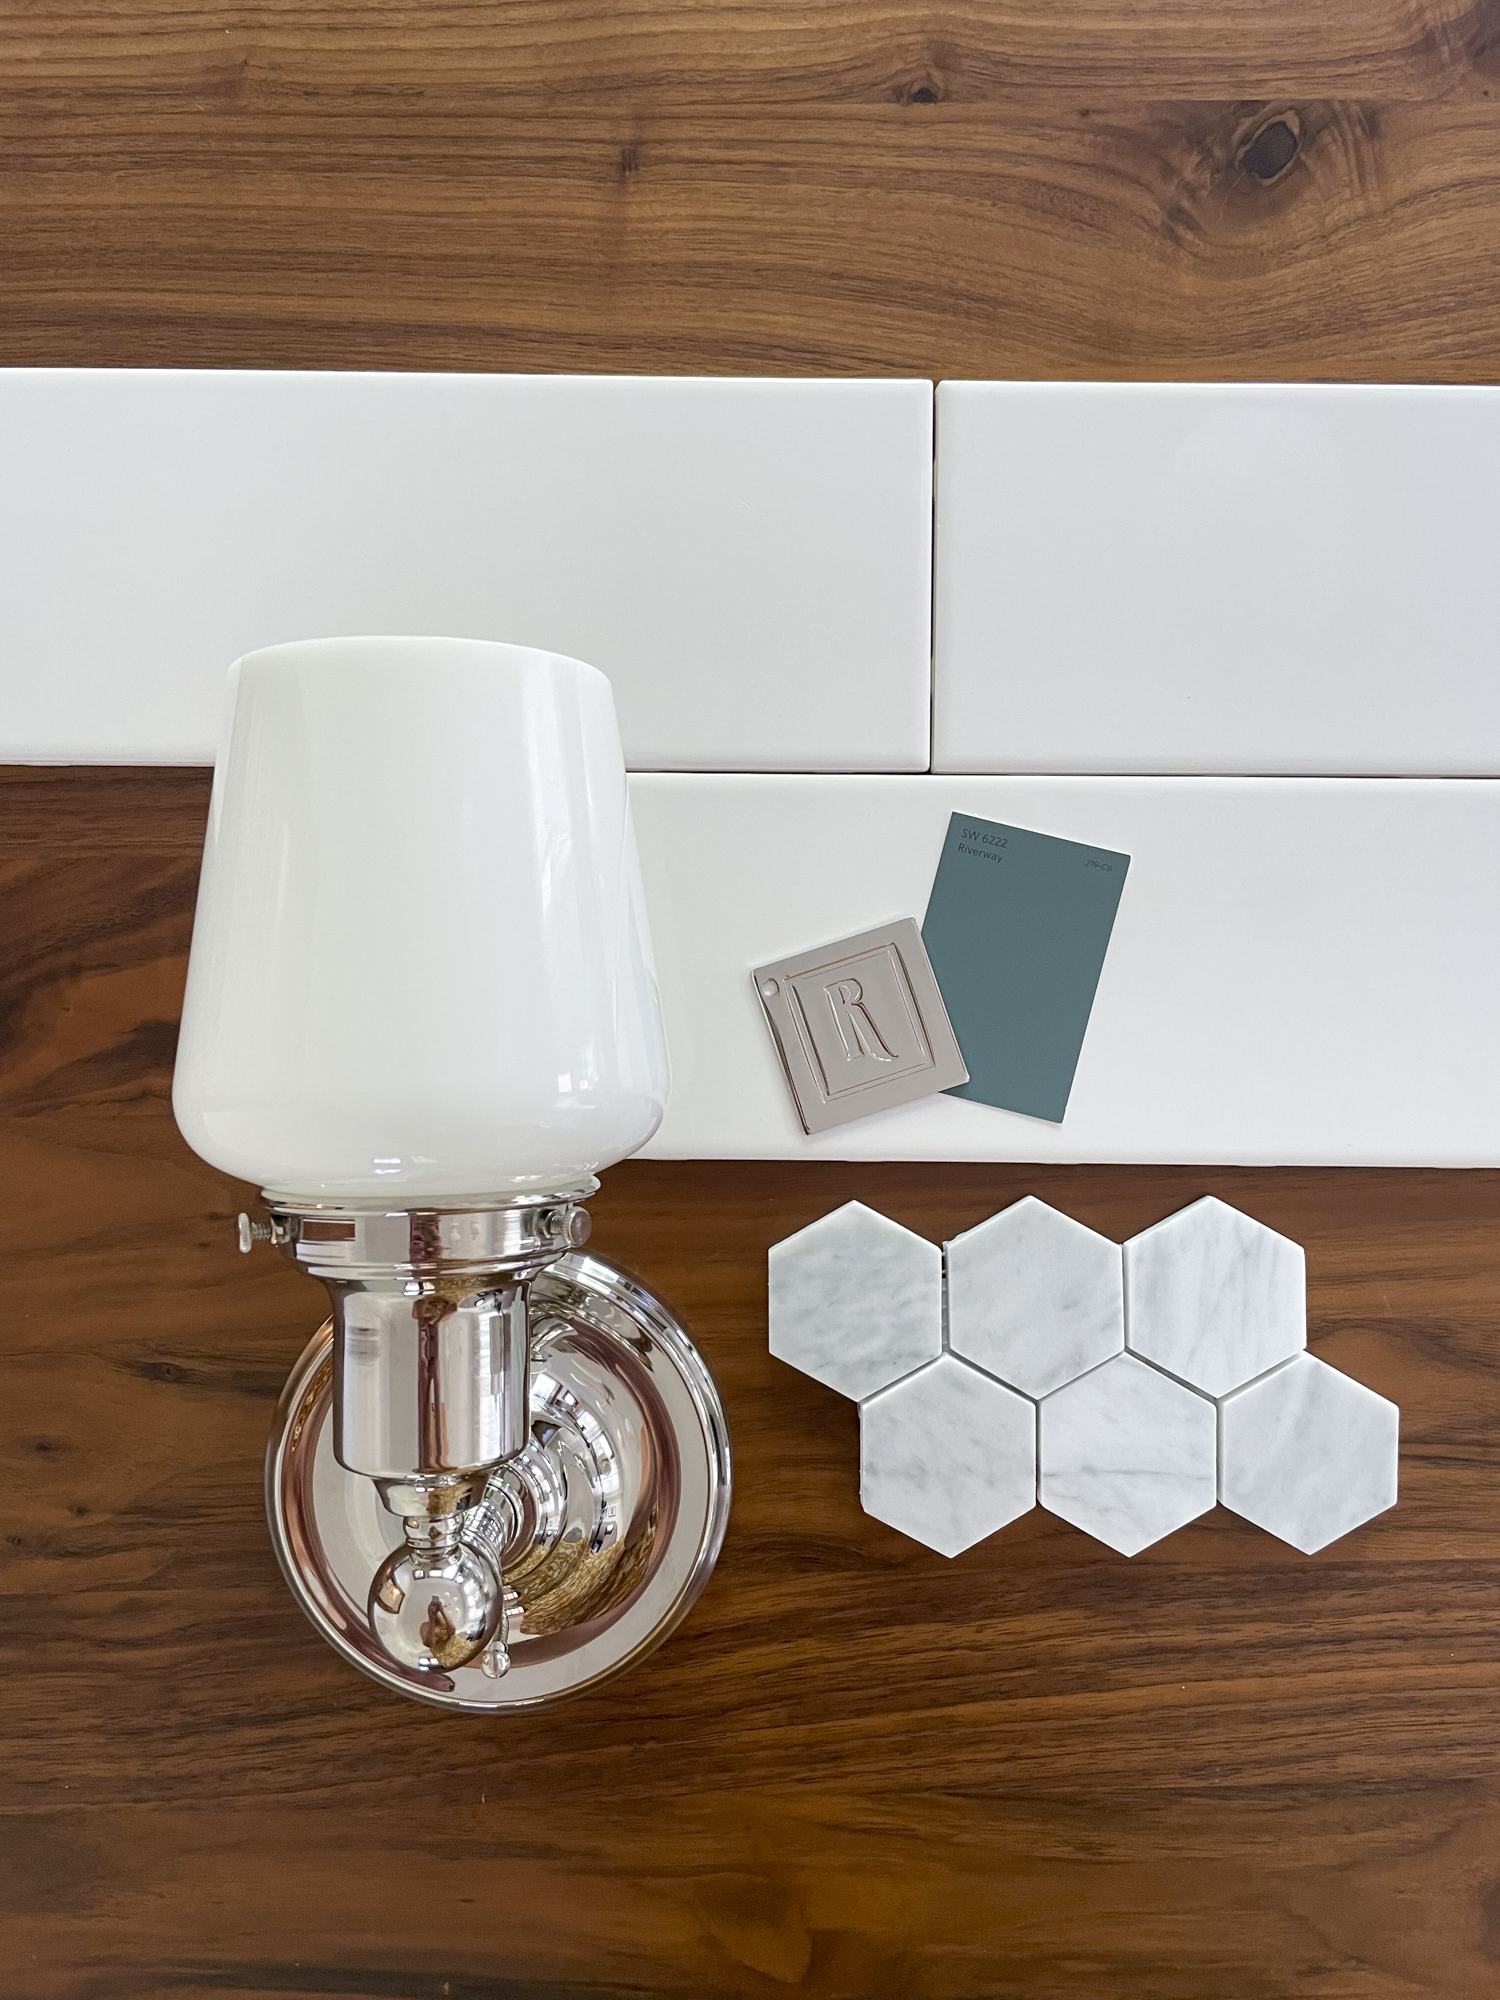
As you may recall from my product overview for the space, I had hoped we’d be able to add an inset medicine cabinet. Sadly, my dreams of having guests low-key snoop through my meds has been dashed. There isn’t any room in the walls to make an inset cabinet work and I’m not keen on the wall-mounted versions. I found this mirror on Overstock while I grumpily looked for an alternative. I had low expectations for it, despite the glowing reviews, but I forgot all about the medicine cabinet once the new mirror arrived. It’s hefty and well made and I just love it so much — plus it’s cheaper than the original one I wanted at just $130. It has the vintage-inspired look I was going for when paired with the sconce.
Even if the “good stuff” is the practical improvements, I’m still excited about the pretty stuff.
–
Let’s keep in touch!
Instagram / Facebook / Pinterest / Bloglovin’
This post contains affiliate links.