BEDKNOBS & BAUBLES

  • Interiors
    • My Home: Main Bathroom
    • My Home: Powder Room
    • My Home: Living Room
    • My Home: Dining Room
    • My Home: Main Bedroom
    • My Home: Front Porch
  • Lifestyle
  • Travel
    • Travel Posts
    • Travel Guides
  • Style
    • Style Posts
    • Outfits
    • The Coveted
  • Collaborate
  • About

Main Bathroom Renovation: The Cost Breakdown

June 10, 2022 by jessica Leave a Comment

So, how much did all of this cost? A lot. And way more than what our original quote was.

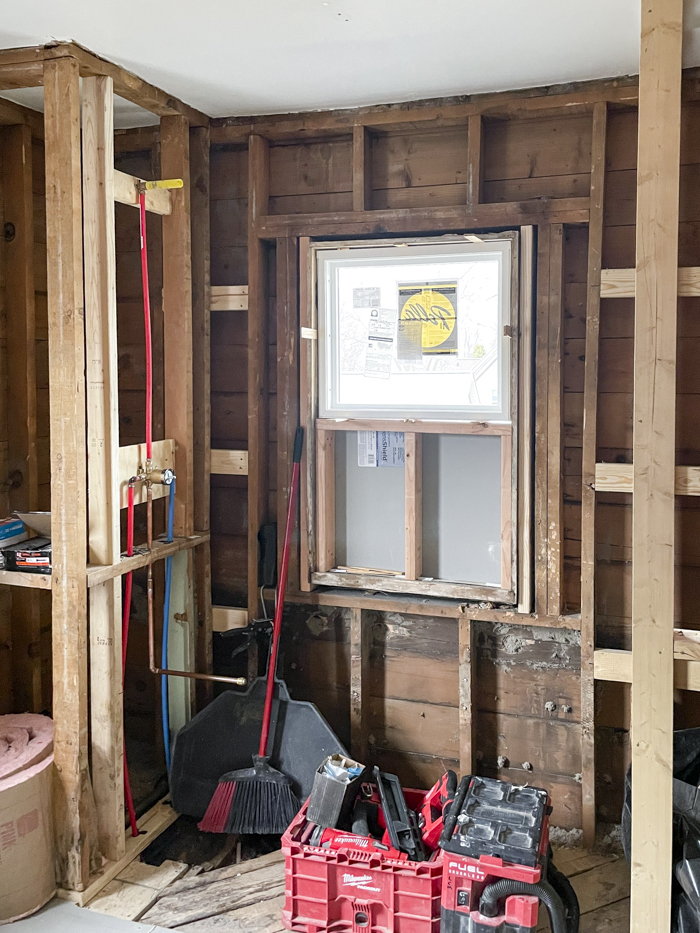
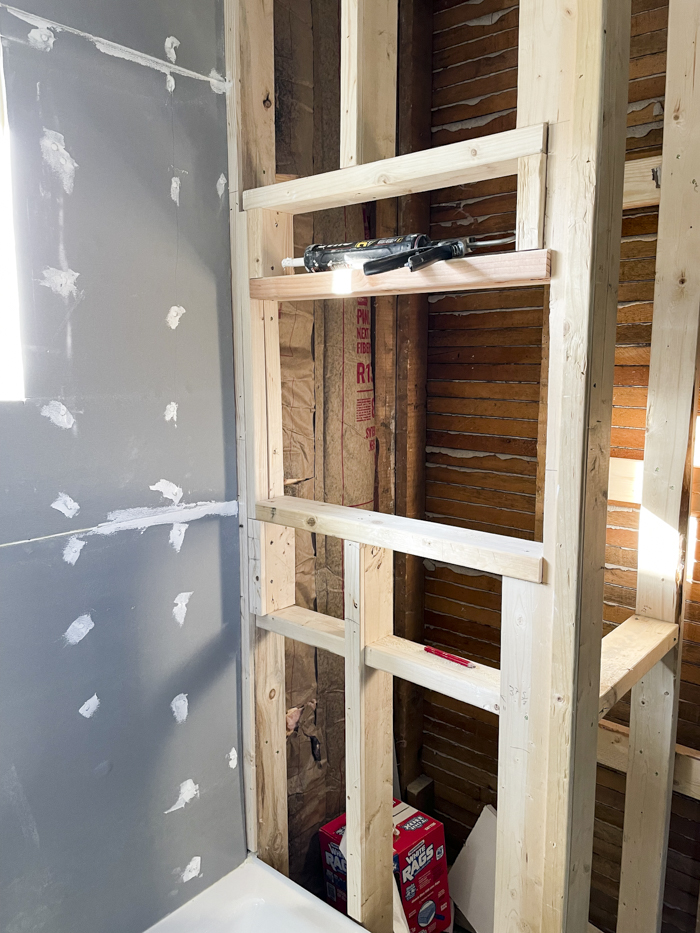
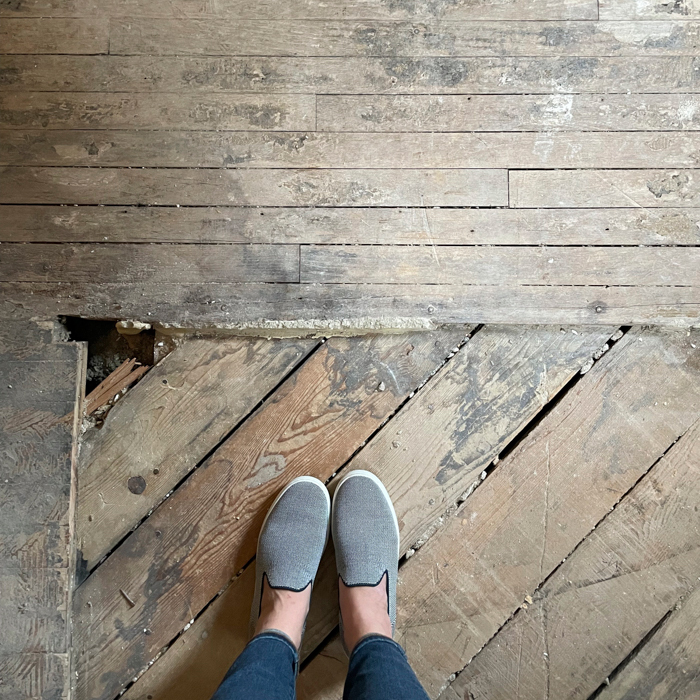
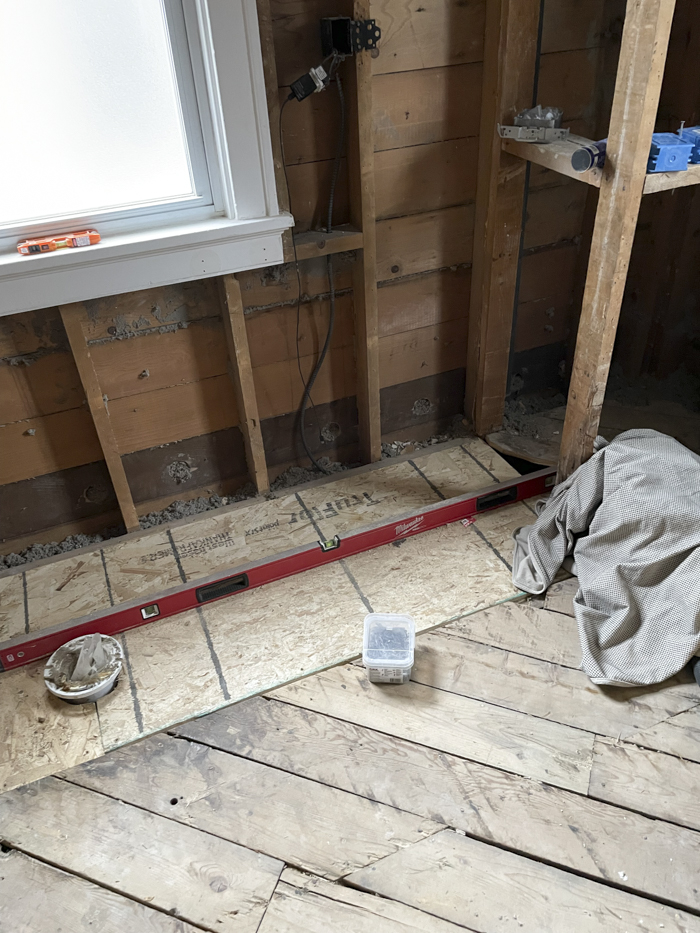
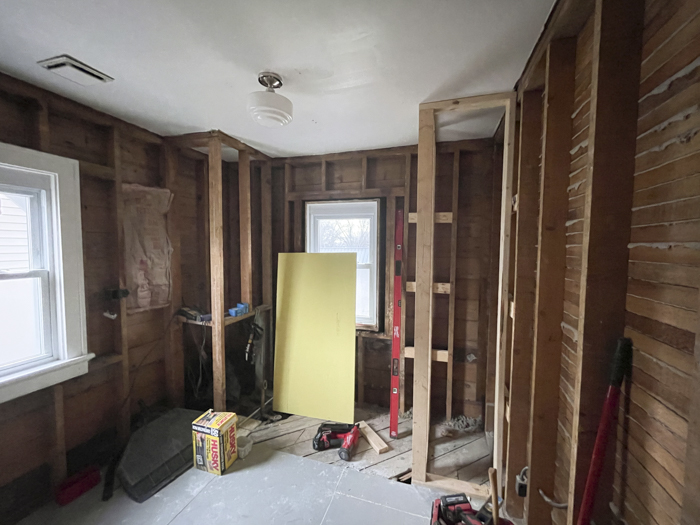
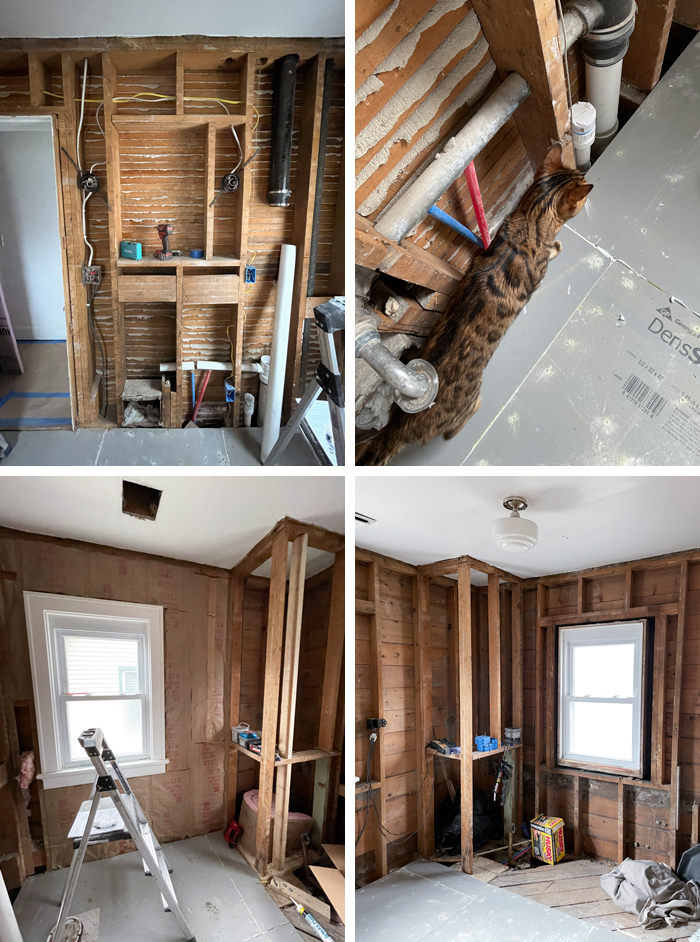
I do think it’s important to be transparent about renovation costs so others aren’t blindsided by prices when they’re doing their own remodels. Prices vary depending on where you live, and your contractor’s experience and expertise. Plus, you don’t know what you’ll find when you open up your walls. I’ll share more about the half bath in upcoming posts, but when we got behind the walls and saw our old cast iron plumbing, we decided to update it to modern PVC pipes which was an expected cost, but a smart decision to take care of it when the room was down to the studs to prevent possible plumbing issues down the road related to old pipes.

In this post, I’ll break down the costs by three areas:

Labor – This is self-explanatory. We paid our contractor $65/hour and $30/hour for the trainees that were on the job occasionally. Due to what would turn out to be a wildly inaccurate quote, our contractor eventually did a blanket 20% discount on labor and did roughly $6,000 in labor for free.

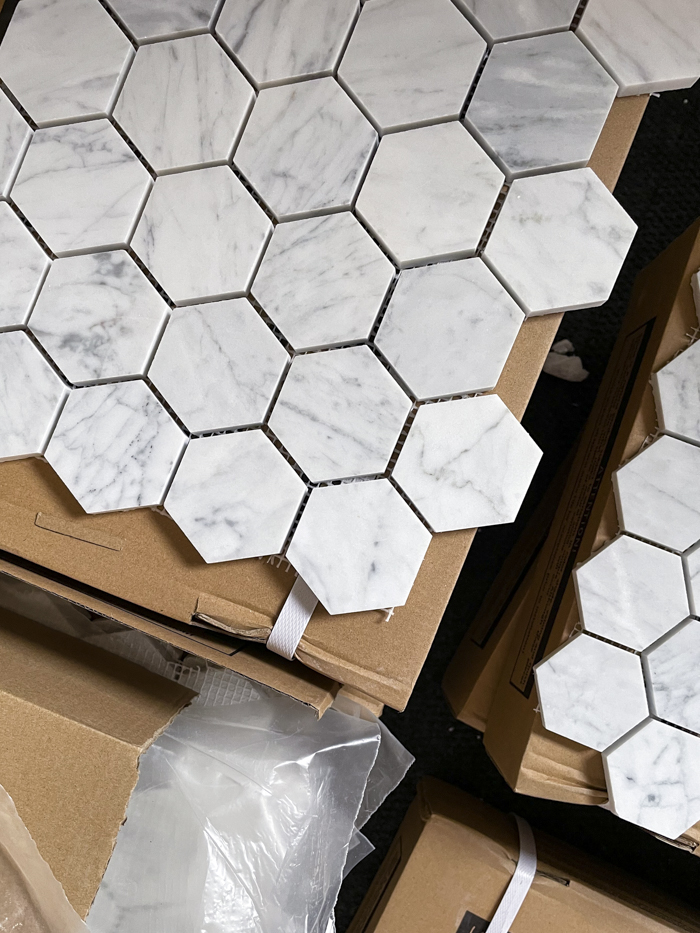
Materials – This includes things like lumber, paint, nails, backer board, caulk, etc. Tile is also included in this section.

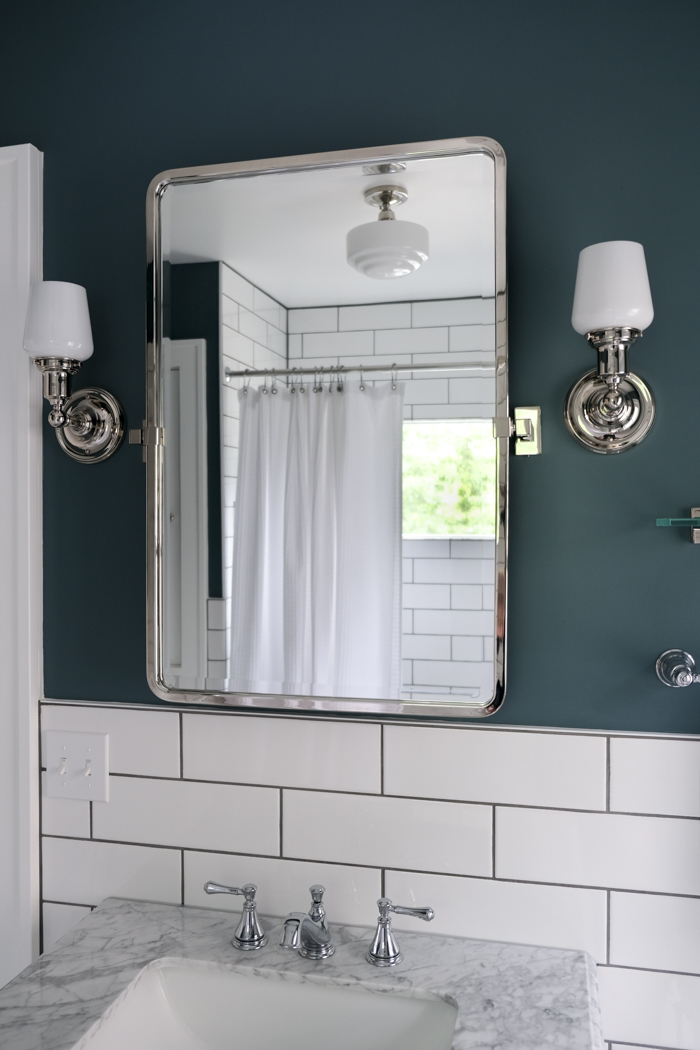
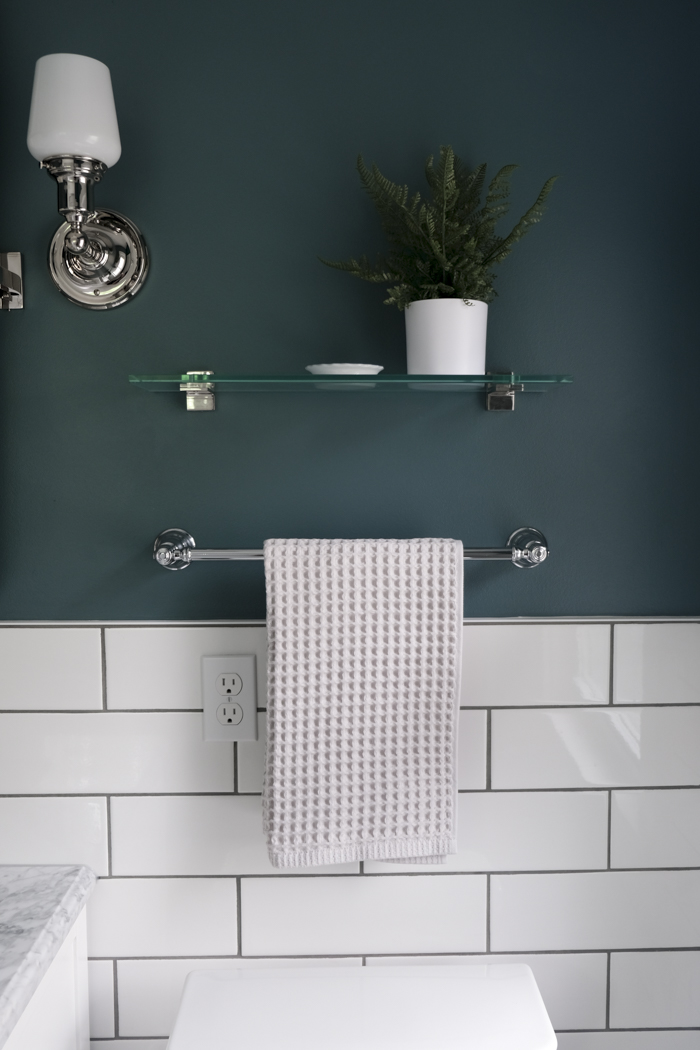
Fixtures – This will account for the finishings that you saw in the reveal post. It includes things like light fixtures, the tub, faucets, etc.

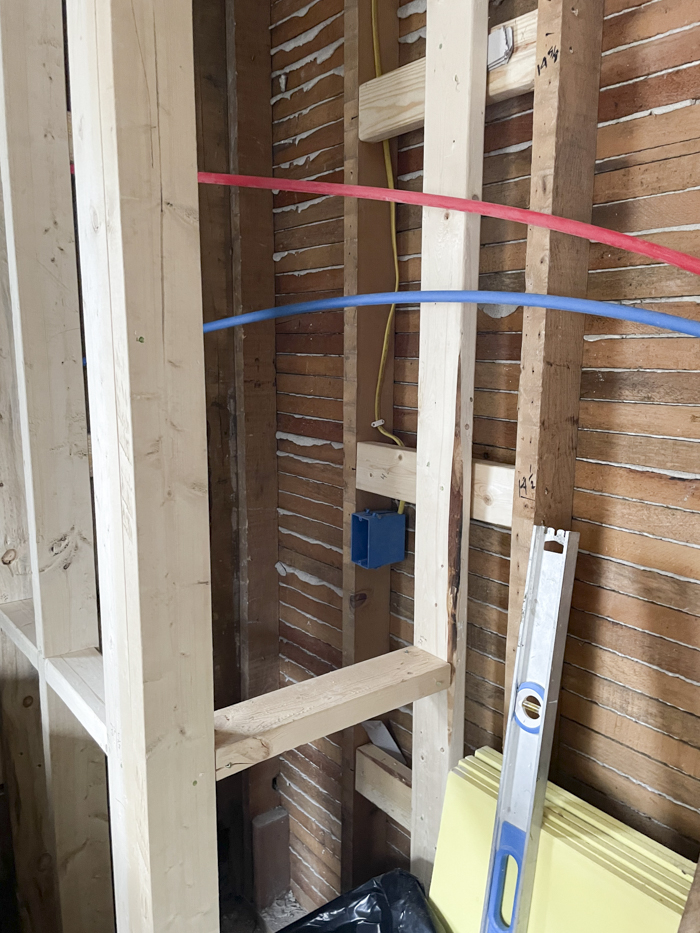
I’m excluding the cost of updating our plumbing, which came to $3,040.47. We removed all of the cast iron plumbing in the house and replaced it with modern PVC pipes. Cast iron eventually erodes and creates rough surfaces inside the pipes, which leads to drainage issues like clogs. We also discovered that the pipes were pitched incorrectly in the basement, so that was all corrected with that above price. It was money well spent.

Here’s where we came in at:

Permits – $242

Labor – $19,670.25

Materials – $4,945.24

Fixtures – $4,223.68

Grand Total – $29,081.17

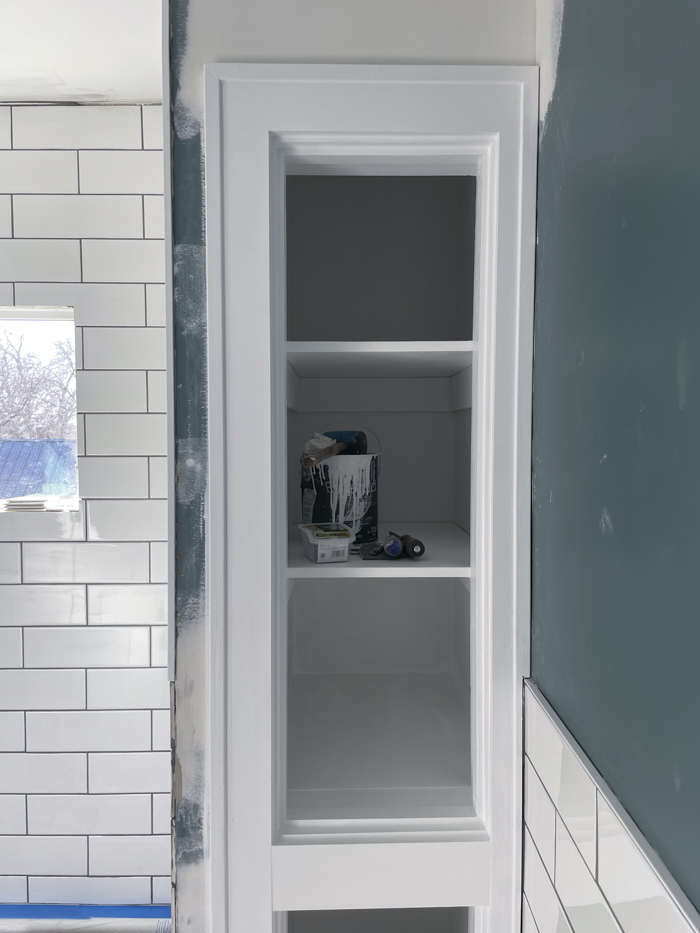
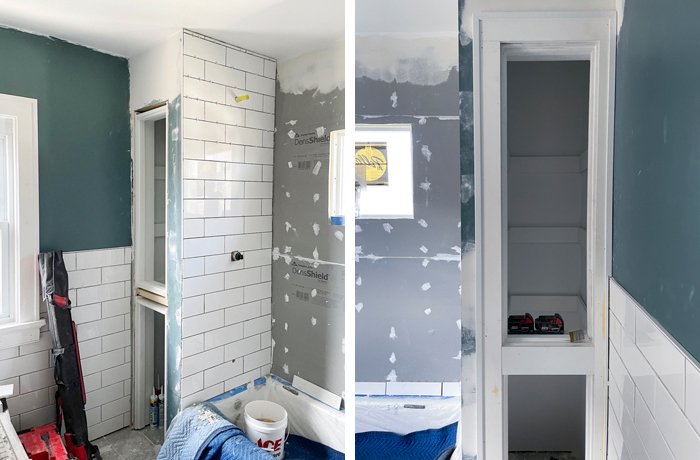
To put this in perspective, our original quote for labor and materials was approximately $12,000. We decided to remove the original built-in cabinet and rebuild it to match the new one, so based on the original quote, that would have added another $1,300 to our estimated costs. We anticipated an additional 30% to account for unexpected costs, but we certainly didn’t expect to come in as high as we did by time the project ended — and this was after the labor discount. We ultimately decided to take out a home equity line of credit to allow for a cushion while we pay this back.

When it’s all said and done, though, I’m sure we’ll have “renovation amnesia” and will forget some of the financial stress. We’re certainly very lucky to be in the position to take on such a bougie remodel and I don’t take that for granted. It really ended up being worth it and it’s really an investment in our home which will pay off when we eventually sell, but it’ll also pay dividends now with our enjoyment of our home — and peace of mind that we’re no longer having sustained water damage!

–
Let’s keep in touch!
Instagram / Facebook / Pinterest / Bloglovin’

Filed Under: Bathroom, Home, Interiors, Main Bathroom Tagged With: Bathroom, Bathroom Remodel, Bathroom Renovation, budget breakdown, Main Bathroom, renovation diaries

The Main Bathroom Renovation – Reveal Day! (All Sources Linked)

June 8, 2022 by jessica Leave a Comment

Reveal day is finally here! It’s been a long process that started back in April 2020 with a kitchen ceiling leak that was attributed to water leaking from our tub faucet and working its way through the floor and into the kitchen. Our bathroom was never anything to look at (before photos here), but the leak really accelerated our plans for a full bathroom renovation when timelines — and budgets — allowed. It feels a bit surreal to have it done and I don’t think I’ll ever stop admiring it whenever I walk past.

It was incredibly important to me to have the main bathroom feel appropriate for a house from the 1920s and I think we nailed it with traditional materials and fixtures. Some areas had to be modernized based on product availability, like the tile edging, but I think it all came together beautifully.

I could go on and on about the details and decisions, and how we landed where we did. But I know you’re here for the photos today, so let’s get to it! (I’ve also linked the other bathroom posts below, and included a list of sources at the end.)

The sharp contrast between those tiles isn’t typically visible. I think it’s a result of the lighting the day I took these photos.
A flat-sided toilet makes it easier to clean.
It’s such a silly thing, but I’m enamored with this pivoting toilet paper holder!
POSTS ABOUT THE MAIN BATHROOM:
  • The Before Tour
  • Initial Source List and Plans
  • The Walls Are Open and We Learned the Bathroom Originally Had Hardwood Floors
  • Tile Installation Begins and See Our Custom Shower Niche
  • “Floating Vanities” and What I Saw in the Floor Tile
SOURCES:

Paint Color – Sherwin-Williams Riverway and Sherwin-Williams High Reflective White

Wall Tile – 4″ x 12″ Subway Tile in White

L-Shaped Tile Edging

Wall Tile Grout – Custom Building Products in Natural Gray

Floor Tile – The Tile Shop Firenze Carrara Honed Marble Hex Mosaic Tile, 2 in.

Floor Tile Grout – Custom Building Products in Delorean Gray

Mirror – Rejuvenation Yaquina Pivot Mirror

Shelf – Rejunvenation Yaquina 20″ Glass Shelf

Sconce – Schoolhouse Electric Irvine

Sconce Shade – Schoolhouse Electric Straight Bell Shade

Vanity – Tile & Top 30″ Uptown Vanity

Ceiling Light – Norwell Lighting

Faucet – Delta Cassidy

Towel Bars – Moen Kingsley 18″ & Moen Kingsley Double Towel Bar

J-Hook – Rejuvenation (I had a hard time finding a simple hook to hold a towel while showering.)

Toilet – Kohler Corbelle

Toilet Seat – Kohler Reveal Quiet-Close Elongated Closed Front Toilet Seat

Toilet Paper Holder – Moen Kingsley

Cabinet Knobs – House of Antique Hardware

Cabinet Hinges – House of Antique Hardware

Shower & Tub Kit – Delta Cassidy

Bathtub – Kohler Bellwether

Shower Rod – Moen, 5 ft.

Shower Rod Flange Set – Moen

Towels – Target

Shower Curtain – Target

Fabric Shower Curtain Liner

Shower Curtain Hooks – Target

–
Let’s keep in touch!
Instagram / Facebook / Pinterest / Bloglovin’

This post contains affiliate links.

Filed Under: Bathroom, Home, Main Bathroom Tagged With: Bathroom, Bathroom Remodel, Bathroom Renovation, Main Bathroom, renovation diaries

Project Update: Main Bathroom Progress, Part Three

May 27, 2022 by jessica Leave a Comment

In full disclosure, our bathroom is completed and it’s gorgeous! I can’t believe it’s ours and I’m just the happiest! Before we get to the full reveal in an upcoming post, I wanted to share some photos and updates from the last leg of the project.

As you know, we renovated our first floor half bath before we began the upstairs main bathroom. The project was expected to take six to eight weeks, and it ended up being a full three months. It was stressful and expensive. I will do a full cost breakdown for you in a future post as I think it’s helpful to get an idea of what these things cost as you plan and save for your own renovation. Now that we’re through it, though, I’m starting to have “renovation amnesia” as Emily Henderson put it in her new book. It’s completely accurate that the final product makes you forget the frustration you felt during the process. I’m not going to sugarcoat the fact that the process sucks sometimes. You’ll have moments of bliss and excitement. I felt that when our tub was placed or when I saw our built-in cabinets coming together. Those are counterbalanced by annoyances that pop up during the process — two of mine are shared below.

Shortly after I left you with the last update, team finished tiling the shower and we turned our attention to the flooring. You may recall that we had to shift gears with our flooring. The marble tile I had originally purchased from Home Depot had good reviews when I bought it, but shortly after there were complaints about tile yellowing once it was grouted, likely due to too many mineral deposits that were oxidizing. We shifted gears and ordered a more expensive marble hexagon flooring from The Tile Shop. I’m really glad that we did because the new tile is beautiful and better quality than the budget marble. When you’re already spends tens of thousands of dollars, you may as well figure out a way to pay for the nicer finishes. I know that costs add up and it feels overwhelming, but I promise that you’ll be happier in the long run if you can make it work with your budget or a home equity line of credit.

I spent a lot of time obsessing over the layout of our tile and our contractor numbered each sheet so it would go back where I wanted it. It was a great idea in theory, until a couple of sheets were rotated. For the most part, it didn’t matter. A natural material is going to have variations. That’s why it’s attractive and why people pay for it. But we had an unfortunate tile layout that, well, looked phallic:

It wasn’t really noticeable in person, but I couldn’t unsee a penis in those dark tiles when I took photos of the room — as you can see from this screenshot from my phone. I hated it so much that I asked our contractor how much it would cost to replace tiles that I delicately phrased as “a dark line that catches the eye.” He quoted approximately $20 per tile to replace individual ones (thankfully this was before it was grouted), but asked Dave if he thought the tiles were really that bothersome. Dave bluntly told our contractor, “she sees a dick.” Haha. So, for around $100, the tiles were replaced with a few lighter ones to break up the pattern:

Of those two options, I went with the set of five replacements on the left.

We extended the tile to the floors of the built-ins. We could have either done this or placed a wood “shelf” on the floor. I figured that this would be easier to clean when I mop the floor.

This is the interior of the left cabinet where there’s an access panel for the shower plumbing. The team eventually created baseboards for the inside of the cabinets to give them a clean finish.

The tiles still had a grout haze in this photo, but it was such a delight to see the room coming together exactly how I had imagined it last summer when we started interviewing contractors. It was a long time coming!

The marble was sealed after grouting with a water-based sealer that was recommended by The Tile Shop. We also added a marble ledge in our shower niche and window, which was also sealed prior to showering for the first time to reduce water stains.

I can’t begin to tell you how happy I am with the built-ins. They replicated the original cabinet (seen here) and added a second to flank the tub. It was important to me to make sure this room incorporated design features that were original to our 1929 house. While the original built-in was in bad shape, the replicas are spot on.

The team was also able to keep the original trim for the window that isn’t in the shower. They carefully cut around it during demo. The doorframe wasn’t so lucky, but they rebuilt it so it looks original.

Take a moment to note that register opening. Like the rest of our house, it’s a large register. I had expressed concern about this when we began the project, and wondered how this was going to work with a vanity in front of it. It was too expensive to move the duct, so I had asked if a decorative register cover would work since the vanity has an open shelf. I was assured that it would be fine, so I spent $100 on a register cover.

…it clearly was not fine. So, the register cover jutted out from the wall about an inch, which was just enough to keep the vanity from being flush against the wall. Our contractor had gone to lunch when I popped my head in to see how things were coming along and saw this. Surely he wasn’t going to leave it like this, right? Yet, I still texted to share my concern. (I figured it’s cheaper to share concerns earlier rather than later.) He told me that the register cover was the issue and that we could try to set a piece of marble behind the vanity to meet up with the wall or built a wood ledge — and then had the audacity to suggest that some people like floating vanities. No, they do not. (Never mind that floating vanities are those without legs; not those that float away from the wall.)

I asked him if there was a way to recess the register cover by cutting out some tile that surrounded the hole and setting it in deeper, or to just go with a smaller register cover that fit within the open shelf. The latter would simply force more air to other rooms upstairs, which isn’t the worst. I’m still a little sour that I had to suggest those solutions rather than him coming up with them, but whatever. We got through it and went with the smaller register:

He eventually tiled underneath the new cover. The spacing of the tile down there doesn’t match the rest of the wall as a result, which bothered him. (Weird time to be a perfectionist.) I told him that I didn’t care and we can address it down the road if if we ever swap out this vanity for one where we can see that tile. This was clearly a better solution than a “floating vanity.”

Truth be told, this room has the most direct run from the furnace, so it would always get too hot or cold, depending on the thermostat, so reducing the opening and forcing air to other rooms has actually been great. Even if that weren’t the case, pushing up the vanity against the wall was necessary:

Stay tuned for the full reveal!

–
Let’s keep in touch!
Instagram / Facebook / Pinterest / Bloglovin’

Filed Under: Bathroom, Home, Interiors, Main Bathroom Tagged With: Bathroom, Bathroom Remodel, Bathroom Renovation, Main Bathroom, renovation diaries

Project Update: Main Bathroom Progress, Part Two

April 19, 2022 by jessica Leave a Comment

It’s been awhile since I’ve checked in and things are moving along with our main bathroom remodel. This project has had its stressful moments with longer construction times than we had planned on — and a larger bill as a result. I’ll share more insight into the costs associated with the two bathrooms once we’re done. For now, I need to focus on the exciting portions of the renovation to ease some of my own stress! Here’s what’s unfolded since the last update.

After gutting the room, reinforcing and leveling the floor, and framing the built-ins that flank the tub, our new window was installed. The window is half the height as the old window for privacy. It doesn’t open and will be tiled in to make sure it’s watertight. We’re keeping the other full-sized window in the room, so the one in the shower wasn’t necessary for airflow.

Oh man, I’m sure the team wasn’t thrilled about getting a 350-pound cast iron tub up our narrow staircase, but they did it! The floor is reinforced and metal straps were installed under the feet of the tub for additional support. We also added new insulation to the exterior walls since all of the old blow-in insulation was wet and rotting.

The opening here is our custom shower niche. While there are standard sizes for shower niches, we opted to go custom since the room was ripped open anyway. I lined up all of our shower must-haves and measured the height, width, and depth to make sure everything fits nicely.

We decided to do tile midway up the wall like we had originally — but lower at 48″ high — so backerboard was put up around the room. This was the point where we felt like we were nearing the home stretch — three weeks ago. We weren’t, fact, anywhere near completion. Our contractor was on vacation for a week and while he was out one of the guys spent a lot of his time patching, sanding, and painting the walls and ceiling; one worked on venting the exhaust fan correctly through our attic and out the roof; and the other worked on the built-in cabinets. It was all work that obviously needed to get done, but we didn’t see a lot of visual progress for a bit until they got to tiling:

I originally wanted a bullnose trim at the top of our wall tile. Unfortunately that wasn’t in the cards. I purchased a 4″ x 12″ subway tile, thinking that I could buy bullnose pieces that were also 12″ long. Unfortunately, the Daltile brand wasn’t going to make it that easy. The tile from Home Depot was actually 12.5″ long, despite what the online descriptions and boxes say. Daltile doesn’t make bullnose pieces or trim in 12.5″ length. (And, annoying, the 12″ length of anything is actually 11 7/8″. I don’t get it and I hate it.) After some frustration, we settled on this L-shaped aluminum trim in white enamel. For as much as I didn’t want this because I thought it would look too modern, I’ve come around to it. It gives the room a crisp, clean edge and I think white helps keep it from looking contemporary.

These photos were taken last Friday. It was such a thrill to see a wall tiled in the shower and the built-ins moving along! The guys did a great job of recreating our original built-in to keep the vintage aesthetic I wanted for our 1920s house.

And here we are as of last night!

The shower niche makes me the happiest. They still need to finish the trim of this and the window, but it’s just so cute!

Once they’re done with the walls and the built-ins, we’ll lay out the marble hexagon flooring. The marble flooring was #drama. The marble tile I had originally purchased from Home Depot last December starting having horrible reviews of the tile turning yellow once it was grouted. Part of me wondered what the odds would be of that happening to us, but I was also worried we’d spend time and money on the installation and then have to rip it out. Long story short, we were able to return the tile to Home Depot after the return period ended (best customer service) and we purchased this flooring from The Tile Shop. It’s a lot more expensive than the original tile, but it’s much nicer quality. They also made sure that my order came from the same lot so the stone would have the same hues throughout.

For grout, we’re going with Natural Gray for the subway tile because I wanted something a bit darker to pull in the dark wall color. We’ll be doing Delorean Gray on the marble floor, which blends in nicely with the grey tones in the stone.

–
Let’s keep in touch!
Instagram / Facebook / Pinterest / Bloglovin’

Filed Under: Bathroom, Home, Main Bathroom Tagged With: Bathroom, Bathroom Remodel, Bathroom Renovation, Main Bathroom, renovation diaries

Project Update: Main Bathroom Progress

March 23, 2022 by jessica Leave a Comment

sneakers

The team started on the upstairs bathroom last Monday. They’ve been making a lot of progress over the past week and a half, so I thought it was a good opportunity to share some photos of where we’re at.

First, let’s revisit where we started:

coat, top, jeans, bag, phone case

Once the bathroom cabinets were cleared out, Oliver couldn’t help but seize the opportunity to fully explore every nook and cranny of the room! I also snapped a few final before photos of the room in a widescreen format to give you a better idea of the layout. You can see additional before photos here, along with more details on what we’re planning on doing in this space.

This was the end of the first day of demo. The team needed to remove tile before they could remove the lath and plaster to bring the room down to the studs. You can see that we had some water damage where the tub was, but fortunately it was limited to the floors, wood we were removing, and insulation that would be coming out anyway. Apparently all of that insulation you can see in this image was wet. We’re incredibly lucky that the exterior wall and studs were all in good condition.

After tearing out the linoleum flooring, we discovered that our red oak floors had originally extended into the bathroom — as you can see in the opening image of this post. It’s a shame that the wood wasn’t in good shape and it had been patched in a few spots with plywood. I would have happily pivoted my design plans to have hardwood in here!

We also learned that our floors were hilariously uneven. Overall the subfloor was in good condition and they just needed to replace some of the subfloor that was next to the toilet due to some rot. After putting in the new board, they leveled the floor with various heights of materials to even it before installing the backer board for our future tile.

Here’s where we were at yesterday morning. We’re going to have two built-in cabinets flank the shower and they were able to frame the new one to match the original within an eighth of an inch in width. Also, removing that counter on the right side immediately added so much more room to the space.

The team is working on roughing in the tub and shower plumbing today. They’re also working on replacing the window that will be in the shower. We bought a new window that’s half the height, but the same width. This will allow us to keep the natural light that we love in there, but offers more privacy than that frosted window cling did. We chose a window that won’t open to ensure that the space remains watertight. We’ll be keeping the window at the left of this photo. It was important to me to save the original trim of the remaining window and the door, and we’re incredibly lucky that the old wood didn’t crack or break during demo.

This is one of my favorite additions: an electrical outlet inside the built-in cabinet! This is going to allow us to charge our toothbrushes in the cabinet and not on the counter! Seriously, if you’re doing a remodel of any sort, think of those ugly yet practical things that take up space and figure out a solution for them. Each contractor that we spoke with to get a quote thought this was brilliant and was going to suggest it to future clients. I should really get a commission. 😉

Clockwise from upper left: the wall where the vanity will go and progress on plumbing; our little home inspector; another look at the shower area; new insulation!

I’ll check in again once we’ve made more progress!

–
Let’s keep in touch!
Instagram / Facebook / Pinterest / Bloglovin’

Filed Under: Bathroom, Home, Main Bathroom Tagged With: Bathroom, Bathroom Remodel, Bathroom Renovation, Main Bathroom, renovation diaries

  • 1
  • 2
  • Next Page »

Hello!


Jessica Hamm
Hello there! I'm a first-time homeowner updating a 1920s house in Madison, Wisconsin. I have a penchant for travel and a love of costume jewelry.

Keep In Touch

  • Bloglovin
  • Email
  • Facebook
  • Instagram
  • Pinterest
  • Twitter

Search

Latest Home Finds

Visit Me on Instagram!

I’m challenging myself to get through a backlog I’m challenging myself to get through a backlog of travel photos before we book our next trip. First up, photos of the gothic York Minster. I’m not religious in the slightest but I can’t resist stunning architecture and the opportunity to climb hundreds of cathedral stairs for a city view. This one only had a single rest stop about halfway up the flight of 275 steps for a closeup view of the flying buttresses — and a waiver you had to sign before your ascent to promise you’re healthy enough to make it.
Can you hear meow? 😸 Lily is putting the phone Can you hear meow? 😸 Lily is putting the phone nook to good use.
Christmassy mornings. Christmassy mornings.
Thanksgiving Bake: Flourless Chocolate Wave Cake f Thanksgiving Bake: Flourless Chocolate Wave Cake from Dessert Person by @csaffitz

#dessertperson #thanksgiving #eastfork #eastforkdoesmydishes #eastforkpottery #dansk #food52 #dessert
Visiting York earlier this month put us in the Hal Visiting York earlier this month put us in the Halloween spirit. While it claims to be the most haunted place in Europe and is dubbed the city of a thousand ghosts, we only encountered the wire-mesh sculptures of Ghosts in the Gardens (@the_york_bid) and the family of souvenir ghosts I brought home from @yorkghostmerchants. 

#ghostsinthegardens #york #hauntedyork #yorkmuseumgardens #yorkghostmerchants
Instagram post 18062569012742534 Instagram post 18062569012742534
Load More... Follow on Instagram

Copyright © 2025 · Jennifer on Genesis Framework · WordPress · Log in