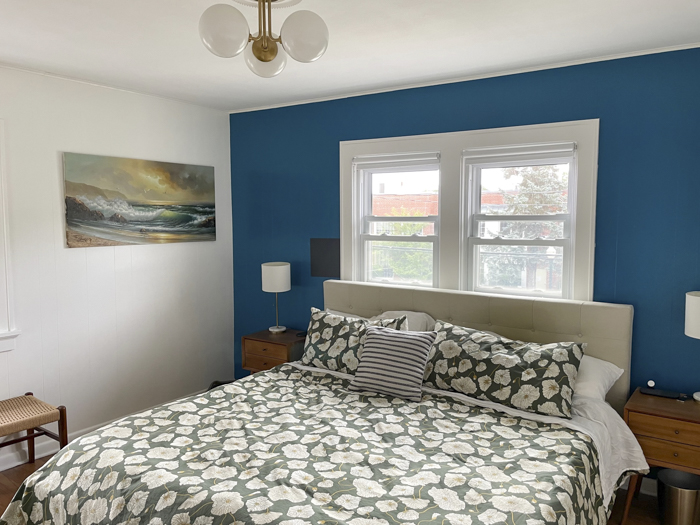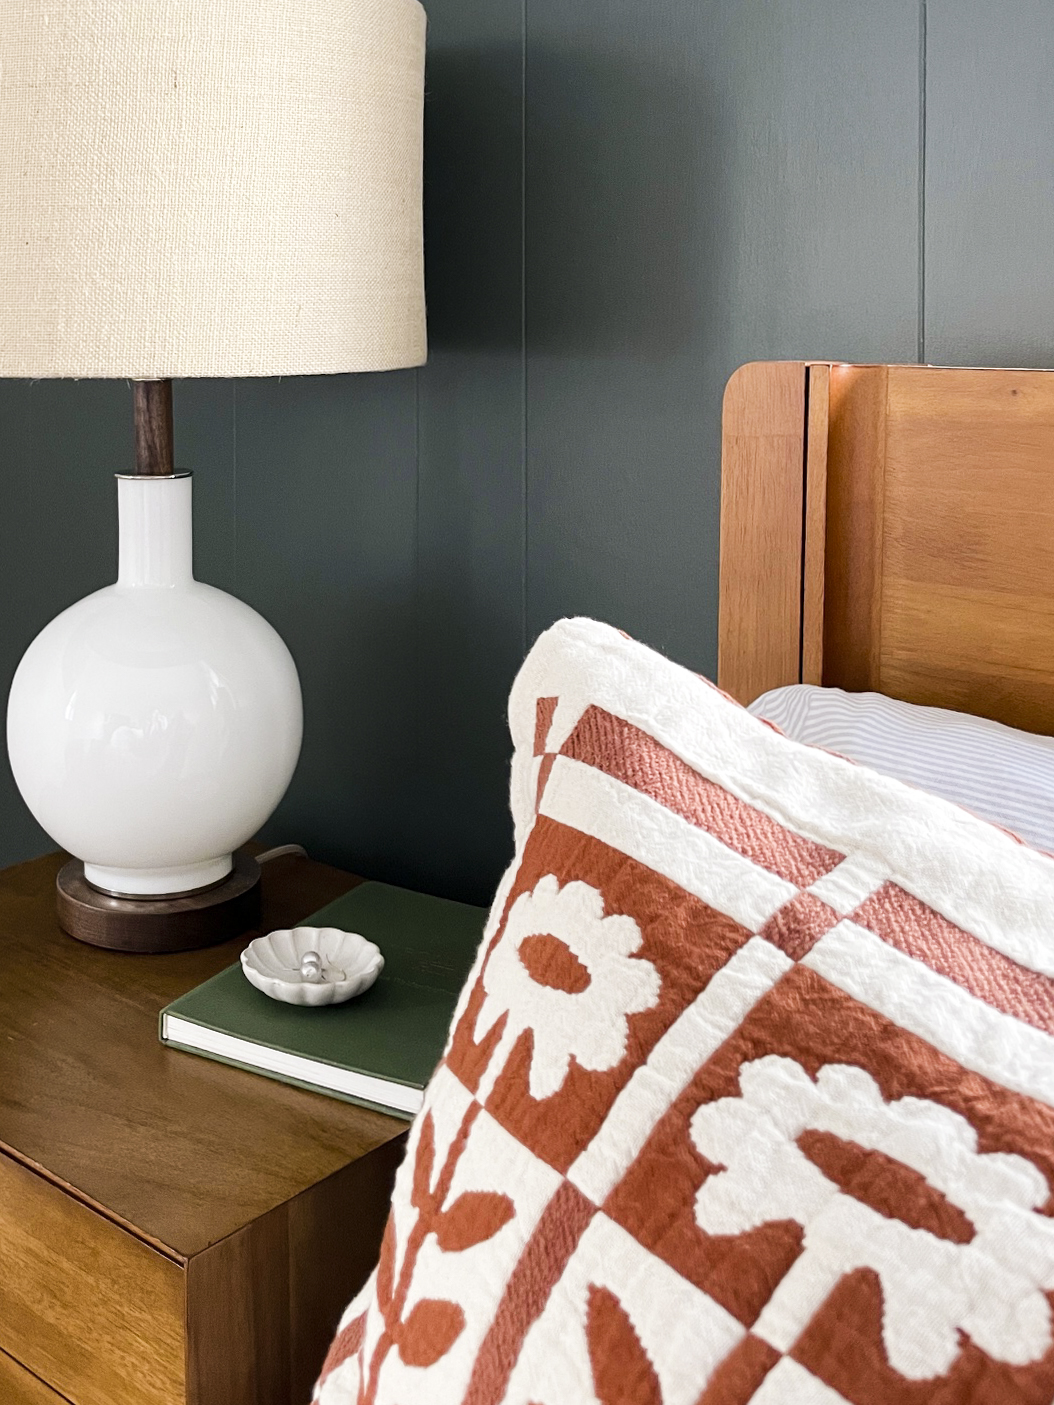
Purchasing new lamps for our bedroom was long overdue. As I get older, I’m pickier about the home items I buy. I want to invest in heirloom-quality pieces that I’ll love for decades to come — not just a quick replacement or cheap thrill. That takes a lot of time. It takes time to weed through hundreds of items online, read reviews, put together mood boards, and — perhaps most crucially — have a “cooling off” period to ensure that it’s really the right item.
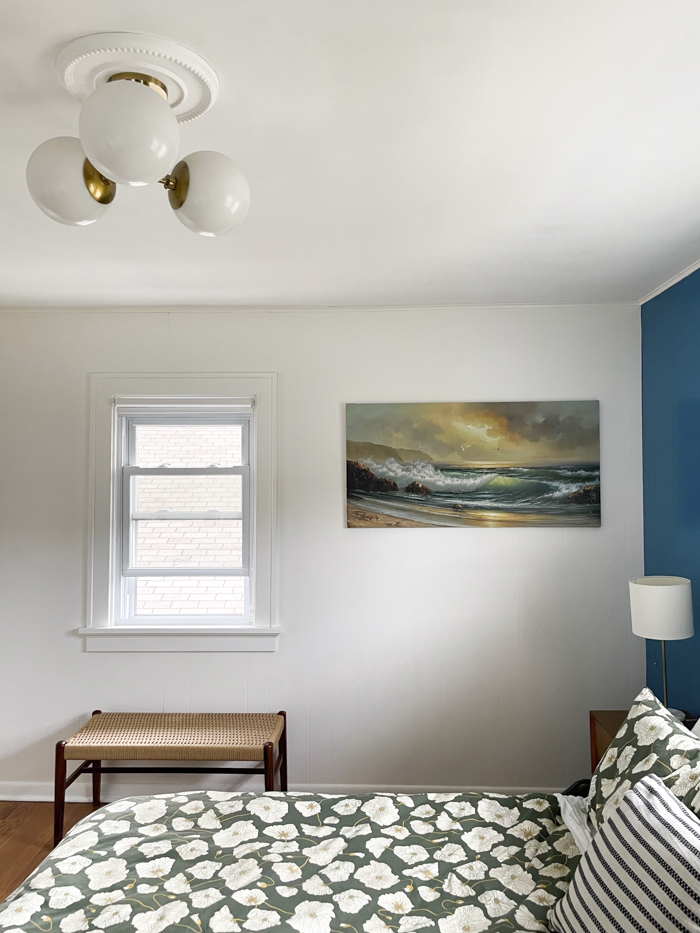
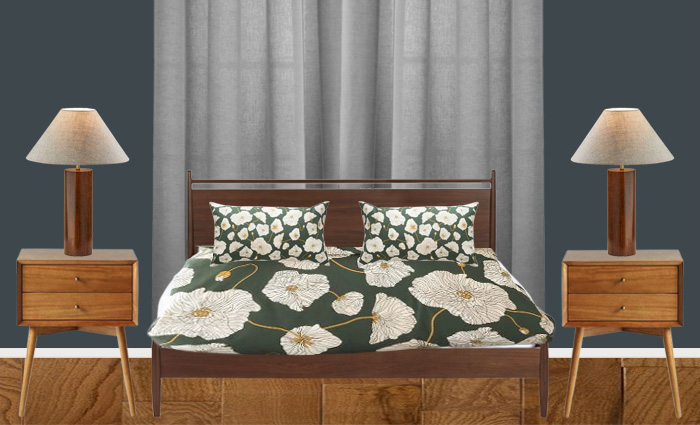
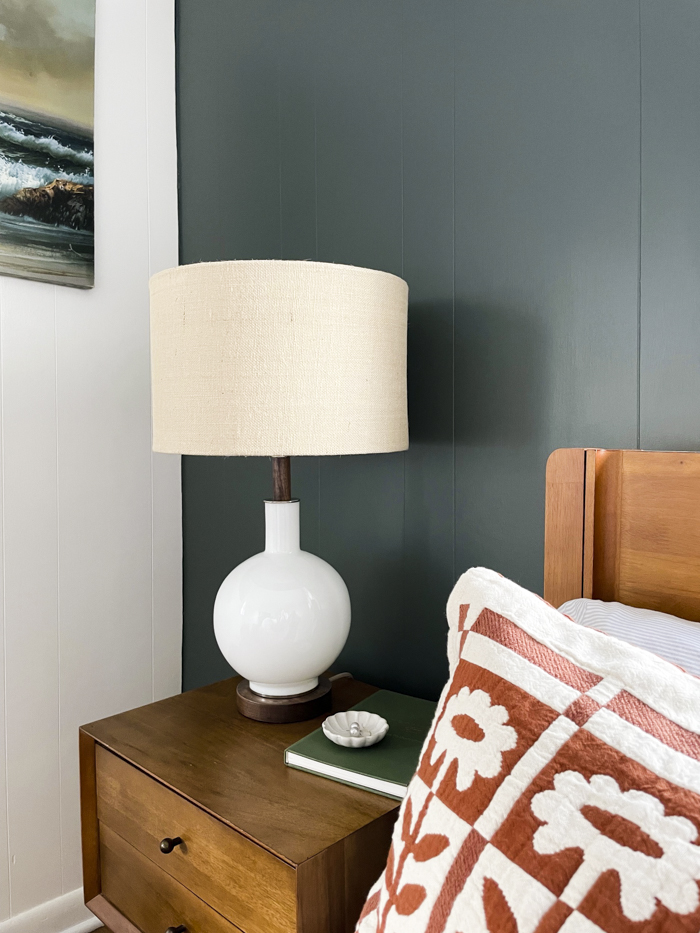
I originally added these lamps to my Pinterest board at the beginning of my shopping journey, but continued to browse in case I fell in love with something else. And, yet, I came back to these. I’m a sucker for Schoolhouse’s designs and commitment to quality (cloth-covered cords seem to be rare these days), and I adore that the base is hand-blown glass crafted from vintage molds. It’s a perfect marriage of craftsmanship and design versatility. The hardest part was selecting the lampshade color, but I eventually selected the warmer hue of the natural burlap.
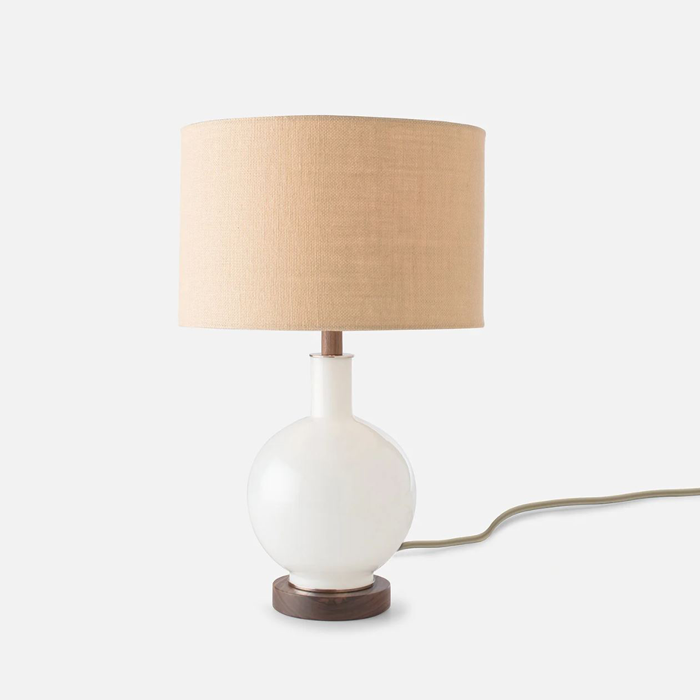
Schoolhouse Electric, Bond Lamp
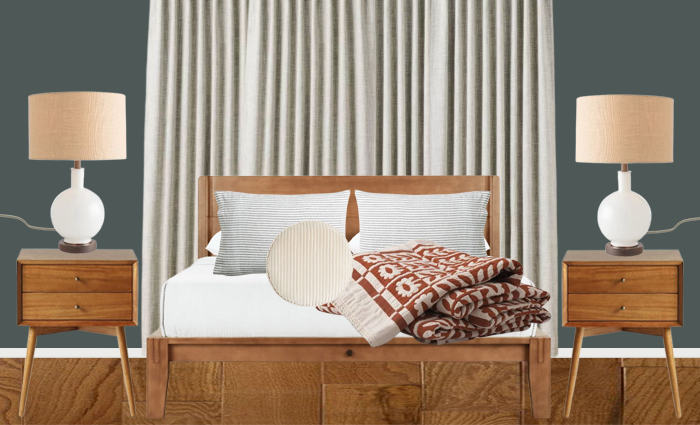
To make sure I liked the lamps with the pieces I already owned, I put together a quick mockup (above). Fortunately, the IRL version turned out as great as I hoped based on my collage.
Source List:
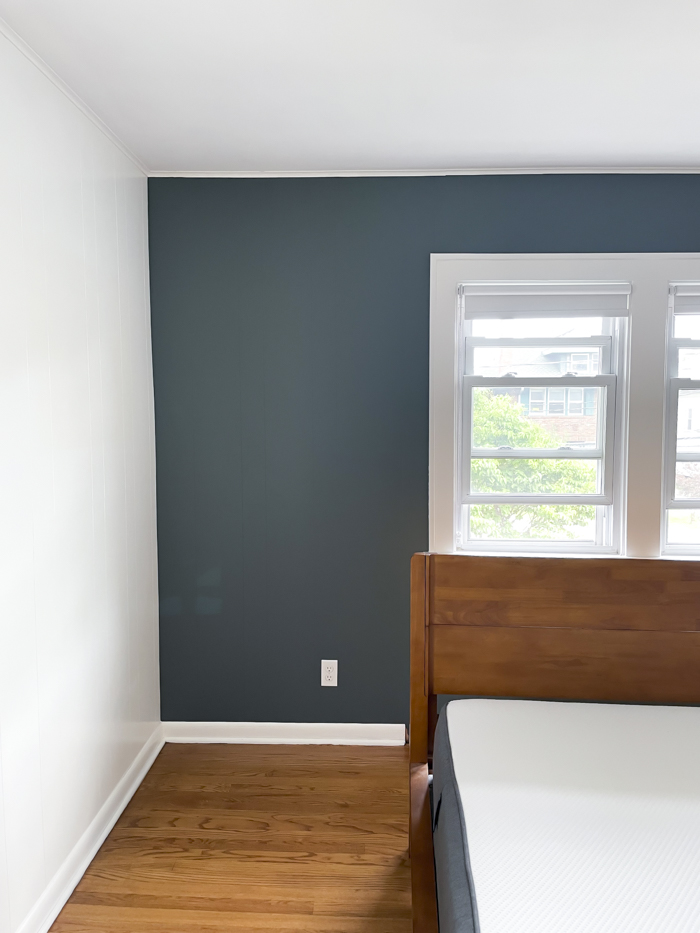
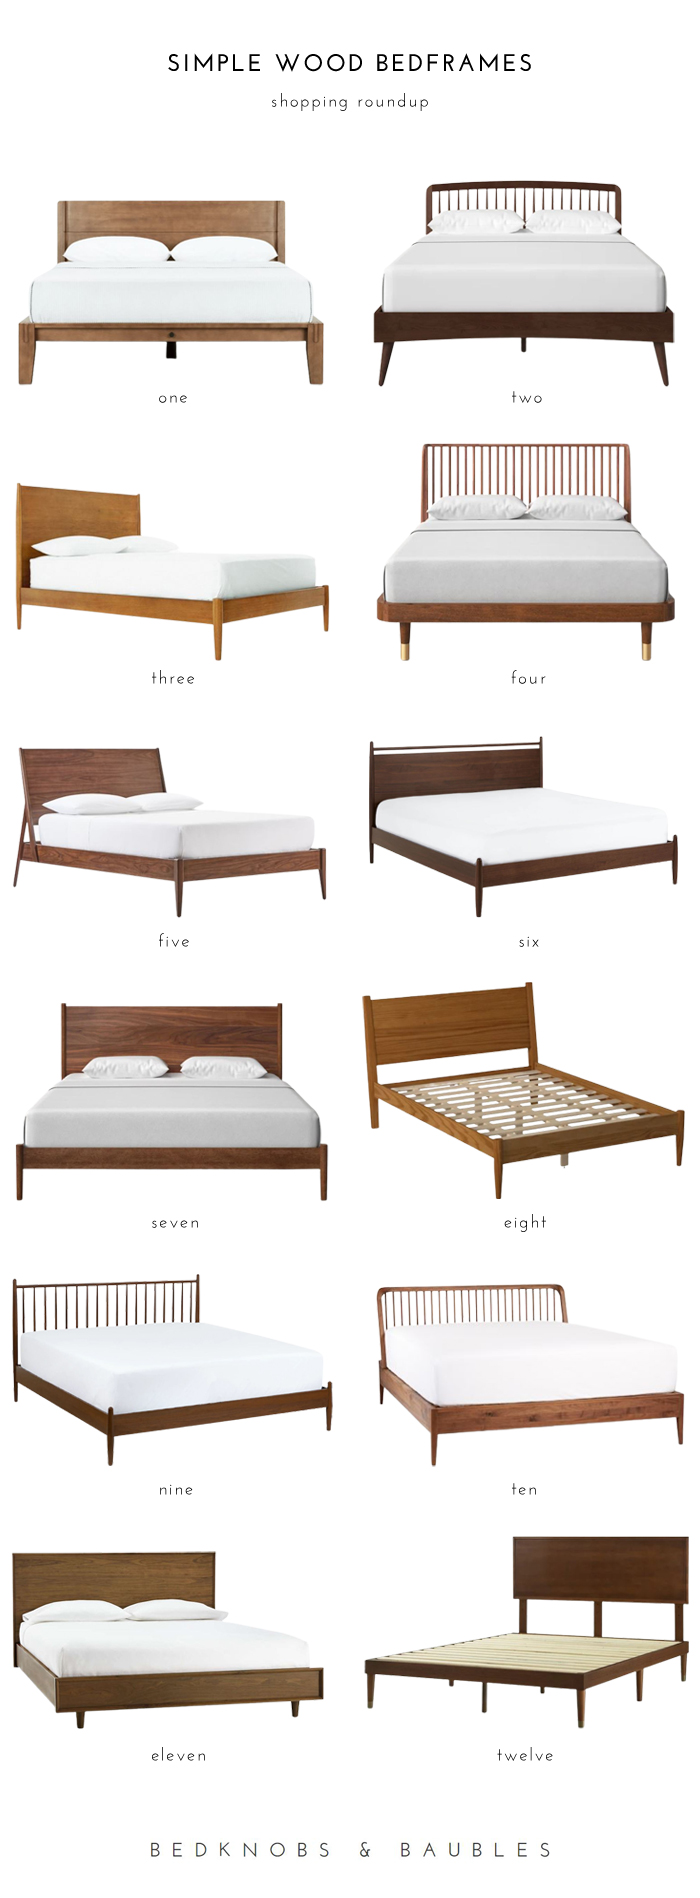
- Bed – See other wood bed options here.
- Nightstands
- Lamps
- Quilt
- Shams
- Round Throw Pillow
- Scalloped Dish
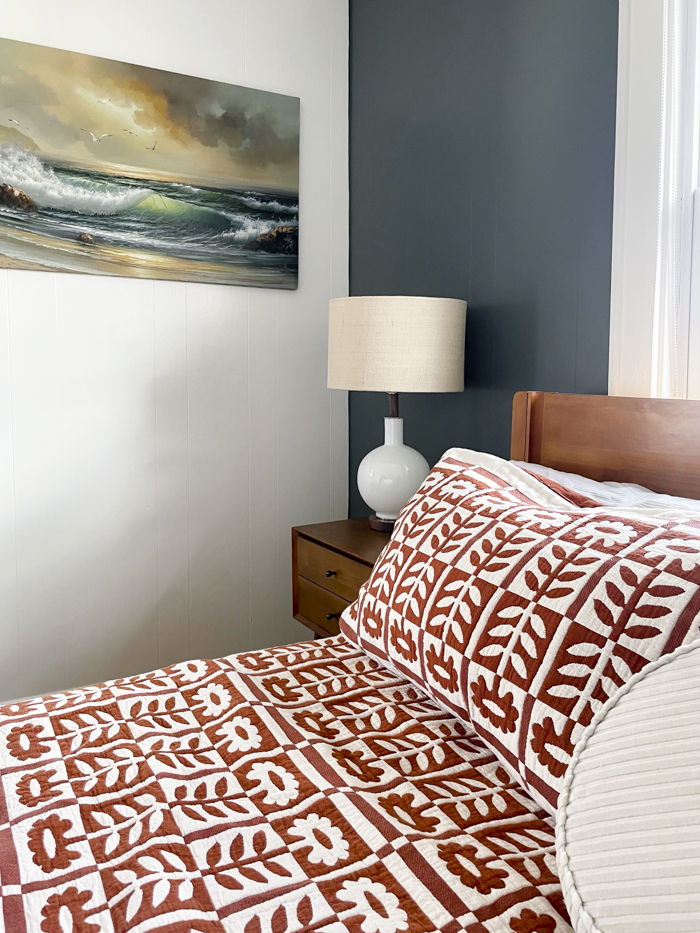
- Vintage Painting
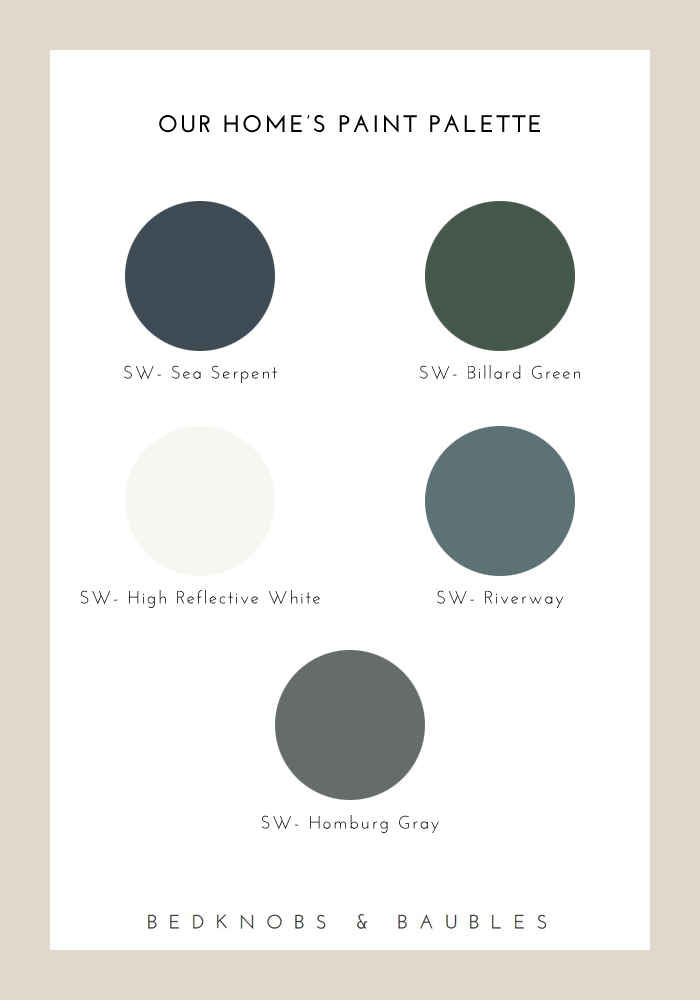
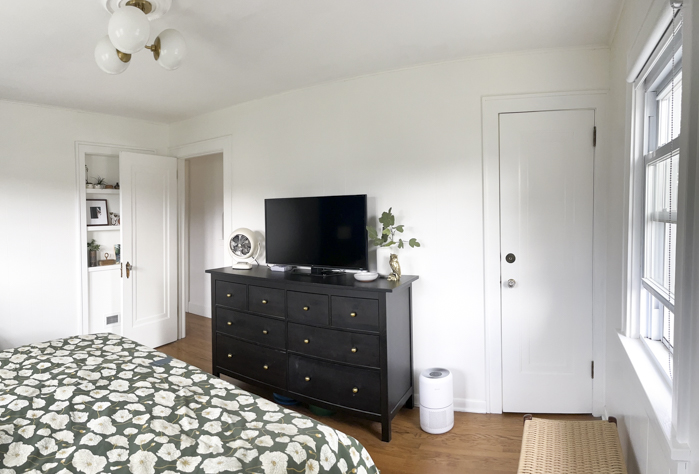
- Paint Colors: Sherwin-Williams Homburg Gray; Sherwin-Williams Extra White
Let’s keep in touch!
Instagram / Facebook / Pinterest / Bloglovin’
Thanks for visiting! As a reminder, I may earn an affiliate commission if you buy an item through my links. This is at no cost to you. I appreciate your continued support!