It’s been awhile since I’ve checked in and things are moving along with our main bathroom remodel. This project has had its stressful moments with longer construction times than we had planned on — and a larger bill as a result. I’ll share more insight into the costs associated with the two bathrooms once we’re done. For now, I need to focus on the exciting portions of the renovation to ease some of my own stress! Here’s what’s unfolded since the last update.
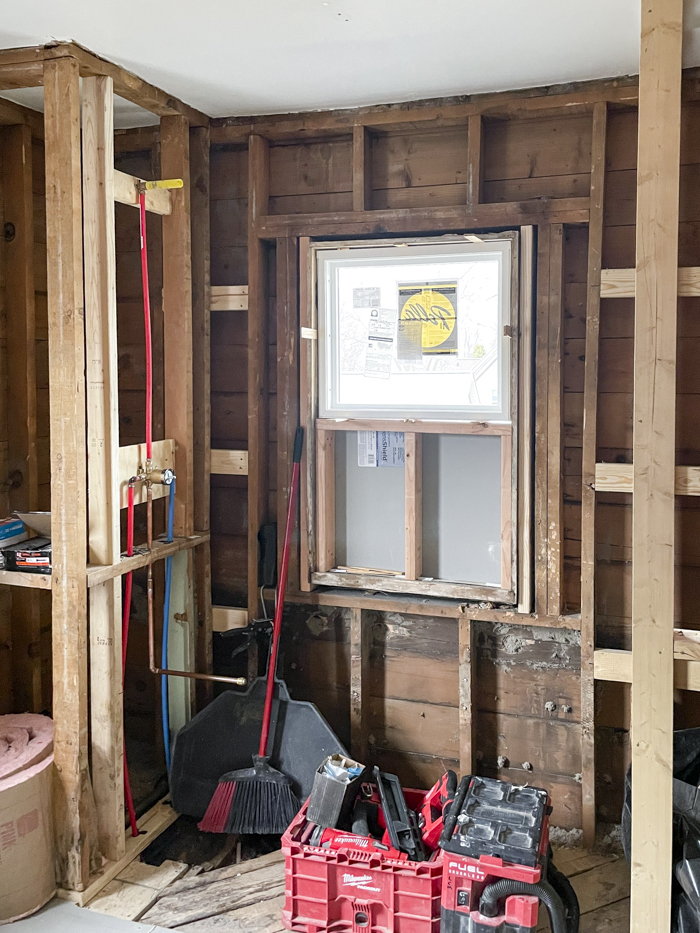
After gutting the room, reinforcing and leveling the floor, and framing the built-ins that flank the tub, our new window was installed. The window is half the height as the old window for privacy. It doesn’t open and will be tiled in to make sure it’s watertight. We’re keeping the other full-sized window in the room, so the one in the shower wasn’t necessary for airflow.
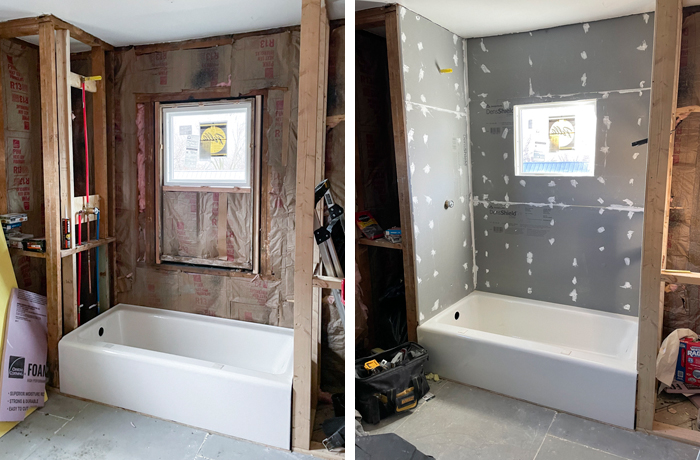
Oh man, I’m sure the team wasn’t thrilled about getting a 350-pound cast iron tub up our narrow staircase, but they did it! The floor is reinforced and metal straps were installed under the feet of the tub for additional support. We also added new insulation to the exterior walls since all of the old blow-in insulation was wet and rotting.
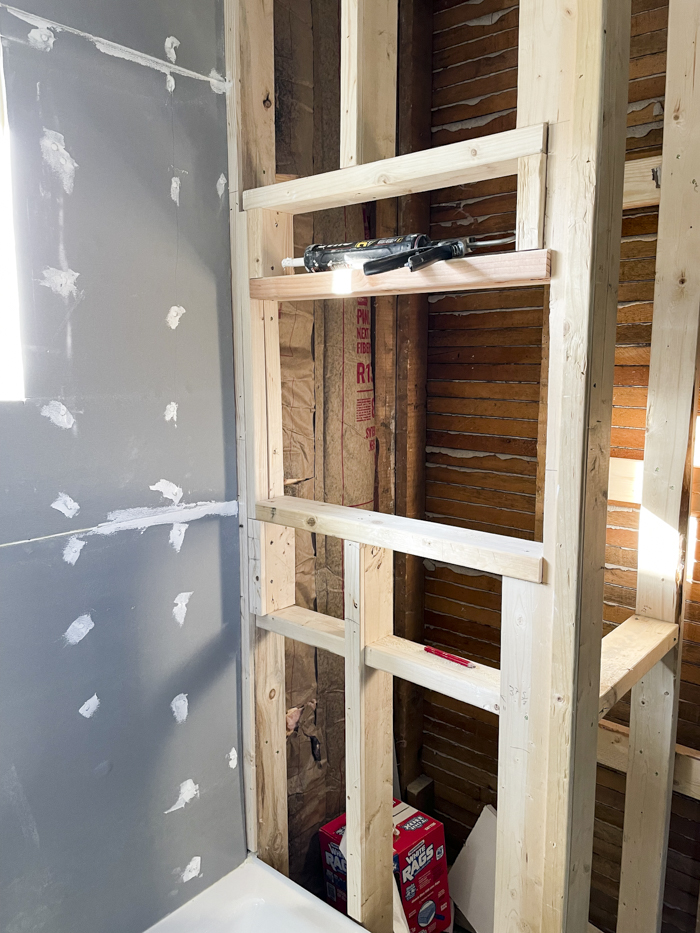
The opening here is our custom shower niche. While there are standard sizes for shower niches, we opted to go custom since the room was ripped open anyway. I lined up all of our shower must-haves and measured the height, width, and depth to make sure everything fits nicely.
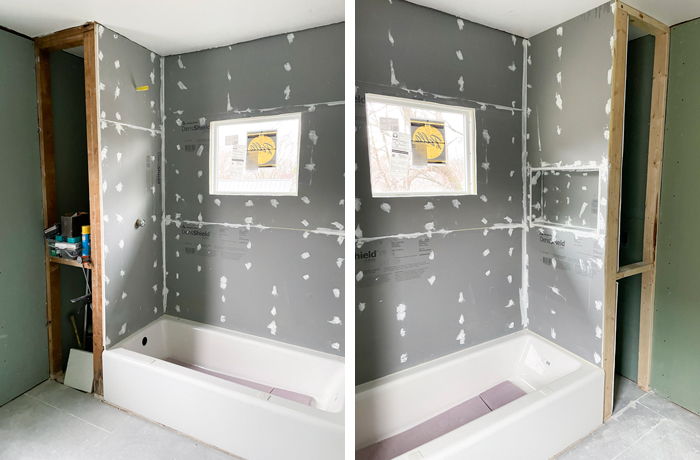
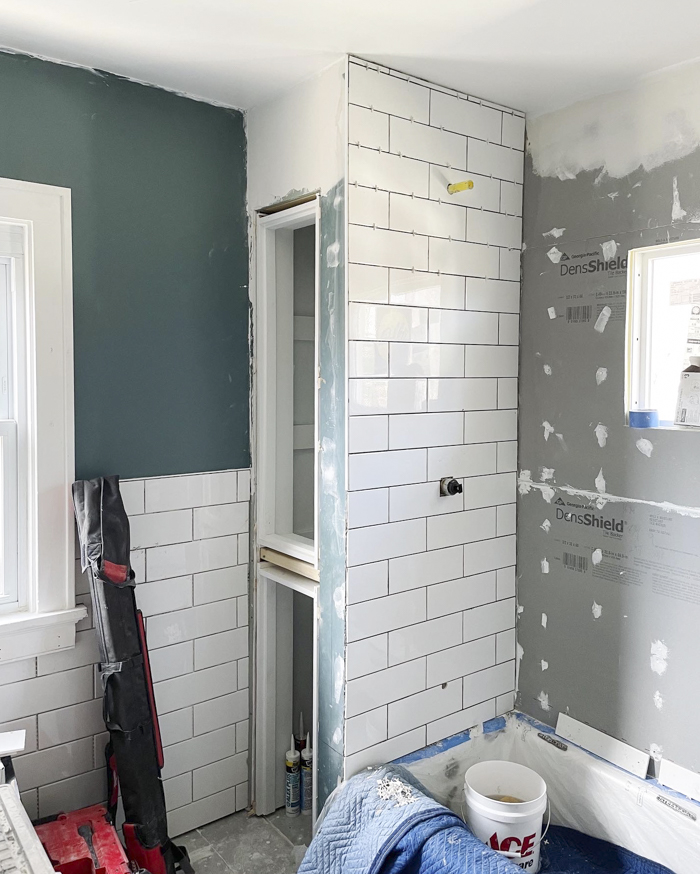
We decided to do tile midway up the wall like we had originally — but lower at 48″ high — so backerboard was put up around the room. This was the point where we felt like we were nearing the home stretch — three weeks ago. We weren’t, fact, anywhere near completion. Our contractor was on vacation for a week and while he was out one of the guys spent a lot of his time patching, sanding, and painting the walls and ceiling; one worked on venting the exhaust fan correctly through our attic and out the roof; and the other worked on the built-in cabinets. It was all work that obviously needed to get done, but we didn’t see a lot of visual progress for a bit until they got to tiling:
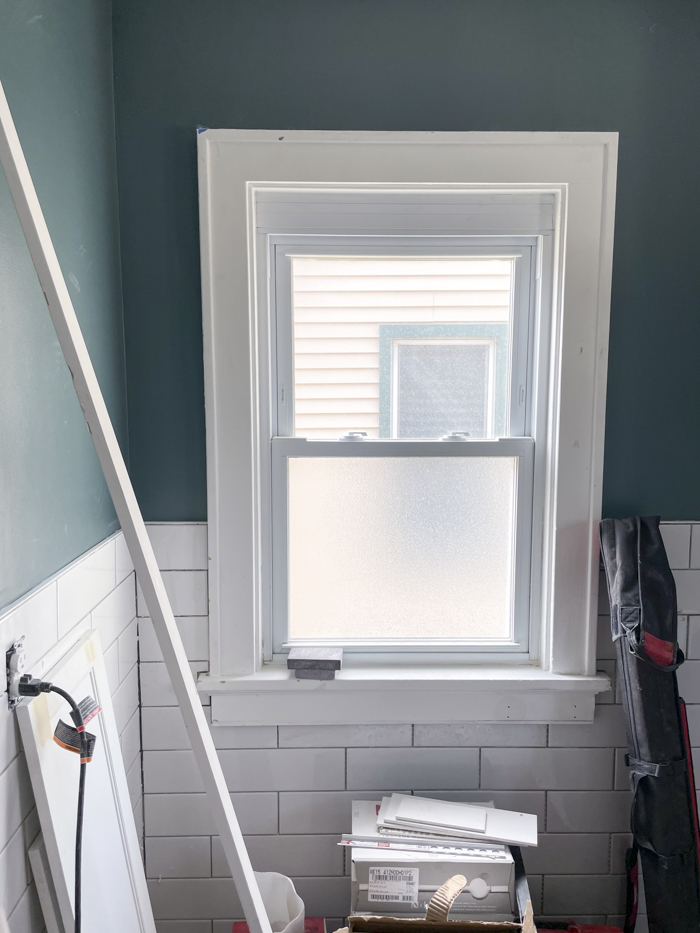
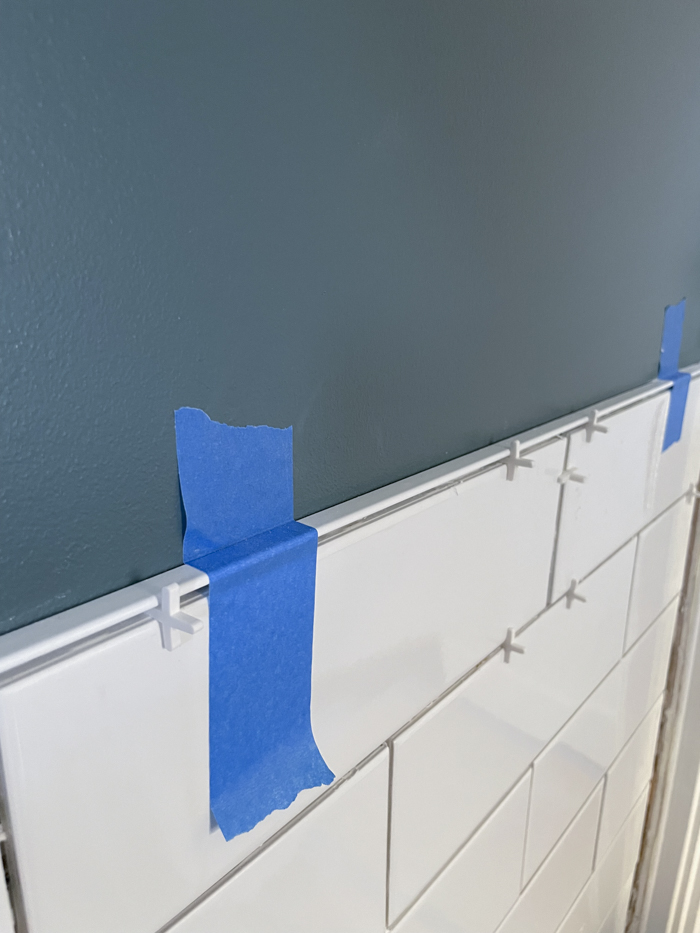
I originally wanted a bullnose trim at the top of our wall tile. Unfortunately that wasn’t in the cards. I purchased a 4″ x 12″ subway tile, thinking that I could buy bullnose pieces that were also 12″ long. Unfortunately, the Daltile brand wasn’t going to make it that easy. The tile from Home Depot was actually 12.5″ long, despite what the online descriptions and boxes say. Daltile doesn’t make bullnose pieces or trim in 12.5″ length. (And, annoying, the 12″ length of anything is actually 11 7/8″. I don’t get it and I hate it.) After some frustration, we settled on this L-shaped aluminum trim in white enamel. For as much as I didn’t want this because I thought it would look too modern, I’ve come around to it. It gives the room a crisp, clean edge and I think white helps keep it from looking contemporary.
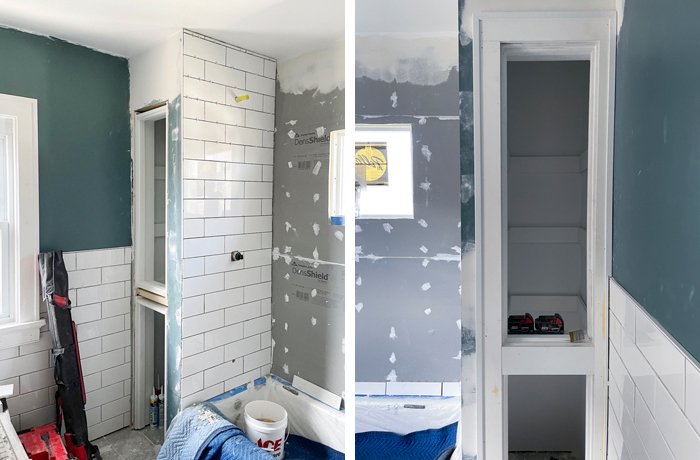
These photos were taken last Friday. It was such a thrill to see a wall tiled in the shower and the built-ins moving along! The guys did a great job of recreating our original built-in to keep the vintage aesthetic I wanted for our 1920s house.
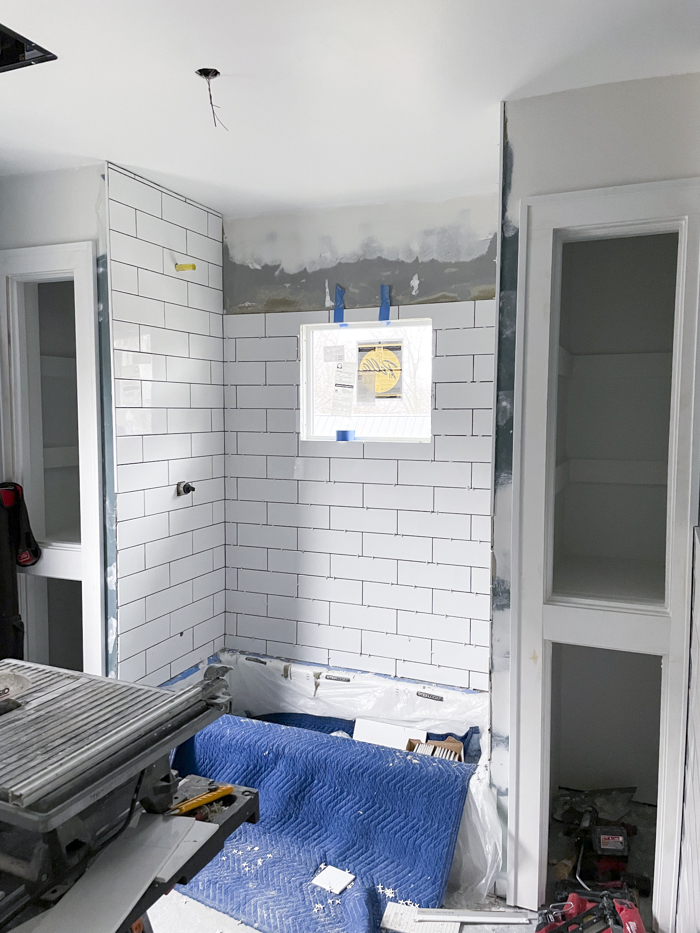
And here we are as of last night!
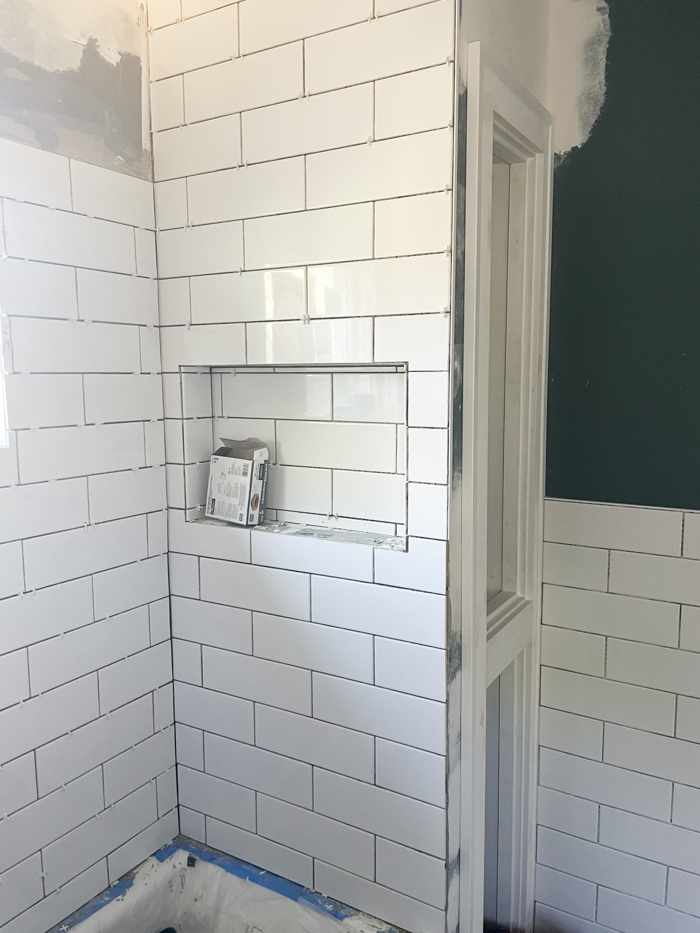
The shower niche makes me the happiest. They still need to finish the trim of this and the window, but it’s just so cute!
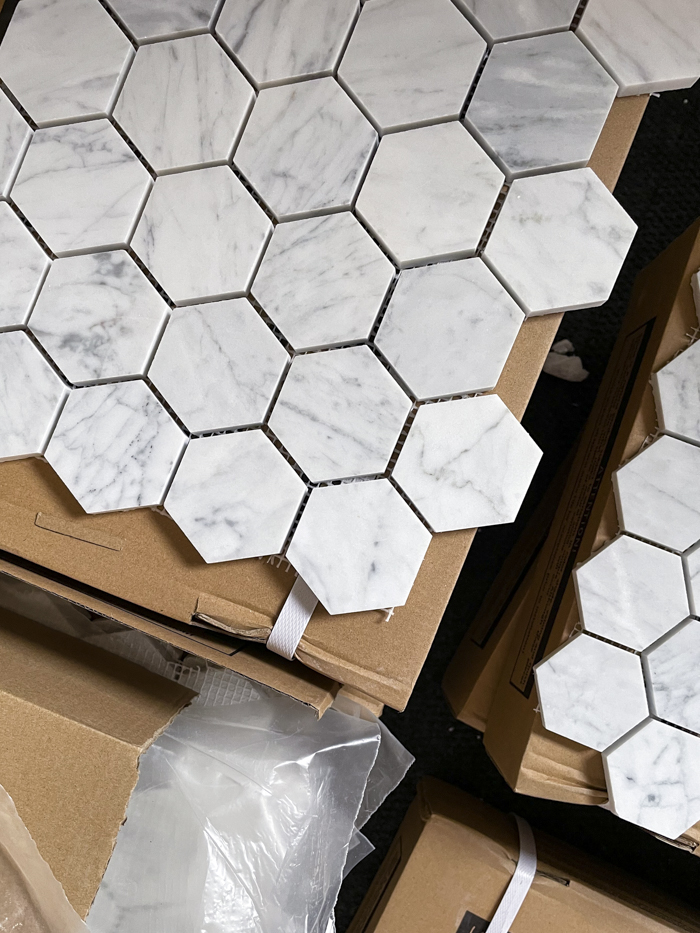
Once they’re done with the walls and the built-ins, we’ll lay out the marble hexagon flooring. The marble flooring was #drama. The marble tile I had originally purchased from Home Depot last December starting having horrible reviews of the tile turning yellow once it was grouted. Part of me wondered what the odds would be of that happening to us, but I was also worried we’d spend time and money on the installation and then have to rip it out. Long story short, we were able to return the tile to Home Depot after the return period ended (best customer service) and we purchased this flooring from The Tile Shop. It’s a lot more expensive than the original tile, but it’s much nicer quality. They also made sure that my order came from the same lot so the stone would have the same hues throughout.
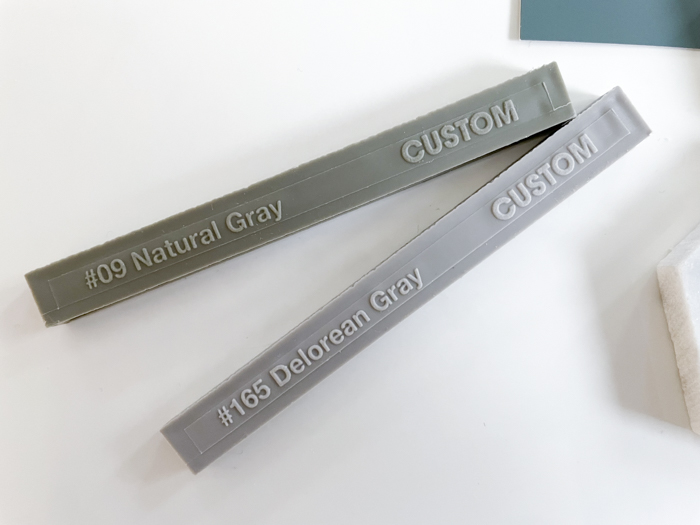
For grout, we’re going with Natural Gray for the subway tile because I wanted something a bit darker to pull in the dark wall color. We’ll be doing Delorean Gray on the marble floor, which blends in nicely with the grey tones in the stone.
–
Let’s keep in touch!
Instagram / Facebook / Pinterest / Bloglovin’