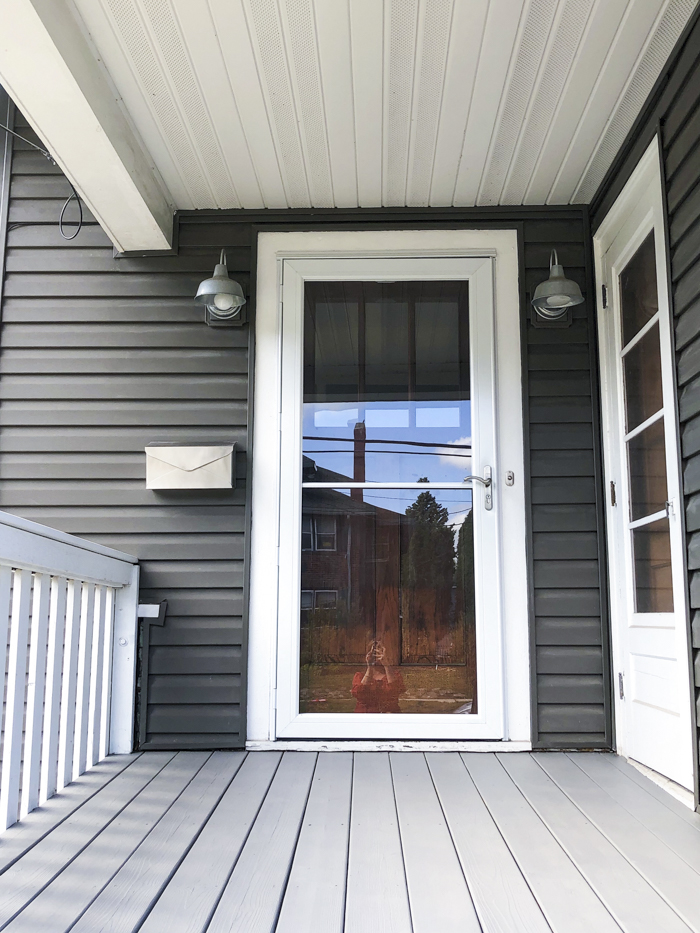
You may remember last year’s front porch project when we replaced our screen door. And, now, we’re another step closer to completing the front porch now that we’ve stained the floor!
The process wasn’t without its frustrations, though, as you’ll see below. But first, let’s start with a before photo of the front of our house. (Side note: you’ll notice that the siding looks different in just about every photo depending on the light. The most true color is what you see above. It’s also in desperate need of a powerwash.)
Two year update: See how the stain held up here!
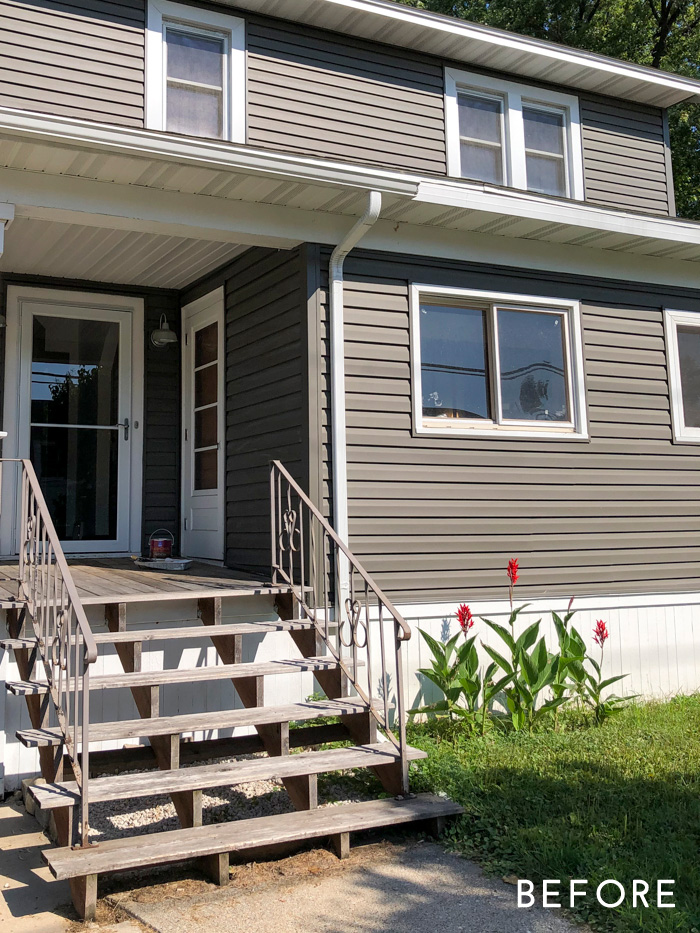
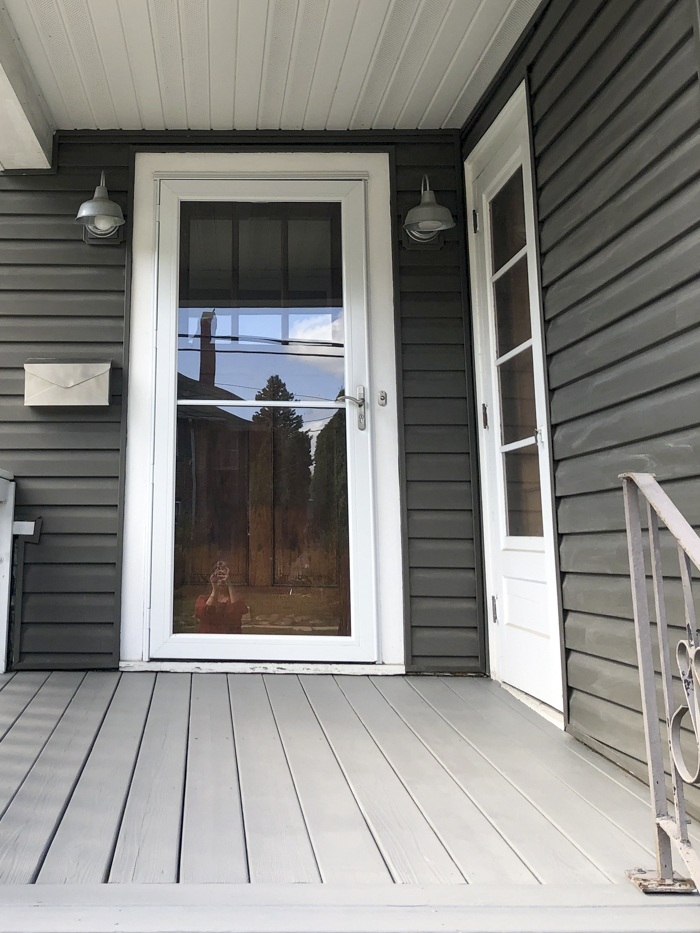
Okay, so this isn’t a real before image when the entire bottom portion of the house was unpainted wood and we still had the old storm door, but this gives you an idea of what we’re working with. Ultimately, we’d like to give our house a full face lift. The original front porch that went along the front of the house had been closed off years ago. We’d like to add more windows (vertical, double-hung) to give the home more appropriate historic curb appeal. Plus, that door to the right is permanently sealed. It would have led to the porch at some point. We need to have that removed and scrounge up enough siding remnants to close it in from the outside. Whenever we’re able to do this, we’ll redo the front stairs entirely. They’re someone’s DIY project and they’re not even deep enough for kickboards. But, as with everything, these lofty plans cost a lot of money and we needed to do something to make it cuter in the meantime.
We had left the wood raw for the last three years as we hemmed and hawed over the the pros and cons of paint versus stain. I preferred the opacity of paint, but everyone seemed to be pushing us toward stain because of its durability. It wasn’t until earlier this summer that I discovered that Sherwin-Williams carries an opaque stain, which is the best of both worlds!
I was a bit cavalier about my selection of colors, holding up the color chips to the siding and went with my first impulse: Gray Birch. From the sample, it seemed to be a warm, light gray. Clearly, I wrong:
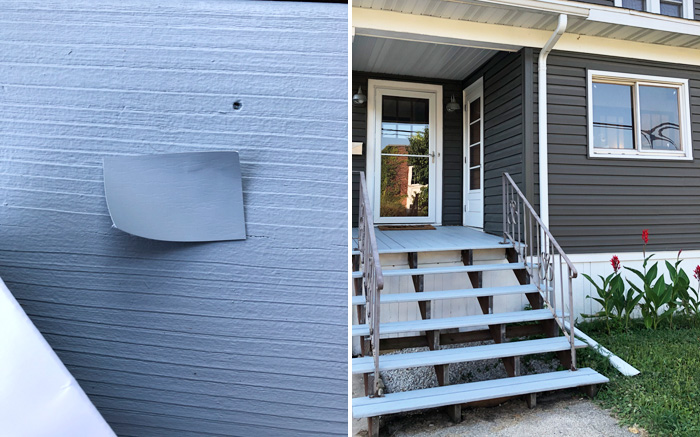
There were so many blue undertones to this stain that it appeared baby blue next to the color of our siding. I probably should have stopped earlier, but I kept wondering if it would dry differently or that I’d like it if I really gave it a fair shot. Instead, I hated it more and more. At one point, I thought I ordered the wrong color and peeled the chip off the card to hold against the applied stain. A perfect match. It’s just that blue.
(P.S. We’d eventually stain those stair risers when we figured out the right color.)
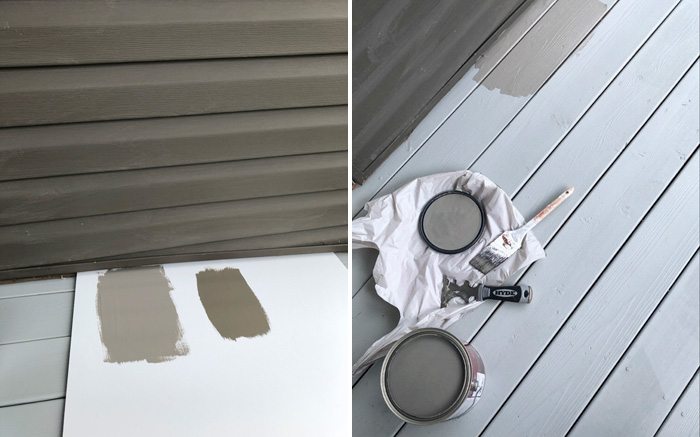
After that fiasco, I had about a half-gallon left and talked to Sherwin-Williams to see how I should proceed. They told me that the wood could really only hold one more coat of stain before it would just chip off and ruin the integrity of the product. They stained it deeper, getting closer to the King’s Canyon color and gave me a paint stick dipped in the hue to hold up against the house. That ended up having purple undertones, so I switched gears entirely and picked a new area of the color chart to try, opting for Wet Clay (above, left) and Flagstone. (They weren’t able to do samples of these in stain, but were able to give me paint to use on a piece of poster board to check against the house.) These colors had more yellow to the base and ended up being really great options. (Let that be a lesson to you to always get samples first!) I went with Wet Clay and the second coat of applied stain completely covered the first without any hints of color coming through.
Note: I’m unable to find the Wet Clay stain color on the Sherwin-Williams website. The color code is SW 3083.
I am so happy with how it turned out! I can’t speak to the durability of the color until we get through a Wisconsin winter, but I did try to chip at it with my fingernail and it held tight.
Two year update: See how the stain held up here!
So, next on the list is doing something about those iron railings (might replace, might just spray paint them matte black with Rust-Oleum), touching up the white paint, and replacing the sconces. In full disclosure, I don’t mind the shape of the sconces, but they are so incredibly flimsy and cheap — and they’re starting to rust.
Sources: Andersen storm door | CB2 mailbox (also love this one) | House of Antique Hardware doorbell | Sherwin-Williams SuperDeck opaque stain in Wet Clay
–
Let’s keep in touch!
Instagram / Facebook / Pinterest / Bloglovin’