I’m not sure if it’s because we finally have a house, but my wish list this year is heavily focused on kitchen- and bar-related gifts to upgrade our college-era things with nice versions that we’ll love for years to come. In fact, I’ve already been self-gifting with some of these ideas as you’ll read below!
I tried to keep this gift guide gender-neutral, since many home-related gifts need to be loved by everyone in the household — and let’s face it, we’re all shopping for more than just women when we look at interest-specific lists. (Does anyone else feel like many gift guides this year have heavy doses of pink and twee details?) Below, you’ll find nine of my favorite gift picks for the budding chef on your shopping list this year.
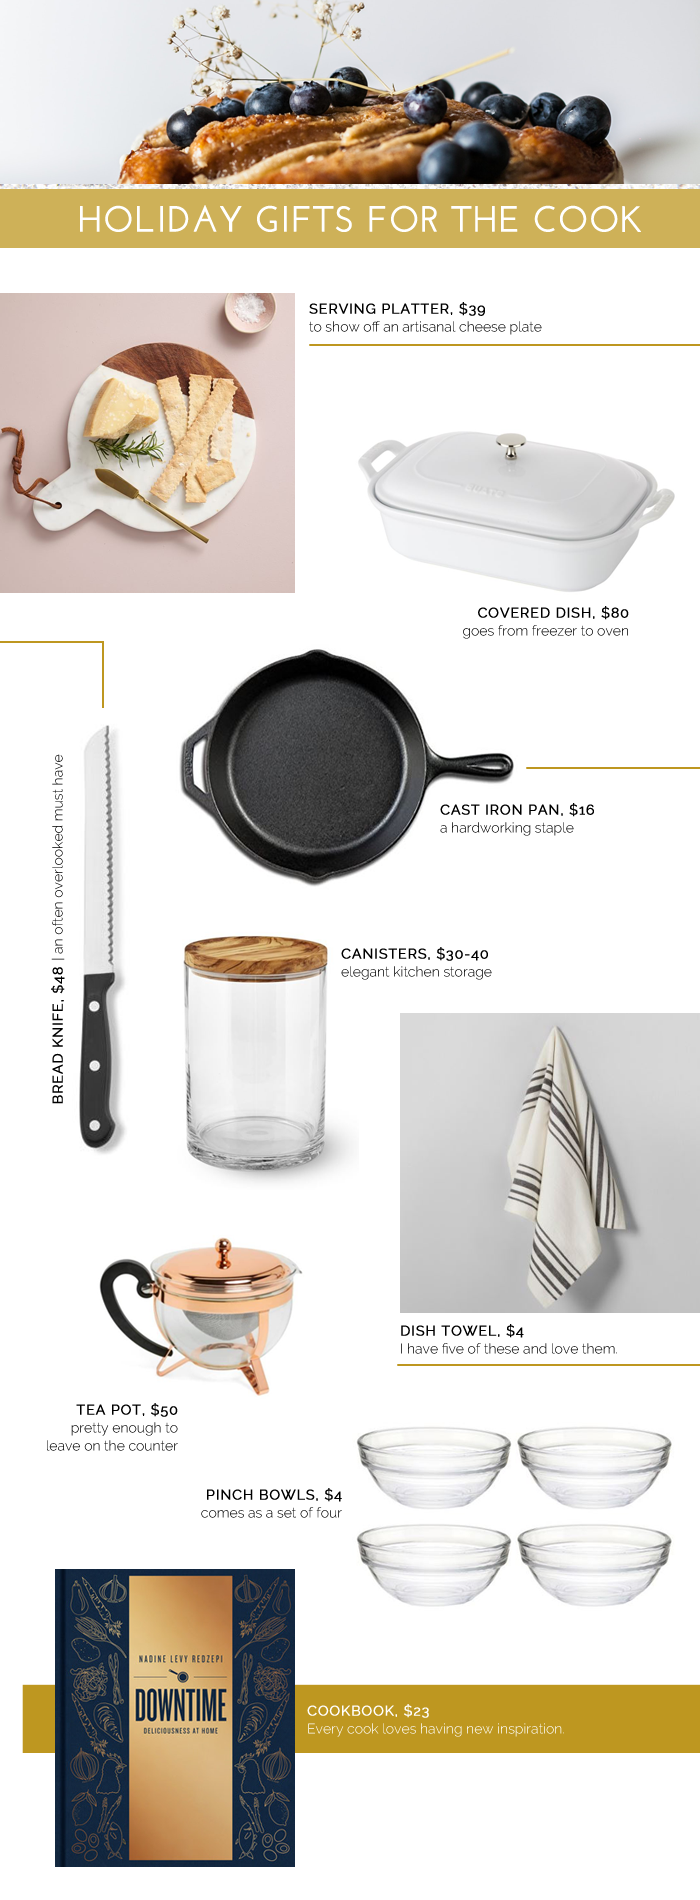
Serving Platter – Anyone who loves food is going to love a serving board, and there are so many gorgeous ones that any design you pick will be a welcome addition their collection. They’re perfect for curating artisanal cheese plates to occupy guests while the cook wraps up dinner in the kitchen.
Covered Dish – For around $80, you can snag a high-quality covered covered baking dish. This one goes from the freezer to the oven, and is elegant enough to serve from at the dining table. I prefer the white one, but it also comes in blue and red.
Cast Iron Pan – For whatever reason, I assumed cast iron pans were expensive and difficult to care for. I was wrong on both counts. We purchased this one by Lodge on Black Friday, which is the preferred brand for cast iron, and it’s as amazing as everyone claims. It even comes pre-seasoned so the recipient can start cooking right away. Just make sure the giftee knows how to take care of it to avoid rust. (Basically, wipe it out right after cooking, avoid using soap, dry it off with a towel, and then pop it into the oven at 250 degrees for around 15 minutes to dry it off completely. After the pan cools a bit, put a small amount of vegetable oil on a paper towel and rub it all over the pan until the oil absorbs.)
Serrated Knife – Why knife blocks don’t include a bread knife is beyond me. Treat your home chef to this often overlooked kitchen staple to keep loaves from crushing under the pressure of a regular knife. And don’t spend a lot on it. A serrated knife can’t really be sharpened when it dulls. (Granted, how often do serrated knives become dull when you’re only using them for bread?)
Canisters – I personally love the Instagram appeal of pretty canisters, but I always manage to talk myself out of actually buying a set. It seems indulgent, which is pretty much the best reason to treat someone to a set.
Kitchen Towels – If you need an ultra affordable gift or an add-on to something larger, these towels are it. They’re generously sized, wash well, and absorb a lot of water. I bought two for myself and loved them so much that I purchased three more to completely overhaul my towel drawer. Plus, the neutral colors go well with just about anyone’s kitchen decor.
Tea Pot – I don’t drink tea, but how cute is this tea pot?! It’s the tea lover’s take on Bodum’s French press that graced everyone’s gift guides a few years ago. (I do own the French press and can vouch for how amazing it is.)
Pinch Bowls – This is another gift that no one realizes they’d love until they actually start using them. They’re perfect for measuring spices and prepping ingredients before the flurry of cooking begins. The recipient can also use them as individual dip bowls.
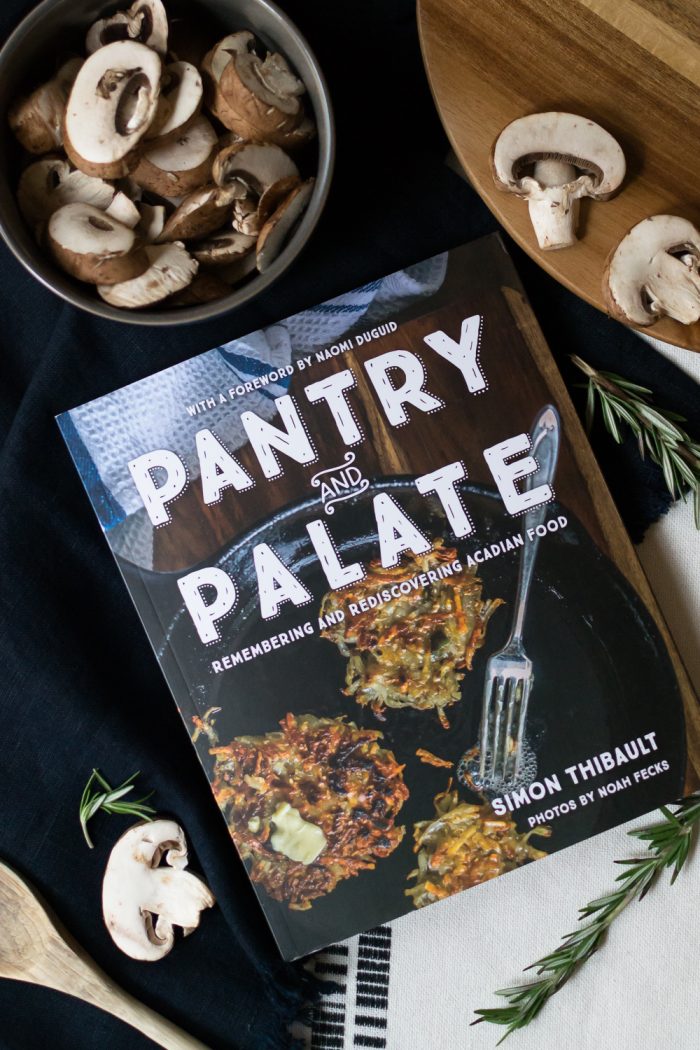
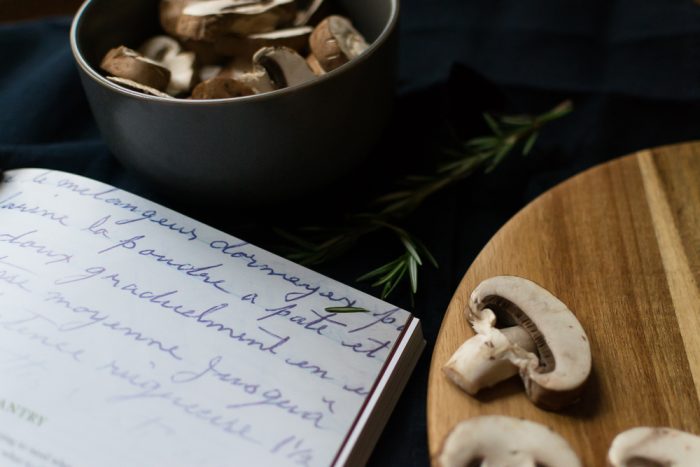
Cookbook – Don’t you hate when you buy a cookbook and everything looks too advanced? The recipes in this cookbook look like they’re a good balance of ambitious and achievable. Plus, the cover is gorgeous enough to leave out on display.