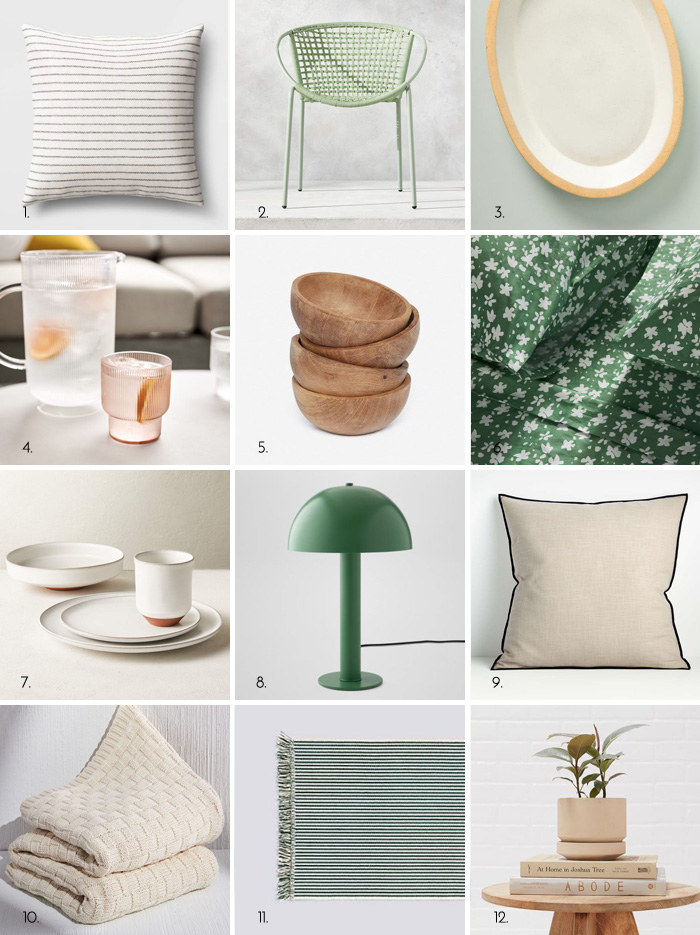
This time of year always makes me excited for fall, despite the hot and humid weather outside. I can’t resist the upcoming season’s darker colors and cozy textures, which makes autumnal throw blankets impossible to resist. The best ones do sell quickly, though, and I’m glad I snagged the one above before it sold out. Below, I rounded up nine of my other favorites if you’re also craving a pre-season update.
Top Row: Left | Center | Right
Middle Row: Left* | Center | Right
Bottom Row: Left | Center | Right
*I bought this one and it’s beautiful!
LIVING ROOM SOURCES
Blanket: Target
Decorative Bowl: CB2
Coffee Table: West Elm
Drink Table: West Elm
Curtains: West Elm
Curtain Rod: Pottery Barn
Sconces: Schoolhouse Electric
Leather Chair: EQ3
Sofa: Younger Furniture
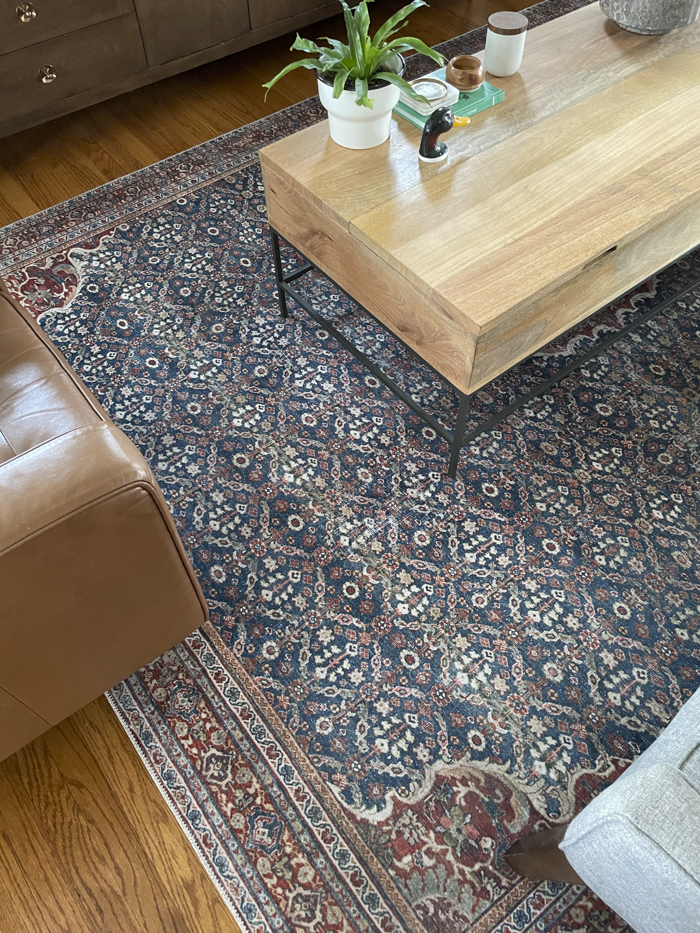
Rug: Loloi (also here)
Credenza: Ekais (no longer available)
Record Player: U-Turn
TV: Sony (and TV stand)
Soundbar: Sonos
–
Let’s keep in touch!
Instagram / Facebook / Pinterest / Bloglovin’
This post contains affiliate links