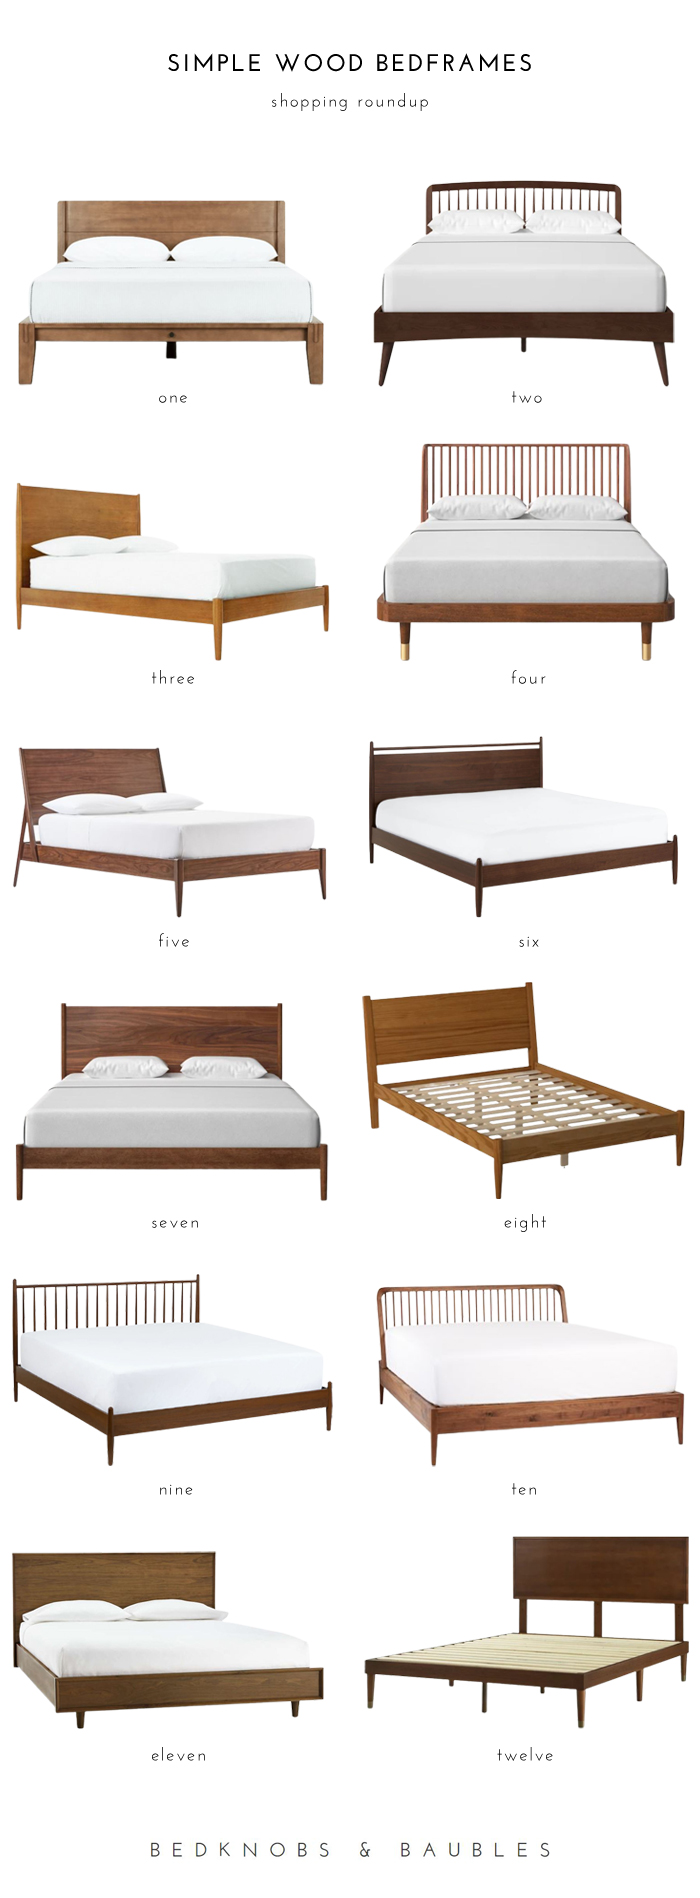
ONE | TWO | THREE | FOUR | FIVE | SIX | SEVEN | EIGHT | NINE | TEN | ELEVEN | TWELVE
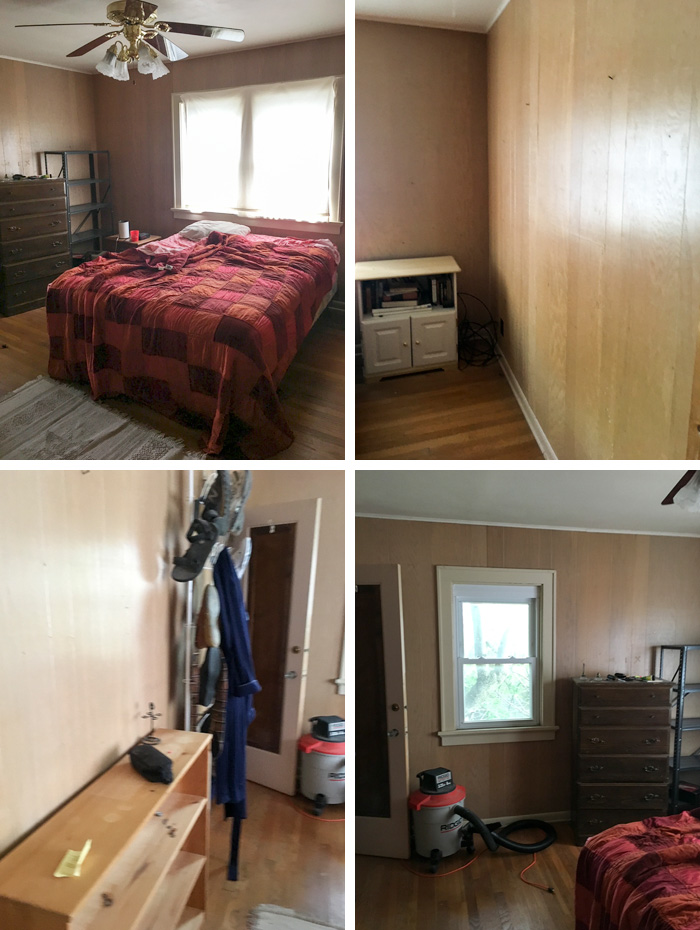
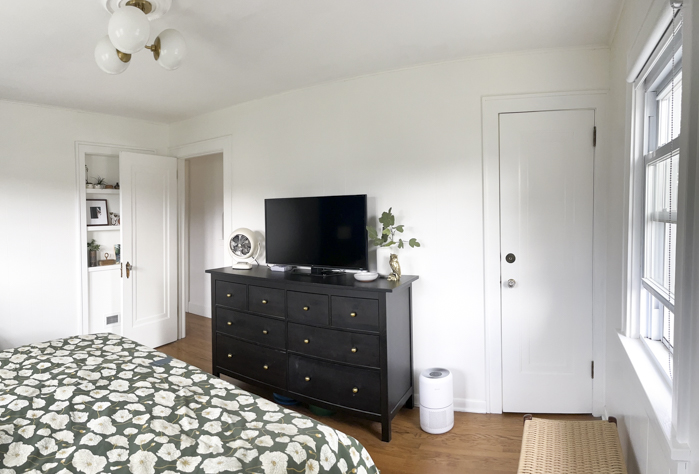
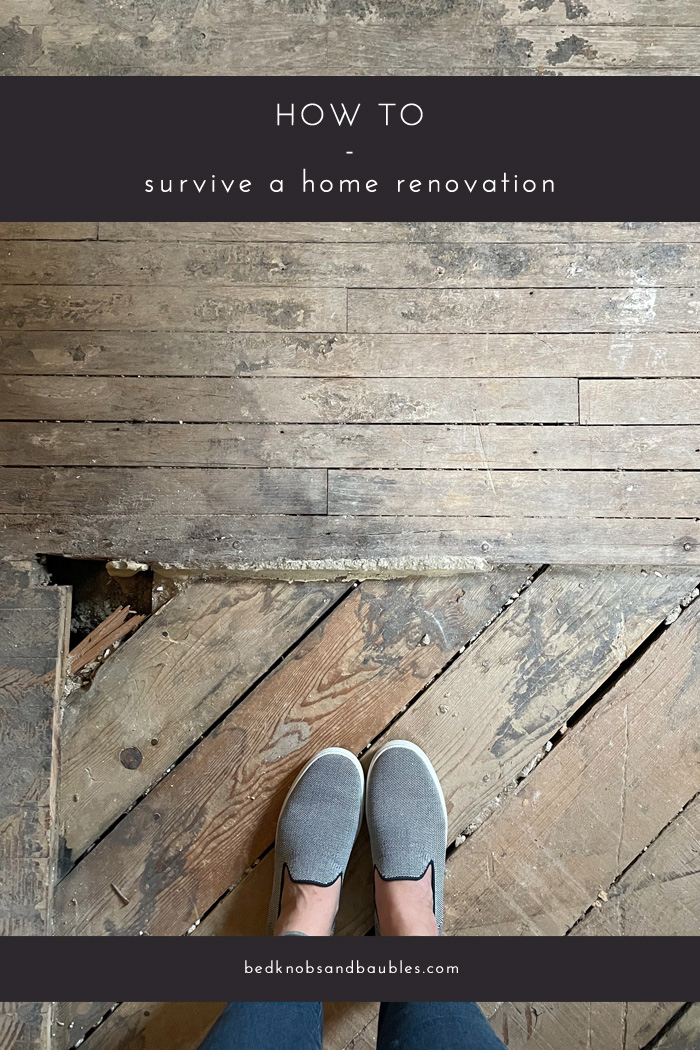
As I mentioned in this post, our next interior focus is our bedroom. I had hoped to make more progress on this room since hitting publish on that post in August, but finding the right bedframe took a lot longer than anticipated. It was partly due to life getting in the way, but financially, we were replenishing our savings after the bathroom remodel.
Finding that “Goldilocks” bed wasn’t easy and we spent countless hours browsing sites and shopping in-person to find one we loved. We thought we found the one back in November, but if you click through, you’ll see that the leg support runs all the way under the bed. I loved it design-wise, but floors aren’t exactly level in an old house and I worried it would cause stress fractures even with shims. Back to the drawing board we went with our list of requirements:
- Coordinate with our existing nightstands.
- Sold wood preferred, but would consider high-quality veneer.
- At least seven inches of clearance for under-bed storage.
- Less than $2,500, unless it was beyond perfect then we’d go up in price.
- Reviews that say it doesn’t creak.
We considered going with West Elm’s mid-century bed. It would have been an easy choice to match the nightstands from the same line. However, it was pretty lackluster in person. The wood grain on the veneer was barely visible, the back of the headboard was unfinished, and it just felt a little cheap. We then thought about the Article bed. We have a dining table and desk from the brand and love both. We were dissuaded by the reviews, though, when some indicated the bed creaked. Plus, the walnut finish — while beautiful — would have left us looking for new nightstands that coordinated with the finish. Then there’s this stunner from Rejuvenation that we both loved. It’s solid wood, which we eventually realized we preferred over the veneer options, but that price tag was a bit more than we wanted to spend and we wouldn’t have had an easy way to return the bed if we weren’t in love with it when it arrived.
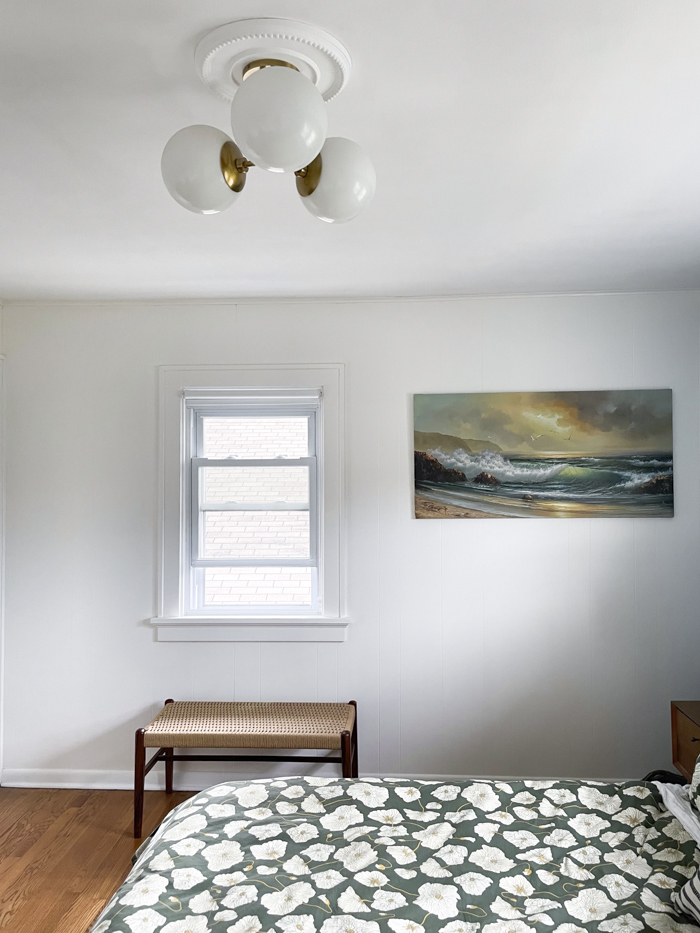
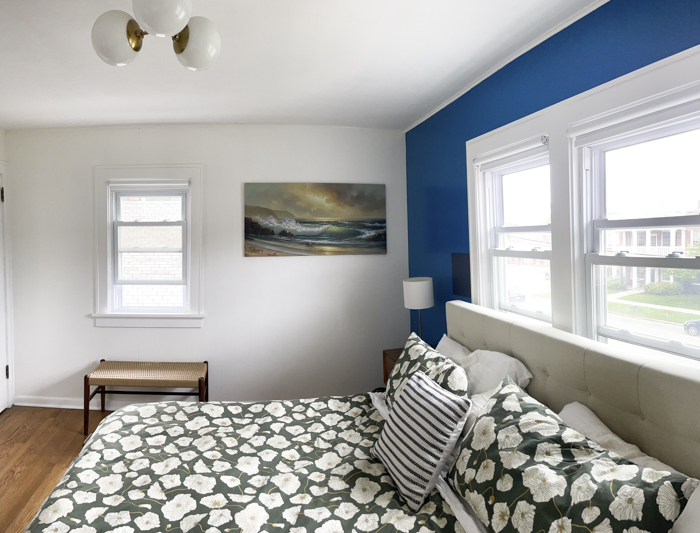
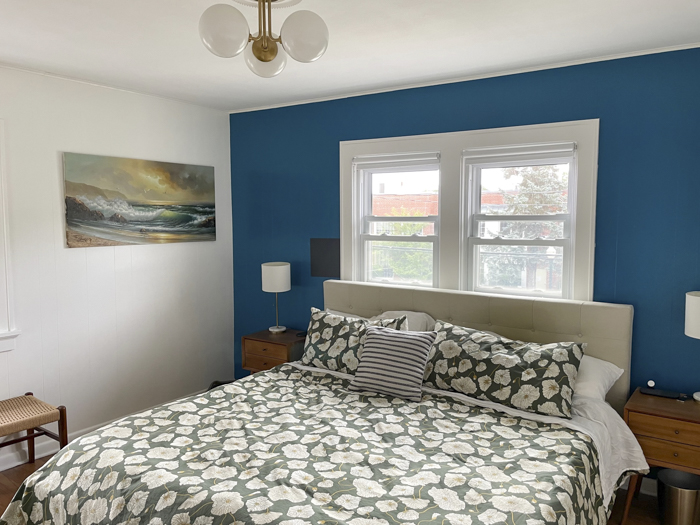
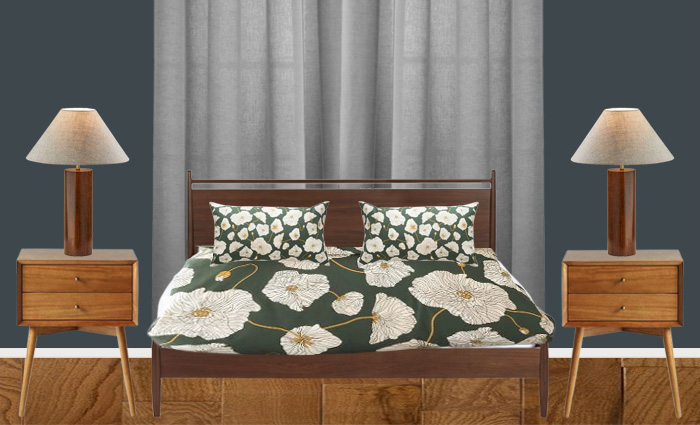
Eventually, we selected this one from Thuma. Internet-only brands are such a gamble, but the reviews on Reddit were outstanding and vouch for the company’s customer service. I had actually eliminated Thuma from the search early last year. At that time, they only had an upholstered headboard that needed to be up against a solid wall for it to stay put — not something that would work in our bedroom which requires that the bed go against the windows. A solid wood headboard that integrates into the frame, however, was a game changer and the bed ticked off every requirement for us. The walnut finish is warmer in person, coming close to the color of the nightstands. It’s a beautiful bed and I love the look of the Japanese joinery that allows the bed to be assembled without the use of tools. We’ve only had it for two weeks now, so I’ll plan to report back in a few months with a full review!
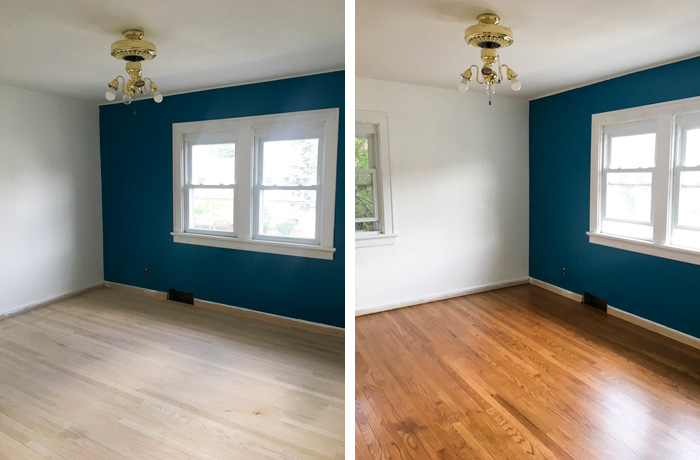
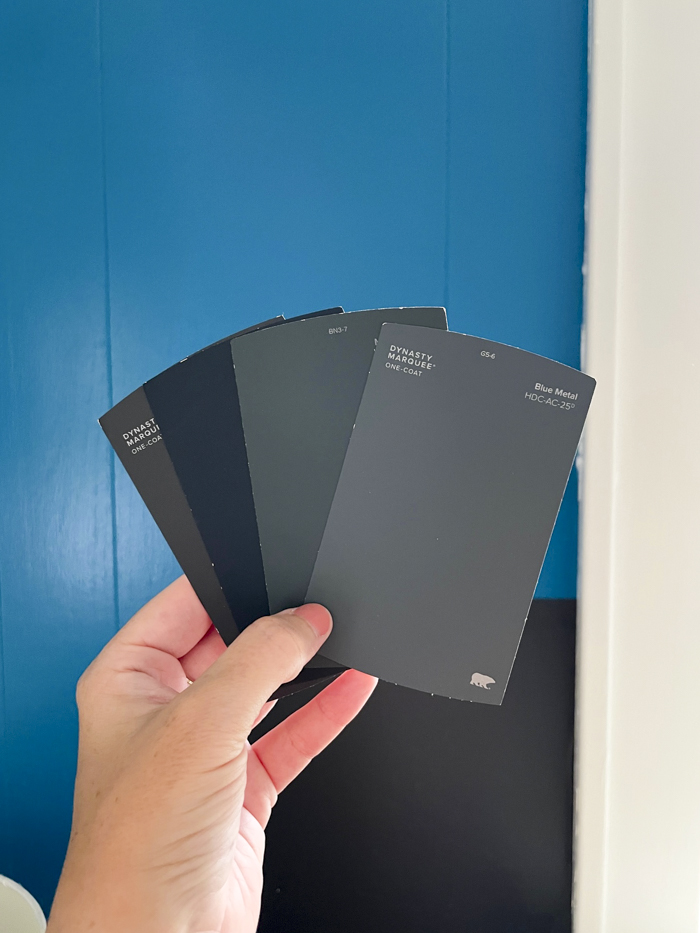
Next up, repainting the accent wall. I think I’ve settled on a color and will be picking up a sample today!
–
Let’s keep in touch!
Instagram / Facebook / Pinterest / Bloglovin’
Thanks for visiting! As a reminder, I may earn an affiliate commission if you buy an item through my links. This is at no cost to you. I appreciate your continued support!